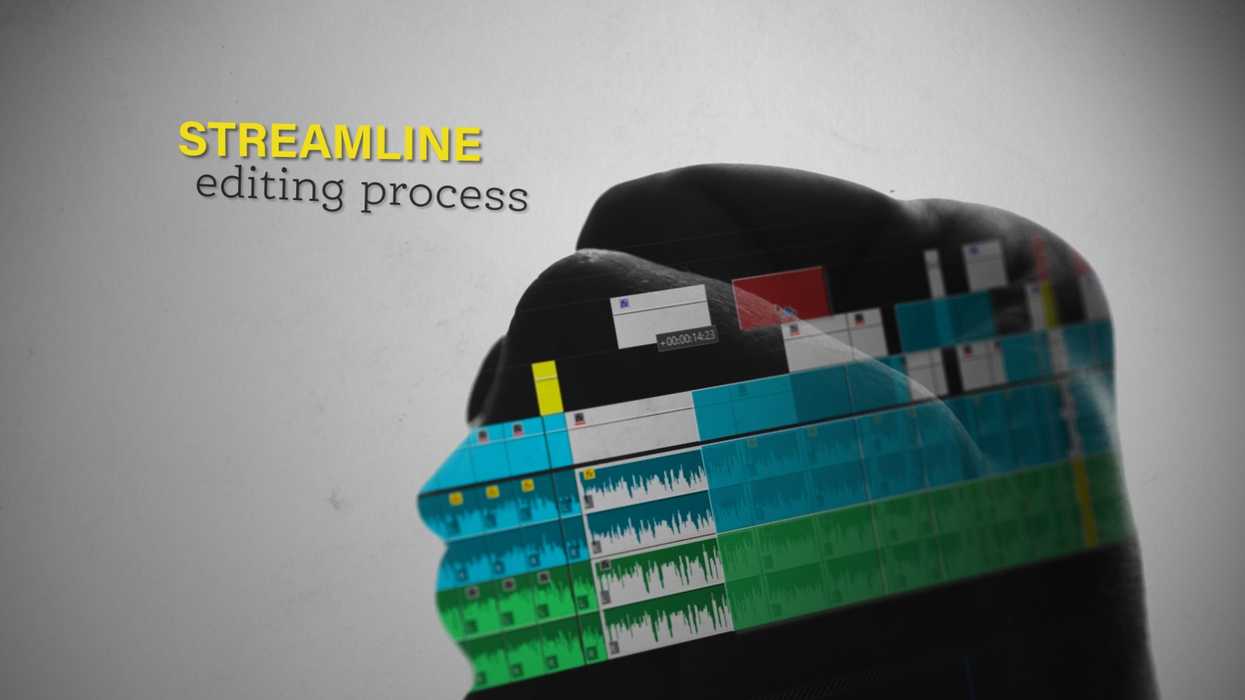
One of my favorite TV show intro sequences is the one from the first season of True Detective. The technique used allows communicating both images and shapes, which reinforces the whole visual message. Making the intro for my channel, I knew I wanted to use this approach.
How to Create Double Exposure Video in After Effects
I'm not explaining how all of these effects work, so if you want to investigate on your own, I made it possible to download all the footage and project files for this intro sequence. After Effects is pretty complicated, so if you're new to this tool, there are some great tutorials that will walk you step by step through the basics of compositing images.
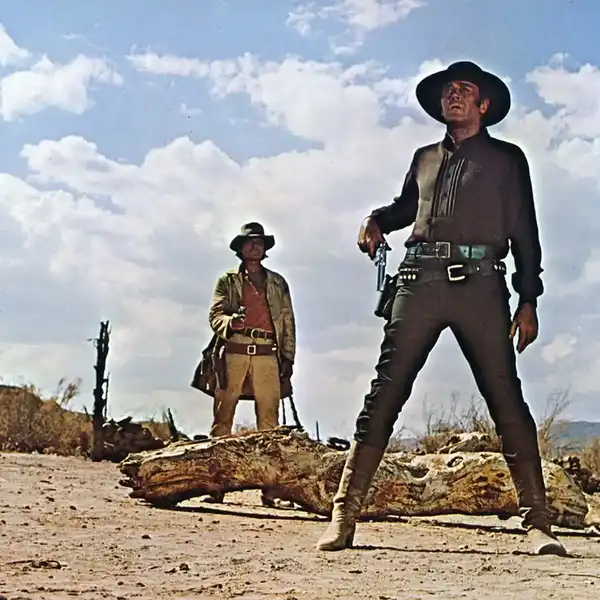
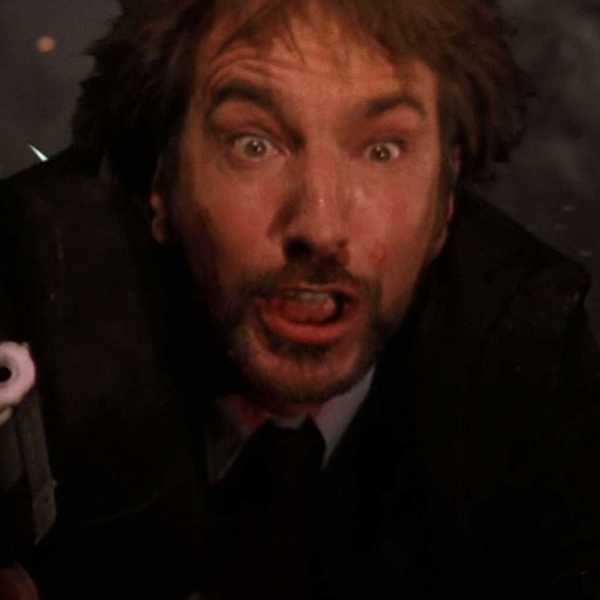
The effect we're after is based on so-called double exposure. Originally the term was used for exposing the same frame of a film twice, and in the digital age, we've kind of borrowed that term. Here's the original sequence that I was inspired by, in case you want to see what the big-budget version of this effect can look like.
Example of Double Exposure in True Detective
We don't want the movement to stutter, so the smoothness of the camera and object's motion is very important. The higher the frame rate you shoot with, the easier it will be to achieve a super smooth effect. I shot my silhouette clips with 100 fps, which was more than enough.
You need to have a good cutout from the background which can be accomplished in a few ways. You could for example shoot by the window on a sunny day. I have an old 150W lamp with a big softbox, so I just placed it behind my back. You don't need any lamp to light the front of subjects, because the only thing that really matters is the silhouette. So the look of the raw footage is somewhat irrelevant, although having some details of the subject will allow you to have some transparency inside a shape. When you're done, drop all of the raw footage in Premiere Pro and edit it to the music you chose. Work on pacing until you're really happy with the result.
When the edit is ready, open After Effects and go to File - Import - Import Adobe Premiere Pro Project. Time for compositing.
First, I created a white solid which will be the background.

Then it's time to apply some effects to the silhouette shots. Use Hue/Saturation to make the shot Black & White, Levels for the contrast and basically creating a luminance mask, and Transform to be able to control the scale and position of the footage within Effects Control panel.
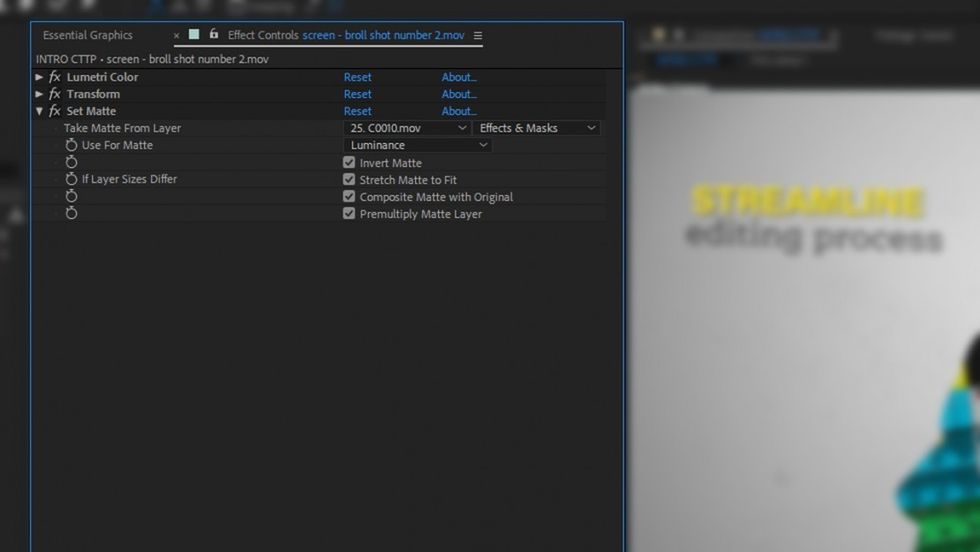
For the images you want to place inside silhouettes, I applied Lumetri Color (for any color correction you might want to do), Transform effect and most importantly, Set Matte effect. It will work better than Track Matte in the Composition panel because you can reference any layer regardless of the order in the composition, and use layer's effects for defining the key.
All titles are 3D layers with animated rotation and position. It adds some movement and dimensionality to them. I parented titles to nulls so I could easily control the position and size of titles after keyframing.
Next, I added some small improvements to take it to the next level. The camera with activated Depth of Field and a spot light with the animated position.
And last but not least, I added a texture of an old paper with an animated position, which I desaturated with Hue/Saturation effect, added wiggle parameter for opacity, and set Multiply Blending Mode to make it blend together.

Adding details like the spot light, wiggle, texture, and movement will always add some production value. After all, this is just a remix of True Detective’s intro, but I think it’s always good to get inspired and create your own version of stuff you admire. What techniques do you try to emulate? Let us know in the comments.