With 3D Earth Connections users can quickly create custom point to point animations on a 3D globe. It’s as simple as typing in two locations, connecting and customizing. It could seem daunting at first, so that's why we're going to break it down into simple steps so you can easily do it yourself.
Let's jump into the step-by-step process.
Requirements
First off, here’s what you’ll need to get started—
Video Copilot Orb Plugin (Free)
3D Earth Connections ($43)
Step 1 - Add Locations
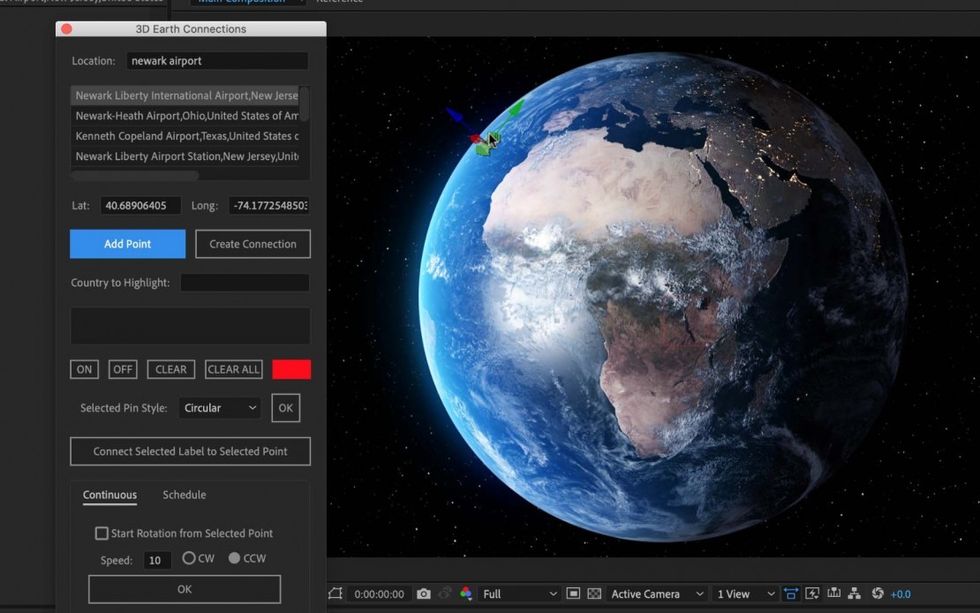
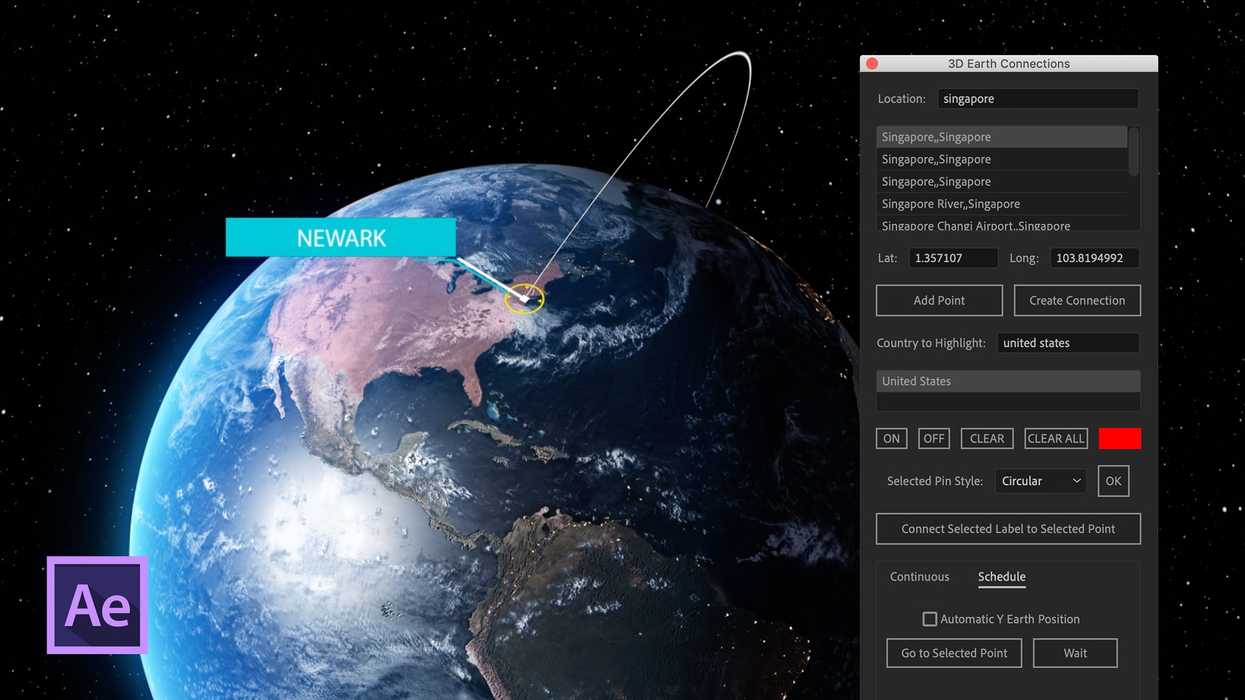
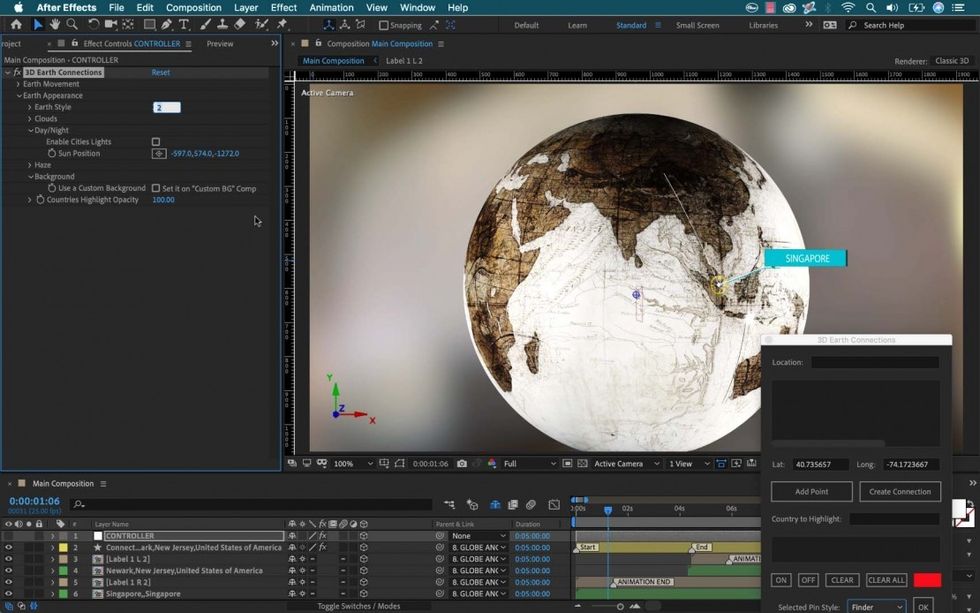
For the first step, I’ll add two locations. I’m making a path to show the longest commercial flight in the world, which is from Singapore to Newark. To add I’ll simply type in the location and then double click in the search box which will input the latitude and longitude. Now I can click Add Point. Also, I can manually type in coordinates if need be.
Step 2 - Connect the Locations
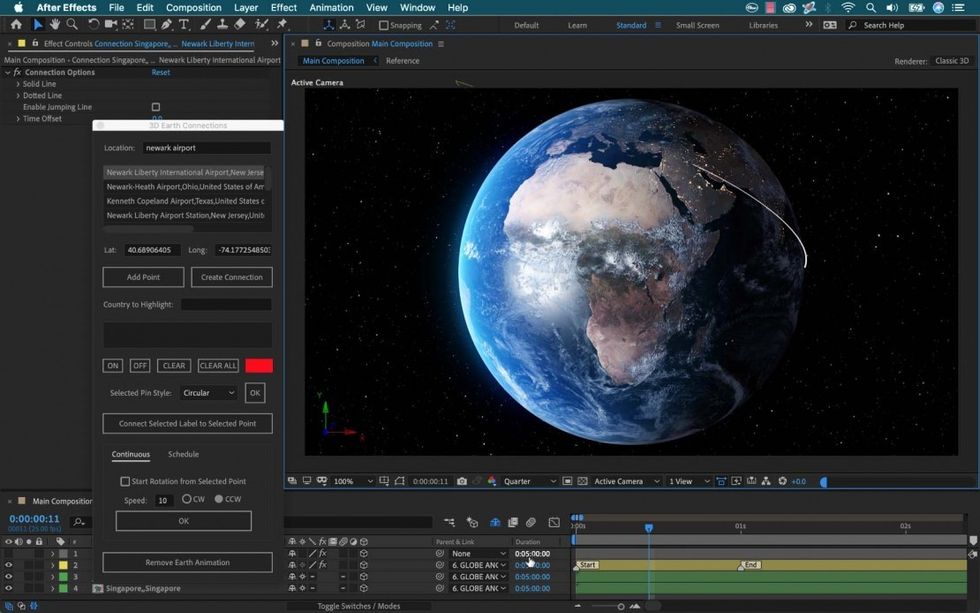
Each location now has a new comp created. To connect the two I’ll highlight both layers and select Create Connection. This will add a new shape layer with an animation already applied. The path will animate in the order in which I selected the point layers. I’ll re-time the animation with the Start and End markers on the layer.
Step 3 - Highlight Countries
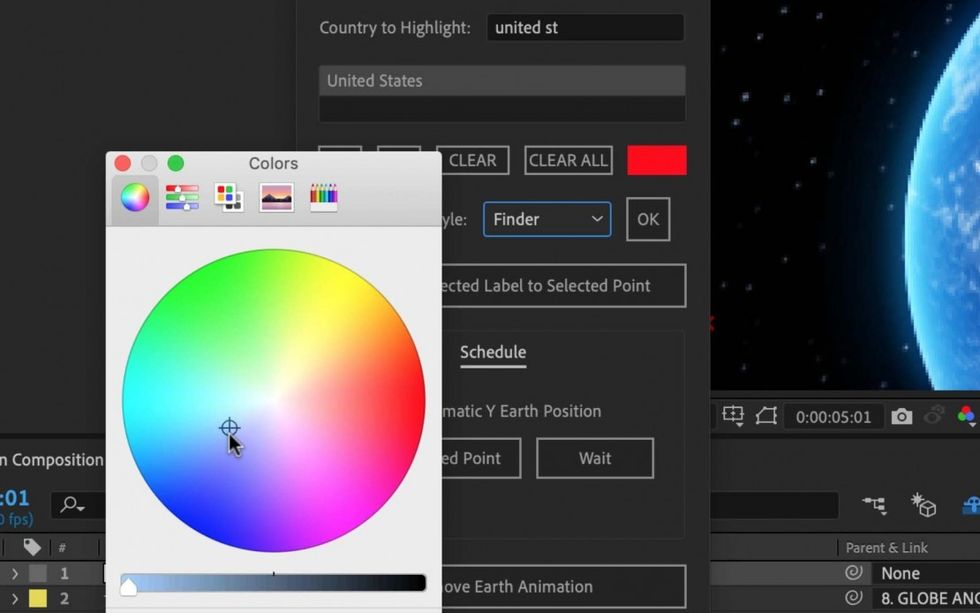
Another very cool function is the ability to highlight countries. For this, I’ll search the country in the Country to Highlight box, and then select ON. Be aware that the highlight animation will begin wherever the current-time indicator is located. I can even highlight the 50 United States.
Step 4 - Add Labels
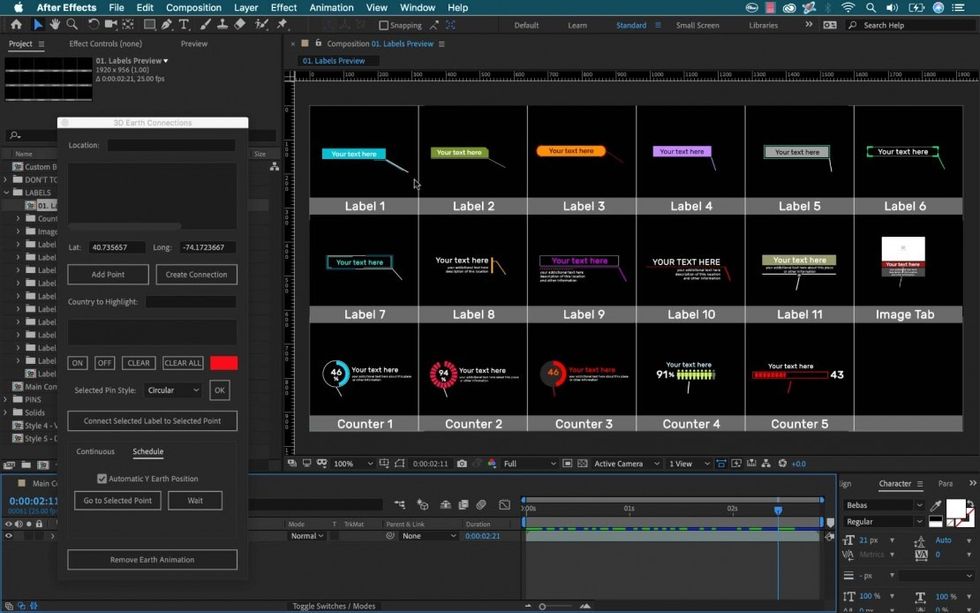
There are a number of labels available in the project file. For an overview of the labels, I’ll open up the Labels Preview comp. To use a label, I’ll first open a label comp and change the text as needed.
Next, I can duplicate the label to provide as many as I need, changing each label’s text as I duplicate. To add to my main comp, I’ll drag the label onto the timeline and select both the label and its corresponding location layer. With both selected, I’ll press Connect Selected Label to Selected Point.
Step 5 - Animate the Earth
3D Earth Connections makes it incredibly easy to animate. Simply grab the Controller layer and open up the Effect Controls panel. Open up the Earth Movement menu and use the rotation and position attributes to move and animate the earth.
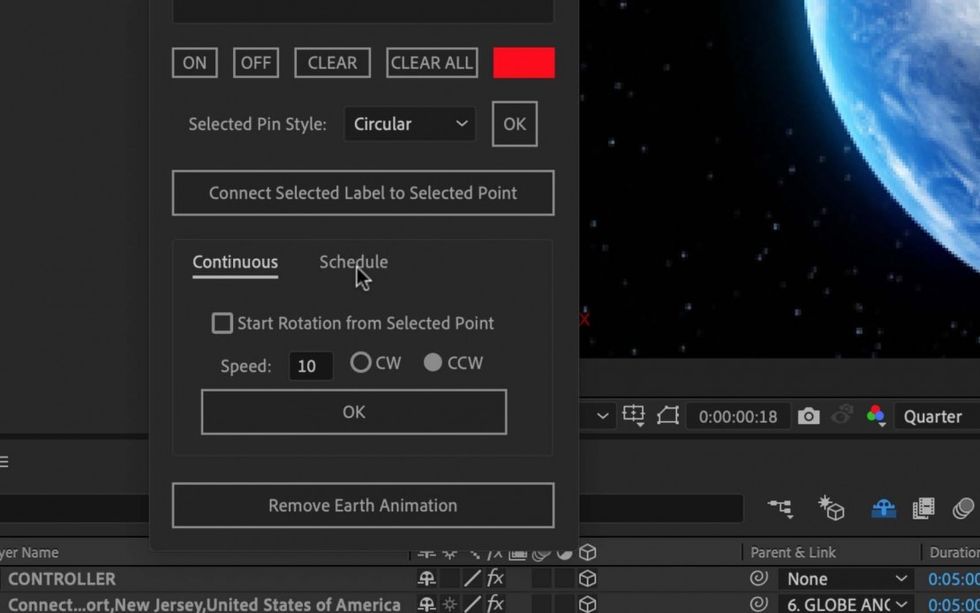
If you don’t want to manually animate, you can automate the process via the tools in the panel. There are two different modes in the panel—Continuous and Schedule. Continuous will rotate the earth at whatever speed and direction you specify. With Schedule, you can quickly jump to selected points, adding keyframes as you move. This feature makes it very easy to create complex animations.
Step 6 - Customize
While 3D Earth Connections is incredibly easy to use, it also allows for a number of customization options.
For example, when adding locations a pin will animate on screen. I can customize this pin via nine different presets in the panel, or simply create my own custom pin. Pins animate on screen at the beginning of the precomp layer, so I’ll adjust the layer on the timeline accordingly.
I can change the width, opacity, and color of the path in the Effect Controls panel, and even turn it into a jumping line that animates out. To adjust the slope of the path I’ll change the X rotation of the path layer. There are also options to switch between a solid and dotted line.
Finally, I have five different map styles, including realistic, old, watercolor, dotted and vector.
Get 3D Earth Connections for $43 here.
Disclosure: Boone Loves Video is a participant in affiliate advertising programs designed to provide means for individuals to earn advertising fees by reviewing and linking to products.


