This post was written by Sean Alami.
Asking the valid question of, "Why shouldn't I shoot at night?" will lead you to similar answers most of the time.
For one thing, you lose detail in your footage. And night shoots can be long, difficult, and tedious.
Instead, consider shooting day for night, or transforming a day shot to night in post-production! It's easy to do in After Effects. If you do it this way, you can explore the feeling of darkness and still pick out the wonderful elements on full display.
Check out my how-to video below.
To begin with, I advise that you underexpose your shot a couple of stops. That is, of course, if your camera has a decent dynamic range.
For me, it was a clear and bright day, so I made the shot a little darker, with a cooler appearance of nightfall.
I then brightened up the shot by giving it a daylight effect. This took me back to a moderately similar look of the original day.
 Credit: sean Alami
Moving into After Effects, but before getting stuck into color correcting, I needed to undertake one of the primary steps in replacing the sky. This helped boost the night effect considerably.
Because it was a moving shot, I had to track the camera. I then created a camera and placed my sky image as a 3D layer on the timeline. I pushed it back as far as possible, and scaled it up maxing out the numbers in order to ensure it looked natural.
After enlarging it correctly, I duplicated the main layer, turned off 3D tracking, and dragged in the color range effect. I then applied the color range effects and separated the sky.
 Credit: Sean Alami
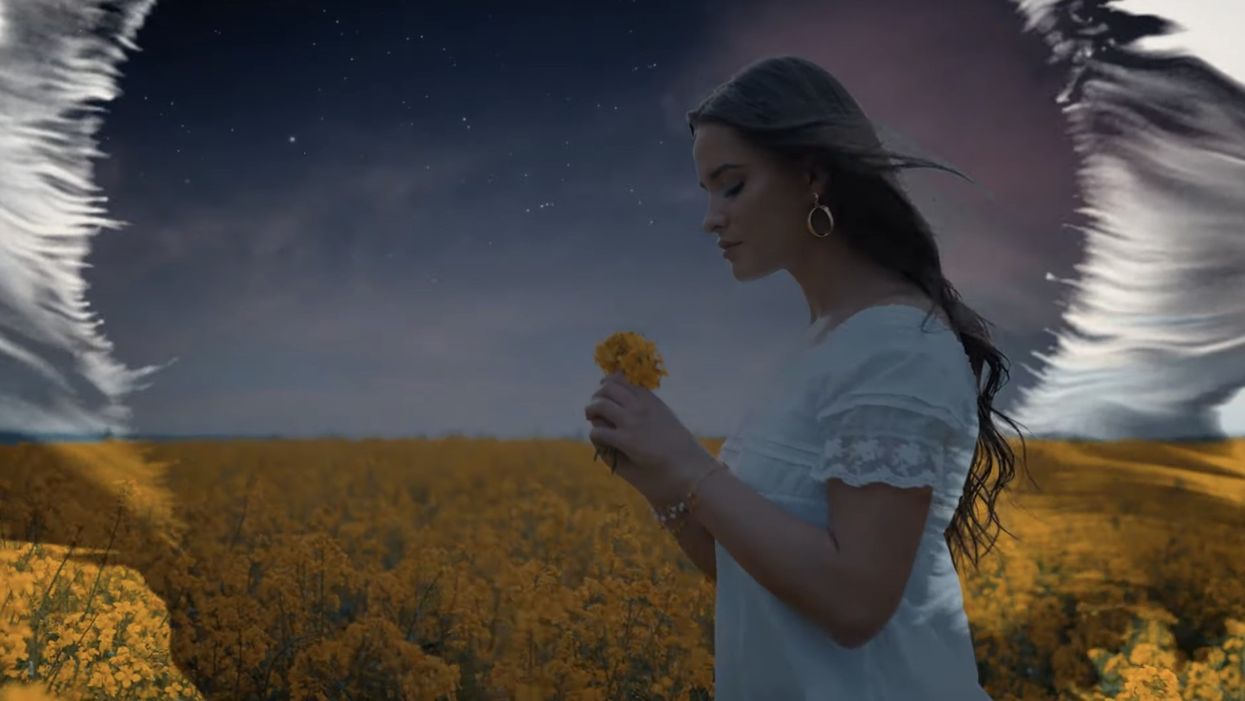
At this point, I focused on matching the color by taking the temperature down and the highlights back. Once you dial these highlights back, you’ll notice an exponential difference in tone of the visual. It merges pretty effectively, but with my image, the hair was slightly problematic because of the way it was fanning out across the sky. However, by taking away some of the opacity of the sky and darkening the full picture, it was relatively accurate.
The next step was all about playing around with the sliders of the color range effect to work out the most authentic look. After much deliberation, I settled on the best version I could identify.
 Credit: Sean Alami
I did some color grading based on my preference. It’s up to you, but my advice is to grade based on your own style and tone. Just don't involve colors that don't compliment each other.
Finally, with the ink transition, I placed my day layer above my night layer. Then on top of that, I have the day layer drag the luma matte over the ink layer. (By the way, I pulled the ink clip from stock footage in Envato. There are plenty of options out there. This is just the image I leaned toward.)
Lastly, I took the duplicate from the day layer to separate the talent from the background and then animated the opacity to fuse the talent from night to day with the backdrop.
And that’s it! It’s never as hard as you think.
Either way, I’ll be here to guide you for more tips and suggestions that can help navigate these tools.
Check out the video for more, and if you want to see other content like this, don’t forget to hit that subscribe button!
Check out Sean Alami on YouTube.

 'Aliens'CREDIT: 20th Century Fox
 'Promising Young Woman'CREDIT: FilmNation


