In my opinion, it's the most exciting update in April 2019 release of Premiere Pro. Let's explore what Freeform view can do for us, how to use it, and how to utilize it in editing workflow.
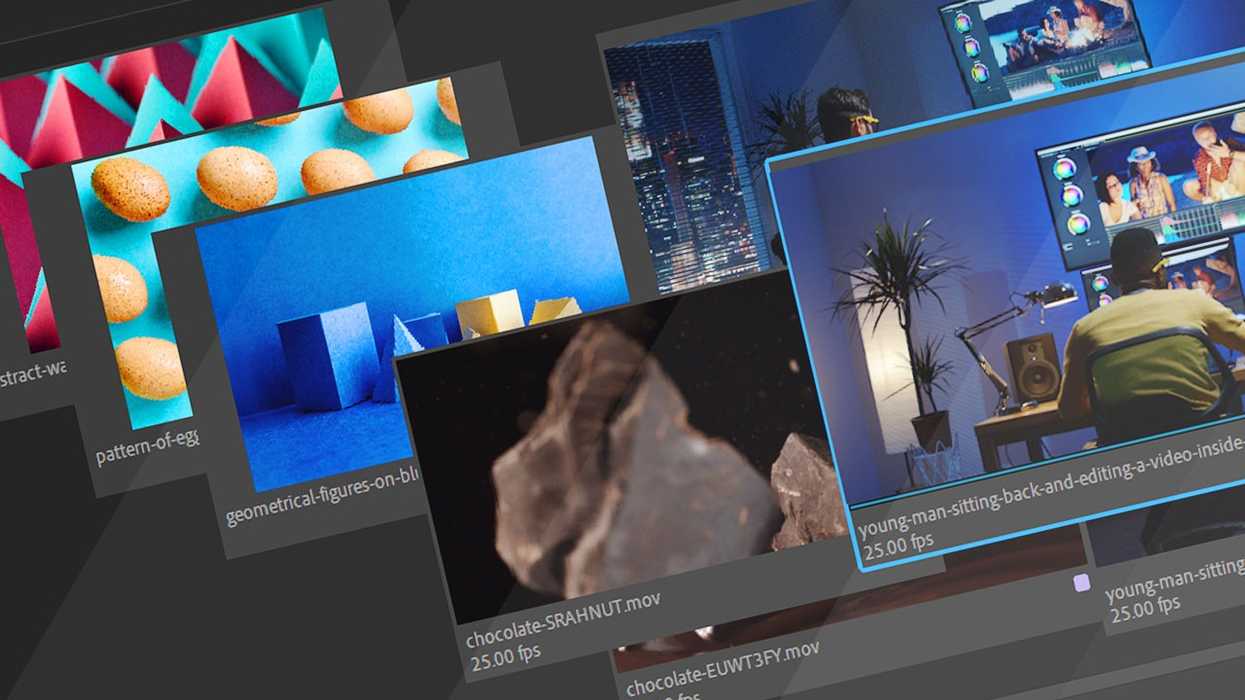
Freeform View can be activated in the Project Panel next to the icon and list view. Both List view and Icon view have their strengths and weaknesses but I’d say that the Freeform view is the most natural one to work with. It allows you to freely move and organize thumbnails into a custom layout which is not restricted by any the grid or sort order like the other two views. And thanks to it we can treat the placement of the thumbnail as yet another piece of information. It's another way to convey our intentions for the piece we're working on.
If you think about it, a woodworker, florist, or any other craftsman will categorize their tools and assets in order to manage them efficiently. The freeform view is just like that. Like a table, you can put anything on it. Anywhere you like. It’s a visual tool you can use not only for organization but, more importantly, a story structure.
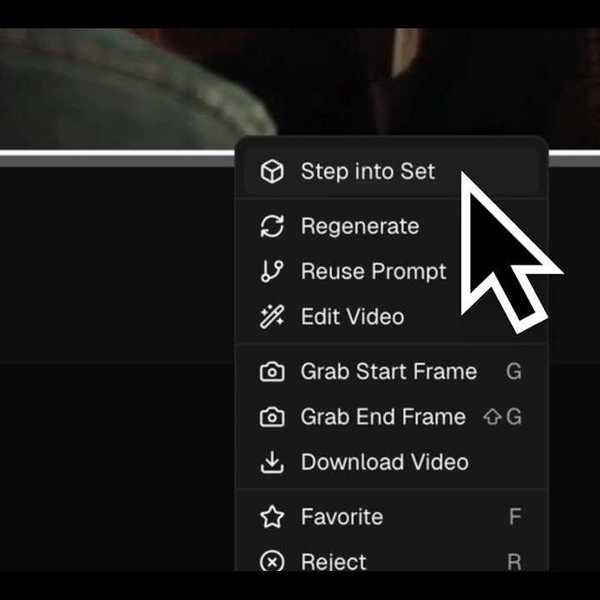
In the freeform view, a zoom slider maintains the relation and spacing between thumbnails. We can place clips in stacks, hover over them to preview (even if they overlap each other), and when we click on any clip, we can play it back using J, K and L keys. We can also mark In and Out points like in the Icon view.
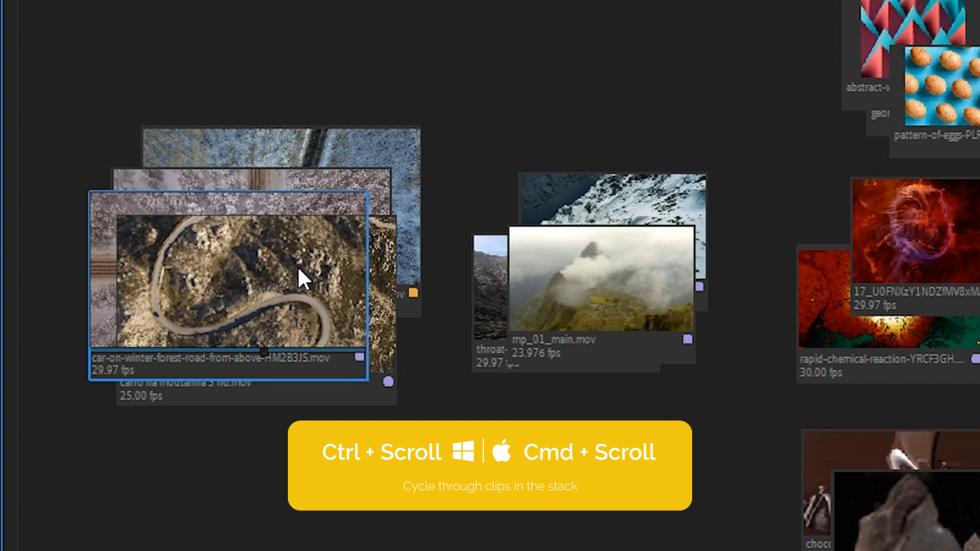
Another way to preview clips in a stack is to hold down the Ctrl/Cmd modifier and use the scroll wheel to cycle through all these clips. When you find the clip you're interested in, just release the modifier and it will select it. so you can edit it into your timeline. To snap a clip to the edge of another one, we just need to hold down the Alt/Opt modifier. We can also pan in the view with a Hand tool and zoom in or out by holding down Alt/Opt on the keyboard and scrolling the mouse wheel.
If we click on the panel menu we’ll find Freeform View Options at the bottom. You can specify the type of metadata that is being displayed under the thumbnail as well as label and badge visibility.
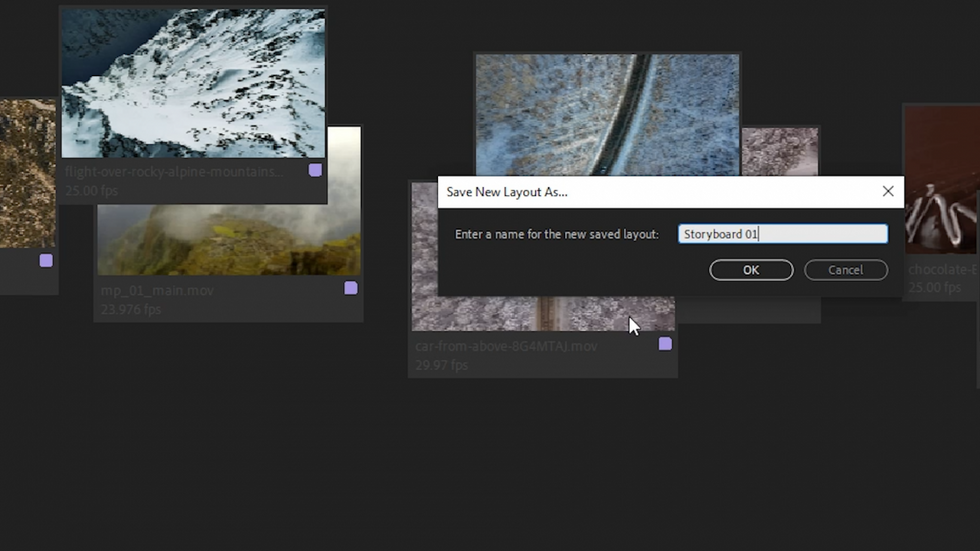
If we right-click in the empty area, the context menu will open and here we can save the current layout of clips by clicking on the Save New Layout option. This is very important because we may want to have a few configurations of layouts for different editing approaches. And if any layout is later modified, we can restore it using the Restore Layout menu item.
All these things above make Freeform View great for the Storyboard Editing Technique in which we first create a storyboard by rearranging clips into a story structure and then we edit them into the sequence. We can use insert or overwrite shortcuts for that purpose (comma and period on the keyboard respectively).
What do you think about that feature? I imagine it will get even better with next releases and overall I can’t wait to use it in a real-life scenario!