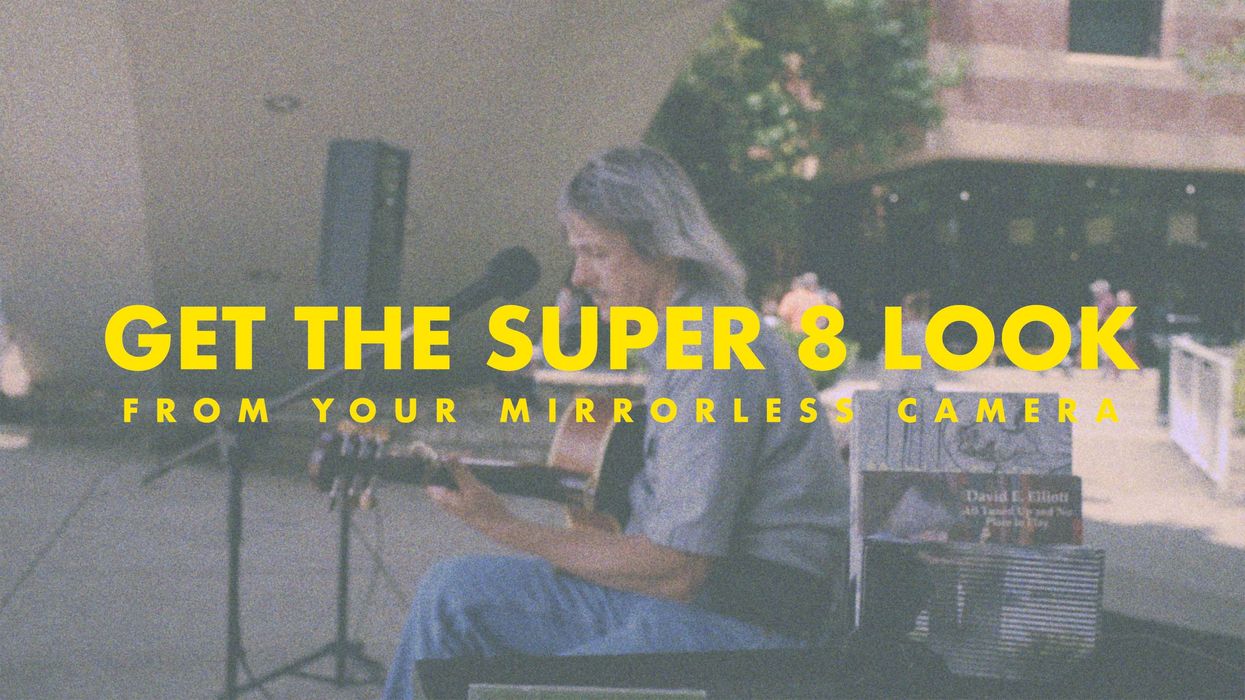
How to Get The Super 8 Film Look
The vintage look is all the rage right now.

Instagram filters, presets, in-camera color profiles (Fuji's to be specific), and an innumerable amount of Instagram-friendly apps are all embracing the vintage and "home-video" style of imaging.
However, if you really want a custom look, you still have to do it yourself.
In this tutorial, I'll show you what you need to know in order to pull off the effect both in-camera and in post. Check it out below:
Here are the key things you'll want to remember:
Shoot at a low frame rate
Super 8 cameras typically shot anywhere between 12 and 18 frames-per-second. These days, the baseline for almost every camera in production is around 24 frame-per-second. There are a number of ways of interpolating the footage in post-production to get this effect, but I recommend going into your camera's "S&Q" function and use a setting that gets closest to the 18 fps margin. For me, that was 15 fps.
Deep depth of field
Bokeh will absolutely kill this effect. I recommend shooting at f/8 or slower. Sometimes, in the right situation, I would shoot completely stopped down. Be careful, though, because shooting at or around f/8 will sharpen up your image a lot. Make sure to compensate for this sharpness when you edit the footage later.
Don't worry about framing
Super 8 films of yesteryear were mostly parents and teens that were just having fun capturing the moment. As such, there was very little, if any, focus on framing or camera position. Focus on the action, not the environment.
No need to be smooth
First, turn off any IBIS that your camera may have. Then, when you're out shooting, don't hold the camera too steady. If there's any degree of smooth movement or "expert" camera operation, the effect gets diminished. This was, for me, the hardest part.
Look at real Super 8 footage
This is where you make it your own. I went online and watched a bunch of YouTube videos of people filming in Super 8 and tried to take note of any particularly unique characteristics in the color and texture of the film. I saw a lot of magenta, blue, and yellow tints throughout the various clips. Crucially, I saw little to no sharpness at all, so I used fades and the Sharpness slider (in Premiere Pro's Creative Tab) to cut out as much sharpness as I could bear.
I also downloaded a Super 8 film grain and a 4x3 letterbox to sell the effect. If you didn't want to do either of these things, its just as easy to use the "noise" effect and then add two black bars to either side of the whole timeline.
Add to that some film projector sound effects and some sweet, indie-friendly tunes and you have yourself some seriously nostalgic Super 8-style footage.
I can see this being very friendly for any retro-type campaigns or if a script calls for any flashbacks or if you're just having a good time making new footage look old.
What are your thoughts? Let me know in the comments.
Source: FriendFilmsTheWorld


