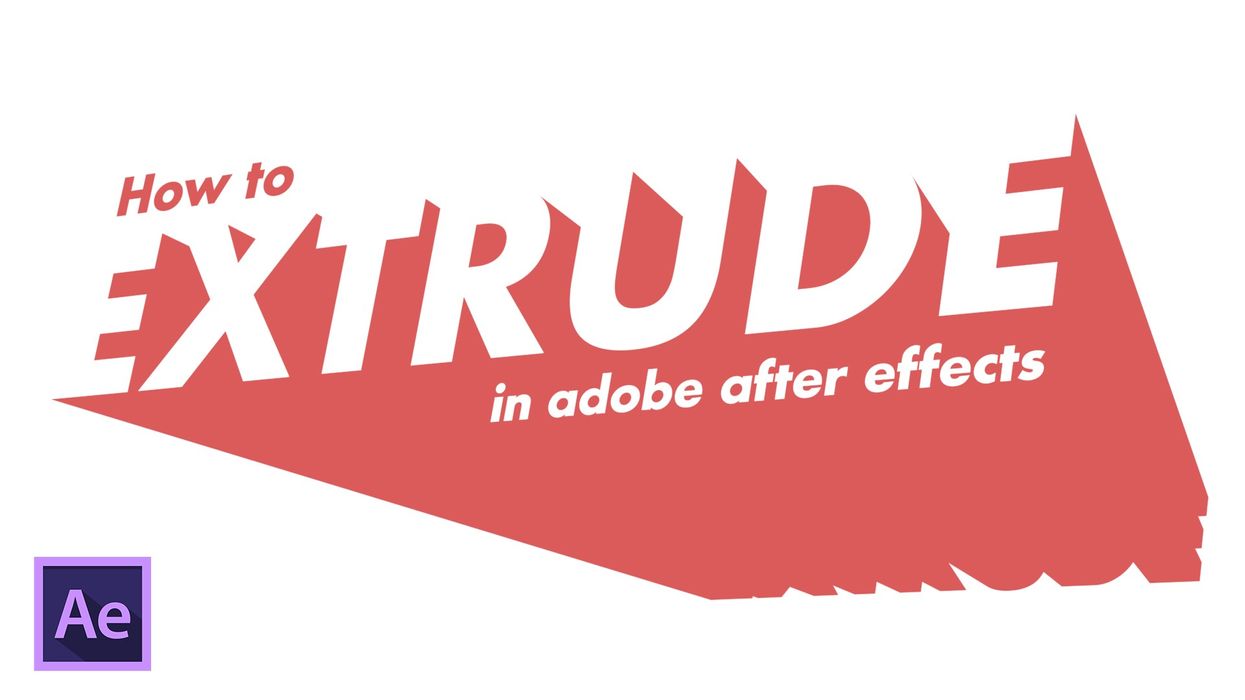
How to Extrude Text in Adobe After Effects
Up your 3D game in Adobe After Effects with extruded text.

In this tutorial below, l I’m going to show you how to extrude text in Adobe After Effects, without the use of third-party plugins. This will be true 3D extrusion—no duplicated layers or comps. And I’m going for a very minimal design which won’t be using lights, so this tutorial is great if you’re new to 3D in After Effects.
Also, the lack of lights will be less render-intensive, taking strain off of your system.
Now let’s jump in and take a step-by-step look at how to create real 3D text inside of Adobe After Effects.
Step 1 - Create the Elements
Once I have a comp created, I’ll go to Layer > New > Camera and leave the camera at the default settings. I’ll add a text layer and type out the word Extrude. After selecting a color I’m happy with, I’ll use the Align panel to center the text both horizontally and vertically in my comp. With my text ready to go, I’ll hit the 3D button for the layer.
Once my text layer is set to 3D, I’ll have access to the Material Options, giving me control over how my text interacts with 3D lights. However, extrusion options are nowhere to be found. Just above the Material Options, I can see Geometry Options, which is grayed out. These are the properties that I need access to, so why is it grayed out? Let’s have a closer look.
Step 2 - Prepare the Elements for Animation
The Renderer controls which features are available for your 3D layers inside of After Effects. To access this feature, go to Composition > Composition Settings and select the 3D Renderer tab. Mine is currently set to Classic 3D, allowing me to manipulate 2D layers in a 3D environment. To access extrusion options, I’ll need to change this to the Cinema 4D Renderer.
Once switched, I can see a list of enabled features, extrusion included. Unfortunately, I also see a list of disabled features, including blend modes, motion blur, and a handful of other useful tools. It’s important to understand what the renderer is doing, so you aren’t confused when layers begin to act differently and suddenly you have limited features.
Back on my timeline, I can see that the Geometry Options of my text layer are now available. Here I can add a bevel as well as control the extrusion depth. I’ll bring the extrusion depth out, and immediately I can see a problem. The sides of the extrusion are the same color as my text, making everything blend together and look terrible. To fix this, I’ll add an animator by clicking the Animate button and selecting Front > Color > RGB and then changing the front color to white. To get a better view of the text extrusion, I can use the camera tool (C) to fly the camera around the text.
Now I’m ready to animate.
Step 3 - Animate the Elements
First, I’ll reset the camera to its initial position. Now I’m ready to add some keyframes. This will be a simple animation, as I’ll only be keyframing a few properties. For the first second, I’ll animate the extrusion depth from 1 to 1,000, so it will quickly punch out in depth. Then I’ll animate the color of the Front font animator to change from red to white. This will create a nice transition from 2D to 3D text.
Next, I’ll animate the Position and Point of Interest properties of my camera. As the text extrudes, I want the camera to fly up right next to it, making the extrusion clearly visible. I’ll keyframe both the start and end positions, using the camera tools (C) to get the camera in place. To animate the elements back out, I’ll simply copy/paste the keyframes of each layer and then perform a Time-Reverse Keyframes on the pasted keyframes near the end of the timeline.
So what do you think? Do you want to use 3D graphics in your next After Effects project?


 'Aliens'CREDIT: 20th Century Fox
 'Promising Young Woman'CREDIT: FilmNation


