5 Low-Cost Tips to Help You Solve Common Green Screen Problems
These helpful tips will help you navigate those difficult green screen situations on your low-budget, indie film productions.

Using a green screen isn't all that hard, especially considering how many resources are out there teaching you how to do it.
But sometimes stuff comes up...bad stuff...tricky stuff that needs a little more finesse and know-how, like how to deal with light-colored hair, green clothing, and using a vectorscope to get a good key.
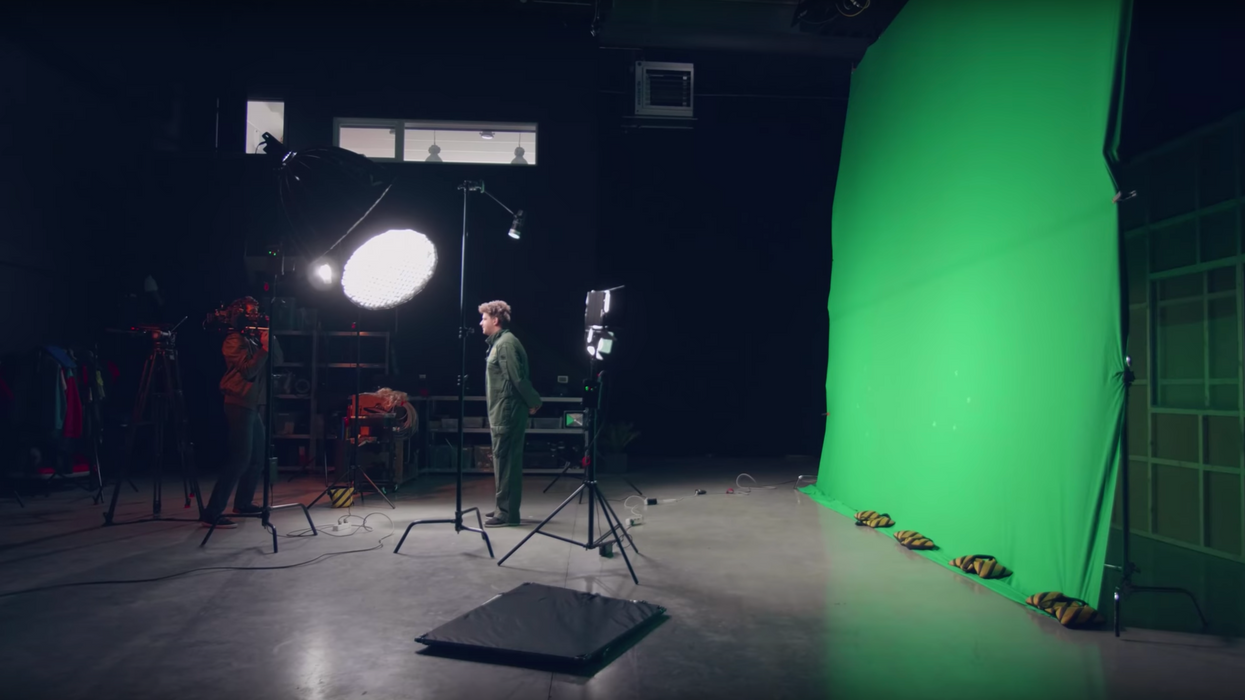
So, if you want to safeguard yourself in case you run into one of these challenging green screen scenarios, watch this video from Cinecom. In it, Jordy Vandeput goes over 5 tips that will help you pull the perfect key (or close to it) when working with the green stuff.
The Basics
Okay, before you jump into using a green screen, it's important to know a few essential techniques that will ensure that you're able to pull a good key. Let's run through them really quickly.
- Make sure your green screen is smooth. Iron out any wrinkles in the fabric to get rid of any shadows.
- Make sure your lighting doesn't create any hotspots on your green screen. Flat, even lighting is the best, and waveform monitors are helpful for being able to detect this.
- Make sure your subject is far enough away from your green screen so green light doesn't spill onto them.
- Motion blur can make keying difficult. If you want to, increase the shutter speed on your camera to decrease the motion blur. However, this will affect the look and feel of your footage.
Contrast
Keying works best if you're able to isolate your subject(s) from the green screen background. That's why we use green, after all, because it's easy to find contrast. But what if your subject is wearing green or has blonde hair that easily absorbs the green light bouncing from your green screen? As Vandeput demonstrates, by changing the luminance value of the background and your subject (by adjusting the brightness of your lights), you might be able to isolate your subjects easier. Waveform monitors make this process a hell of a lot easier and more accurate.
Color Accuracy
Green screens should be green. Duh. But skin tones and the rest of the colors present in your shot are also important to get right, too. You can use a vectorscope to ensure that your green screen is properly lit, has proper exposure, and that the other colors in your shot look natural. The line on your vectorscope should run diagonally from the center between green and red. If you're having trouble getting the color of your green screen right on your monitor, you might need to use some green gels.
If you don't know how to use a vectorscope, check out this tutorial from Aputure:
Pulling a Good Key
Okay, now you're in post and you're ready to pull your key. If you laid the groundwork...lit evenly, exposed correctly, ironed out the wrinkles in your green screen, etc...then you should be able to do a "one-click" key, which means you won't have to do a ton of work in post to isolate your background from your subject. Of course, "one-click" keys don't really exist if you're adamant about making everything look perfect, but the idea is to get as much contrast between your background and your subject as possible. Vandeput has a clever method for doing this in the video.
Tracking
If you want to have a moving background, you're going to need to some tracking points. Hollywood productions stick red or orange tape on their green screens, but if you're working with a small budget and a small crew, you're not going to want to spend extra time and money masking out those markers. Vandeput tested this technique with green tape and was not only able to use them as track points in post but was also able to key them out along with his green screen.
Conclusion
If you're a small crew with a small budget, these tips are going to be right up your alley. Of course, big Hollywood productions don't really do things this way, because they have huge teams of editors, compositors, etc. keying smaller, specific areas of the frame out, painting color back into the edges of elements that contain motion blur, and doing lots and lots of roto work.
You ain't got time for that! Or money! But these low-cost techniques will definitely get you there.
Source: Cinecom


