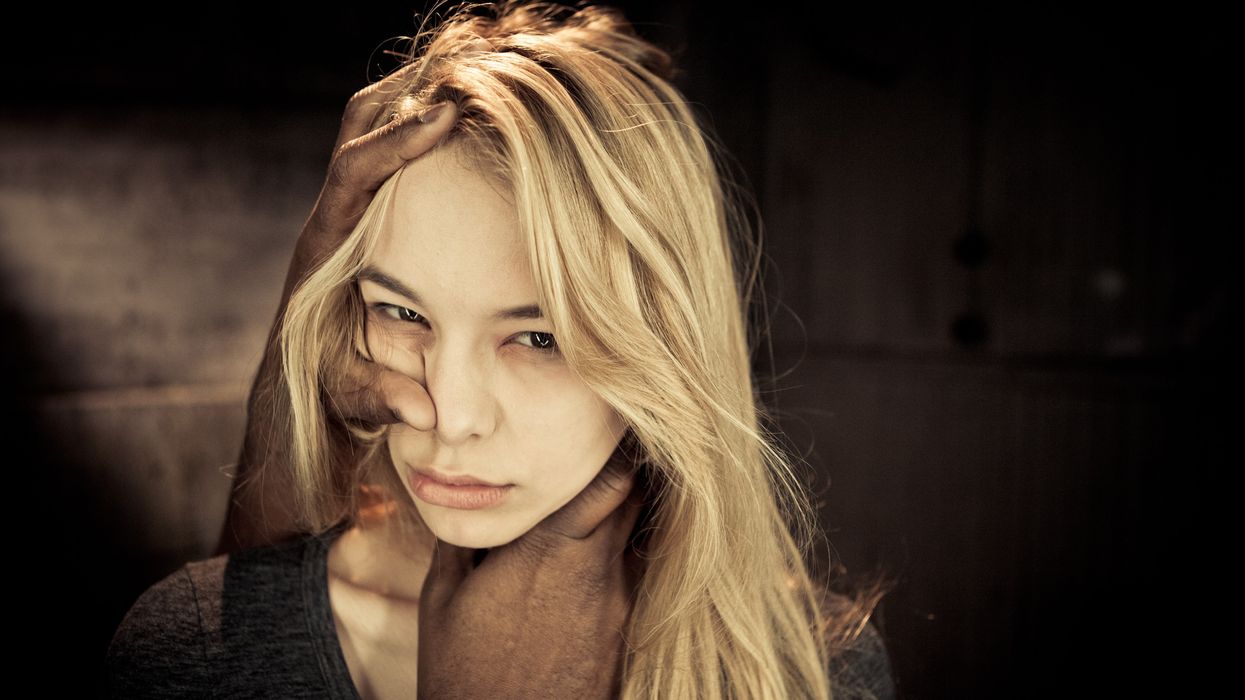
That's a pretty high bar that eliminates nearly everybody. I've been shooting for 35 years and I never achieved any image that I considered equal to Vermeer or Caravaggio. I'll give Jordy credit for getting the principle right - even if his execution could be improved.
Jordy, I appreciate your desire to teach beginners and to keep it simple. I believe that the principles you were teaching were correct in theory. However, I have a simple suggestion (using one less light) that might improve the lighting setup that you were demonstrating and create more Vermeer like contrast. The window with plastic has a beautiful soft quality, it's just too flat on the subject's face and the white walls. Stretch and hang a large piece of opaque or mostly opaque material such as a dark bed sheet or black plastic between 2 light stands. On a pro set, duviteen cloth or B&W foam core would be hung using C stands. Ideally, the dimensions of this material should be close to the same size as the window. Next place the cloth parallel to the window and close to the subject as possible without entering the camera frame. Now, "hinge" the left stand back toward the window (counter-clock rotation) leaving the right stand in place. This will allow more window light to hit the subject on the camera left side of her face (her R side). You can adjust the desired amount of contrast on the camera R (her L) side of the face. You can achieve much better contrast modeling on the subject this way than adding a light that isn't very soft. You may need to increase the exposure slightly to compensate for some light loss. This is similar to Alex's suggestion. However, blocking light at the window itself may lose too much key light on the subject and be more difficult to fine adjust the level of contrast. When cutting soft light it's necessary to move flag away from the source. Bringing the giant flag closer to the subject will also create a very nice gradation on the back wall. The R side of the back wall will "fall off gradually become fairly dark. The L side of the wall will be darker than it was. It was a great idea to open up the door into the hallway to create more depth. But now that you have less light in the main room, you don't need to hit the hallway wall with direct light in order to get brighter contrast depth. Try aiming the light at the ceiling or bounce off the opposite wall for a more natural soft light pattern. The overall result will be more shades of gray and more true "chiaroscuro" alternating patterns. To achieve more contrast in any lighting situation, it's best to first consider where light can be removed - before adding a light.
I agree Mike, but foolishly I didn't pass. I worked on Roar in 1978 as a camera assistant. It was my first professional film and I was overly ambitious (like many of the crew members) and anxious to get the work experience. It was incredibly dangerous and irresponsible - and I would never take that kind of risk again. But I'm glad that I lived through it. By the way, I know of at least 10 crew members who worked on Roar who later became professional DP's. We were a hungry lot.
Thanks for posting the article about "Roar." I worked on Roar in 1978 as one of several camera assistants. It was my first professional film - what an initiation! It was an incredible and crazy experience. I was one of the lucky crew members who didn't get seriously injured - only some minor scratches. Roar isn't a great film story wise, but it's definitely worth seeing as a visual spectacle. It features the most amazing footage of lions interacting with humans that has ever been filmed. For anyone who might be interested, I wrote a blog article about my experiences on Roar: https://www.stage32.com/blog/Surviving-Roar-The-Most-Dangerous-Film-Ever...
David, good math exercise! I agree with your general logic, but I think the real storage numbers are probably significantly higher. I believe that a 6:1 shooting ratio is way too low for any big budget TV show especially in the digital age where directors often reset takes without cutting the camera. House of Cards uses longer master takes as a stylistic choice - that means less repeat angles than traditional coverage. However, their shooting ratio is bound to increase with multiple long takes for actor and technical performance. And when Fincher is directing, he is known for a huge number of takes. I suspect that some scenes are also shot with multiple cameras. I also suspect that they back up their footage even more than three times. The data storage numbers can balloon quickly.
I have a couple of things to add. The photo (at the top of article) of the hand tightening the C-stand head shows "bad form." Although the grip head is correctly positioned on the user's right hand side, the "knuckles" that lock or unlock the stand risers are incorrectly positioned on the same side as the grip head. They should be positioned on the user's left side. This prevents the user from getting the C-stand arm tangled up with the stand knuckles when the arm is being set in a more vertical position. This position also makes it easier to raise and lower a flag using the stand risers. The left hand can loosen and tighten the knuckles while the right hand can lift the weight from the stand grip head. Otherwise, one is crossing arms or fighting with the arm. Seems like a small detail but good form is all about quick, safe, and efficient motion. As far as sandbagging a working stand. I agree that the high leg is usually the go to leg for bagging a stand. However, in some situations here is an an acceptable alternative method: "Wrap" the "handle crease" of a sandbag around the base of the stand with the edge and weight of the bag resting on the small and middle legs. In this method, the weight is placed around the center of gravity. The reason for using this method is the following: Sometimes, multiple C-stands are placed in close proximity to each other for safety or to conserve floorspace. In such cases, the high leg of a second stand might be "nested" over the middle or low leg of the first C-stand (similar to the "soldiering" technique demonstrated in the video). In this situation, it could be difficult to place the sandbag over the large leg of the second stand because the bag can't "rest" properly without interfering with or moving the first stand. It gets more complicated if a third stand is added to the "nest." This is when the "around the base" method works best.