This article is a continuation of the series “Anatomy of a Scene.” See Part 1. The purpose of this series is to help emerging filmmakers improve their craft by sharing techniques (how something was done) as well as presenting the creative rationale behind the choices (the “why”). I'm not presenting my work as a model of artistic perfection and I don't expect readers to agree with all of my choices. My intention is to analyze a sample of work to encourage other filmmakers to explore their own creative process of interpreting a project visually.
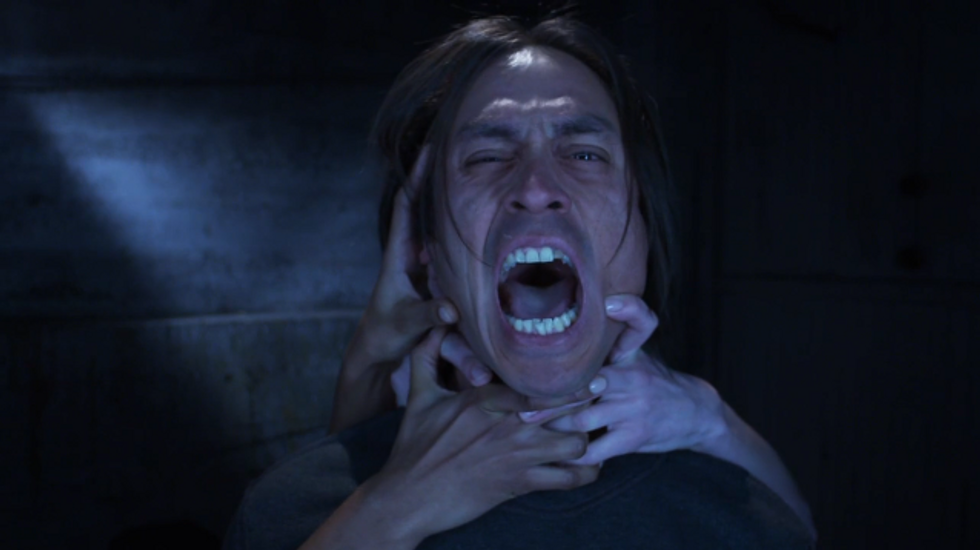
In this article, I'll continue to discuss the camera and lighting set up for the “tormented souls” scene (4:15) of “One Click Away,” a recent three day shoot that I photographed. Our first two days of the project were shot at Indent Studios in Portland, Oregon. We chose this facility because it’s a large eclectic space that suited some of our strange and dark location requirements. In addition to a large sound stage area, the studio has several finished and unfinished areas that were part of the original building, which was formerly an industrial laundry facility. For our “tormented souls” scene, we chose a scary-looking room with a wonderful patina of industrial grime etched into the walls.
Camera Set Up
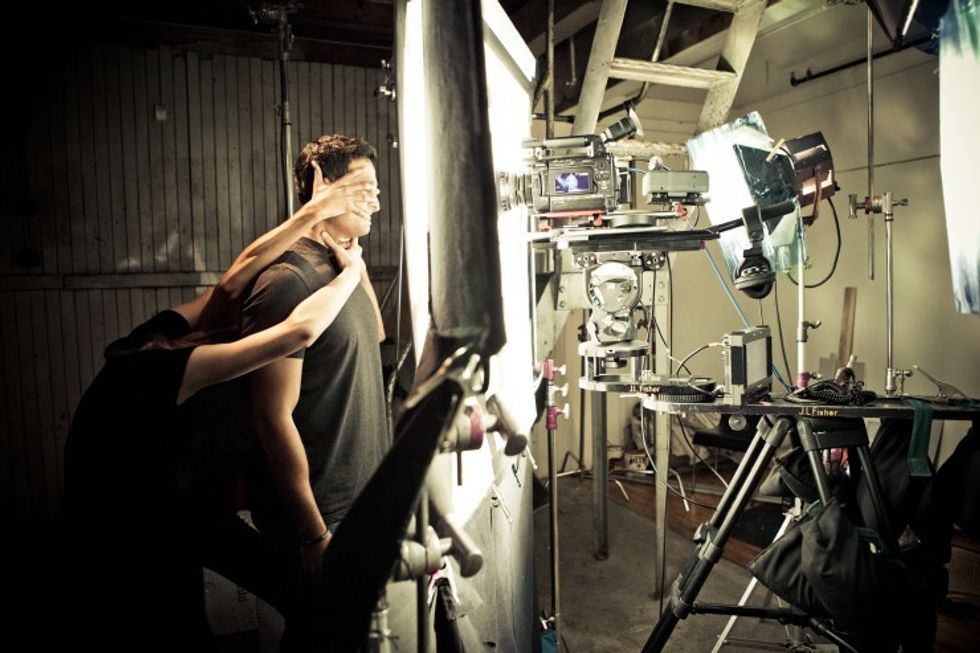
I set up the camera as far away from the best “picture” wall as possible. Even though I was using an 18mm wide-angle lens, I wanted the wall to go slightly out of focus to keep the attention on our tormented subjects. As I mentioned in Part 1, the camera was armed out and away from the tripod using offset arms to avoid a tripod shadow on the triangle pattern card. Large sandbags were used to counterbalance the camera weight. Part of our challenge was to shoot 10 actors in approximately 1½ hours, so we had to be very quick and efficient.
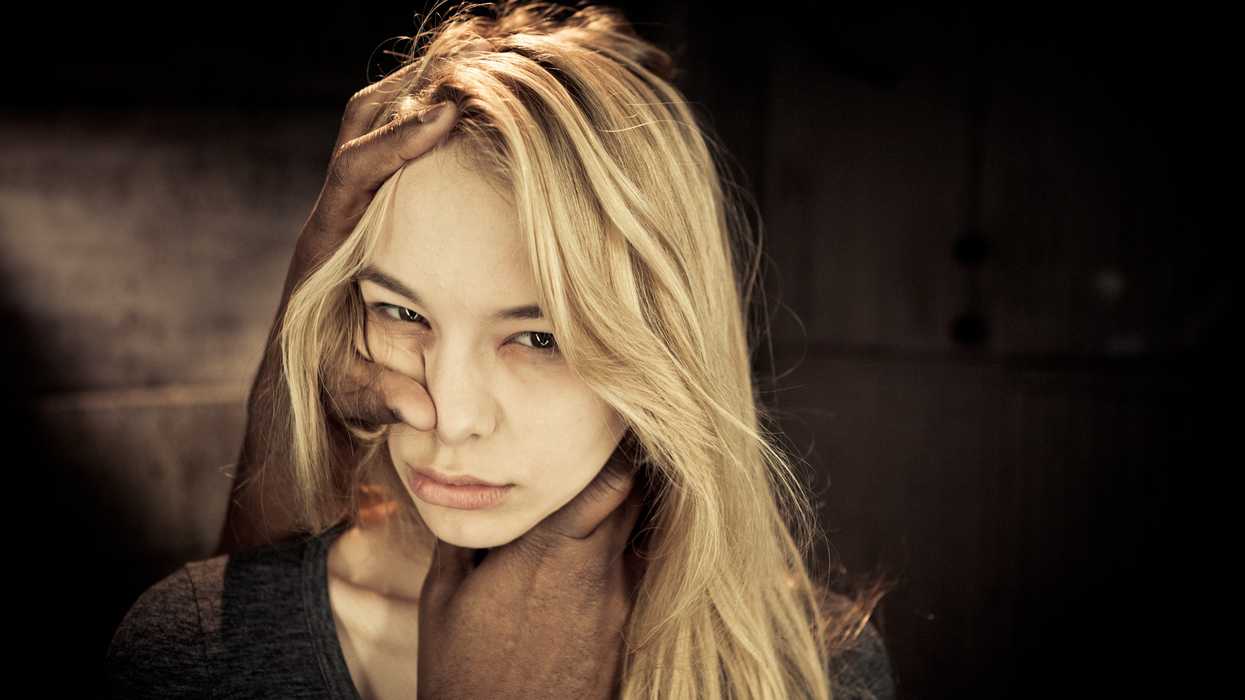
To keep the framing consistent for jump cutting, all of the actors’ faces would need to be approximately in the same spot. I set the camera height to accommodate the tallest actor at 6’4’’. Then we used a series of apple box sizes to raise the shorter actors into the sweet spot of the shot. This still required some vertical framing decisions due to the variety of head and face shapes. For extreme close-ups, standard headroom is not a good guide for consistency because head tops may need to be cut off. Long and short foreheads, necks, and chins can easily confuse compositional choices. In the end, I used eyes and mouth placement as a guide to balance the vertical composition.
Color Choice and Control
Our color palette for this scene was influenced by a desire to avoid the cliché of using red or warm colors to symbolize hell. Jason, the director, wanted to create a sickly pallor on the faces using make-up, so I suggested enhancing the effect by using ½ plus green gel on the key light. Green is generally a very unflattering color on all flesh tones. I added a blue cast overall in the camera to add a sense of darkness and to avoid being so obvious with the green choice. My first instinct was to also add blue gel to the lights that illuminated the triangle pattern. However, I would lose up to a stop of light. I had already chosen T4.5 as my preferred lens stop. This stop allowed enough depth of field for the actors to move in and away from the lens slightly without losing focus. The DOF at this stop was also shallow enough to allow the background to go slightly soft since the focus mark was set at 18”. To achieve the blue cast, I set the camera white balance on preset. In the Sony F3's Picture Profile (PP) menu, I warmed up the “white” Kelvin preset number until the desired amount of blue was mixed with the green.
Lighting Choices
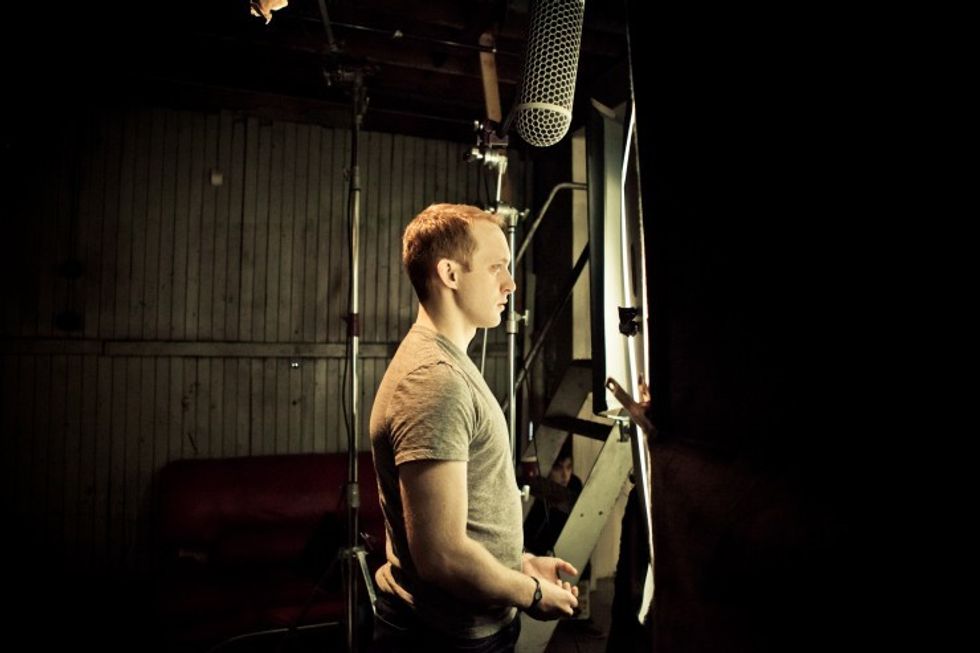
To create depth in the shot, I put a streak of light on the back wall using a 650W fresnel. I placed the angle of the light high and close to the wall, to bring out the texture of the wall. Since the light was just barely outside the left frame edge, we needed to use a half double scrim to help even out the light intensity on the left side of the frame. There was no obvious source to motivate this light, but this was already a “stylized” scene, so I wasn't concerned with “natural” lighting. I used a diagonal pattern, which creates tension and “leads the eye” back to the subject. I also added a high angle backlight (1K fresnel) to separate the subjects (especially those with dark hair) from the background. Since the actors were very close to the lens, the angle of the backlight needed to be quite steep to avoid flaring the lens. The grips used a “goal post” rig to facilitate the perfect angle placement. A “goal post” is a speed rail pipe (1 1/4” diameter aluminum pipe) with “ears” on both ends, supported by two combo stands with grip heads outside the frame line. I generally prefer this approach to rigging from the ceiling because the angle of the light can be adjusted very easily.
Toward the end of the “torment” scene (5:41), there is a symbolic transcendence from agony to hope. Knowing that Jason prefers “in camera” effects to post effects, I came up with a “real time” lighting effect that would symbolize the transition to hope without losing the presence of addiction. We hung a second backlight (1K open face) behind the original backlight. This light was set at a lower angle, just above the top of the frame line. It was powered into a 1K variac style dimmer. On a verbal cue from the director, an electrician cranked the light up from zero to full power at a modest pace. As the backlight was dimming up, two grips on either side of the subject (out of frame) slid two pieces of white foam core over the triangle pattern up to the edges of the lens.
The result had a threefold effect. First, the subject developed a halo from the intense backlight. Next, the low angle of the light created both a hard and soft flare in the lens, washing out the dark contrast of the back wall. The sliding white foam core replaced the triangle pattern eyelight/keylight and bounced lots of soft light back into the subject's faces – creating an overexposed ethereal look. Although in the final edit, the effect is not shown in real time, you can imagine the transition.
In Part 3, I will discuss some interesting non-traditional light sources used for the project.
[First photo: Actress: Emma Jane Olson Photo: Levy Moroshan]
 Randolph Sellars, Director of Photography and Filmmaker, has over 30 years of experience photographing a variety of projects in 11 countries around the world. He has shot 23 feature films, including The Juniper Tree, which was a Grand Jury finalist at the Sundance Film Festival and was singer/actress Bjork’s first feature film.


