Chances are, you've landed here because you've started to wonder why your footage doesn't look like someone else's. You've seen a commercial or feature film with a certain look that your project doesn't have, and you've asked what made it look like that, only to get the answer, "Oh, that's color grading."
Sometimes thought of as "Photoshop for moving images," color grading is the step in our image crafting pipeline where we manipulate the image to make it look a certain way. It's a vital step of almost every single video, and understanding it is going to help you craft more compelling images.
Why do you need to color grade?
Some people wonder, "Why do you even need to do a color grade? Why doesn't the camera just look perfect when you shoot it?"
Well, there are two big reasons for this. The first is technical. You want a camera that is exposing for the widest range of information possible. To make it look good, you'll need to give up some of that information to focus the eye where you want it to look. You want to wait as long as possible in the process to throw that information away, so cameras focus on exposing the widest latitude possible.
 Even in film days cameras wanted to expose the widest latitude possible.
The second reason you have to grade is artistic. It turns out that not everyone agrees on what "looking good" even means, and it's not going to be the same for every project.
Your thriller film might want less color and a cooler look, while your romantic comedy might want more saturation and a warmer look.
The camera doesn't know what type of film it's shooting; there is no "genre" setting in the menu with options for rom-com and horror. So we color grade to craft the images to be appropriate for the story we are telling in each case.
Color Grading vs. Color Timing vs. Color Correction
You might have heard the terms grading, timing, and correction applied for this process. You can even find a variety of posts revealing what each of these terms means.
In reality, they are used interchangeably. We can try to force a definition on them, but DPs, directors, producers, and post houses all tend to use them as if they mean the same thing, so it's best to treat them the same way.
In general, we try to avoid the term "color correction" since to some it implies a mistake was made that needs to be "corrected." However, the abbreviation for color grading is usually written as "CC," not "CG," since "CG" means computer graphics. So even on a project where everyone uses the term "color grading" you'll still see files like "My Movie CC" which refer to the project after it has gone through color grading.
Color timing is an older term left from the days of developing film in a bath of chemicals.
You would use a stopwatch to time how long the film was in a bath, which would affect how the image looks, hence the term "timing." Even though it's a film-specific term, you'll still hear many filmmakers refer to the digital color grading process as "timing." It's simply an accepted use of the phrase.
It would be pedantic to restrict timing to only film projects at this point since there are many other terms we use from older technology that we still use without worrying about. We still say "striking" when turning on a light, even though originally that referred only to the "strike" of an arc lamp, which doesn't apply to an LED. Language is fluid and can carry over from one technology to the next.
What is the History of Color Grading?
While some trace the history of color grading to the 1980s with video color grading tools, in truth filmmakers have been adding and affecting the color and brightness of their projects from the birth of cinema. Even in black and white projects, you could affect brightness and contrast through the time spent in the bath, with every studio having their own lab and custom processes to create signature looks. You could buy film stock in various "tints," with many films releasing with entire tinted reels. For some projects, you could even get each film frame hand-colored, though that was a highly labor-intensive process.
With the coming of color film processes, the lab became more involved, with the eventual creation of the Hazeltine, a machine for lab film timing.
The Hazeltine worked on an RGB process, with three sliders, one controlling the Red/Cyan axis, one controlling Green/Magenta, and one controlling Blue/Yellow. Your changes affected the whole image all at once, and you had to find a balance. You couldn't just lower Red, you lowered Red by adding Cyan.
It was a limited toolset, but experienced filmmakers learned to combine lighting and filters on set with the tools of the Hazeltine to craft dynamic imagery.

In the 80s and 90s, video image correction tools innovated rapidly, especially with the ability to control only certain areas of the frame. Filmmakers in music videos and commercials got excited about the power they had to control and manipulate their images and wanted to be able to bring those tools back to their feature film projects. By the early 2000s, digital color grading came to the motion picture world, and we started to see the full set of image manipulation tools available to anyone telling a story with moving images.
What Software Should You Color Grade In?
Many wonder, "Can I just color grade in Premiere? Can I color grade in Final Cut Pro?"
If you already edited your project in one of those editing platforms, and you are on a tight schedule, they have basic color grading tools that can be very useful. The Lumetri color panel in Adobe Premiere has most of the basic tools to manipulate your image, and Final Cut Pro has both the traditional three-color toolset and an innovative color board that is designed to make manipulating your images fast and efficient.

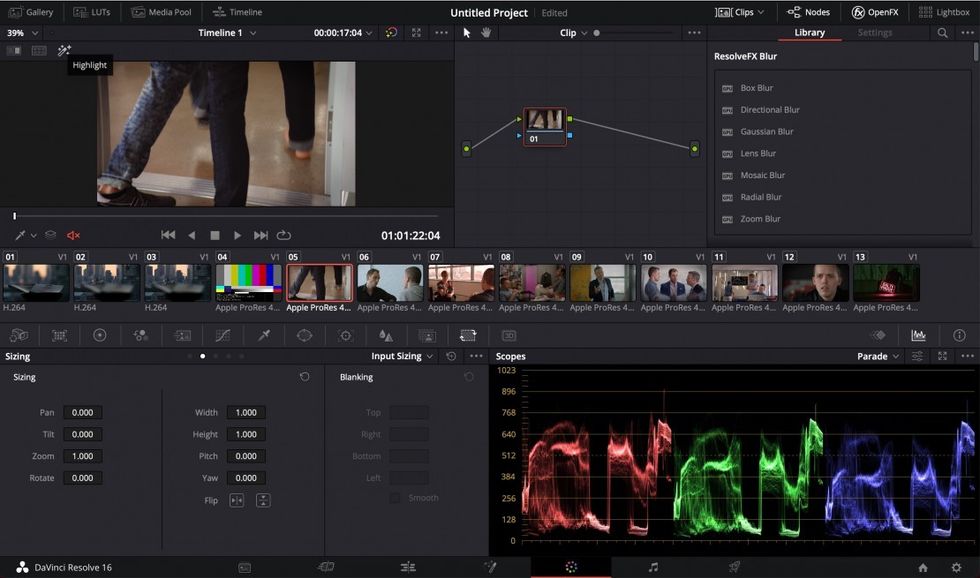
However, if you have the time to move your project over (in what is called a "handover" or a "roundtrip process," generally accomplished via XML), hands down the best software for color grading your footage is Blackmagic DaVinci Resolve.
It's free, so price shouldn't be a hurdle to moving your project over to Resolve for the final color grade.
Resolve was originally launched as a dedicated color grading program and remains at the forefront of color grading toolsets. It's used on projects all the way up to the studio motion picture level. When it comes to actually executing a color grade, it has all the tools not just to execute the grade but also to make organizing that grade easier and more efficient, which allows for greater speed and creativity.
These tools include grouping shots, building a robust array of reference stills, automating tracking, and a host of plugins all built right in. There are other color grading tools worth considering, including Assimilate Scratch and Baselight, but those cost money. It's money that might be worth it later in your career when their features offer you something Resolve doesn't, but when starting out, Resolve has everything you need to learn and execute amazing grades. All for free.
Resolve also has editing tools, so some are simply editing their projects directly in Resolve to avoid having to do a handover step at all. This is allowing some projects to do a color grade, then keep editing, then color grade, then edit, for a more fluid and iterative workflow.

Resolve is also aggressive in their training and certification process. If you are interested in learning how to use it, they have a dedicated training page with free eBooks and various videos, and there is a robust infrastructure of YouTube training.
In general, YouTube tutorials tend to focus on specific techniques and lack the basic introductory framework. That's where the basic tutorials from Blackmagic come in handy; they can get you up to speed with the basics of the software so that you are ready for the individual technique tutorials from popular color grading YouTubers.
Raw and Log
You might have heard about cameras that shoot in formats called "raw video" or "log video" and are wondering how those are going to affect your color grading workflow. Both of these formats work to open up a wider latitude of brightness values to be recorded on set to give you more flexibility in post-production.
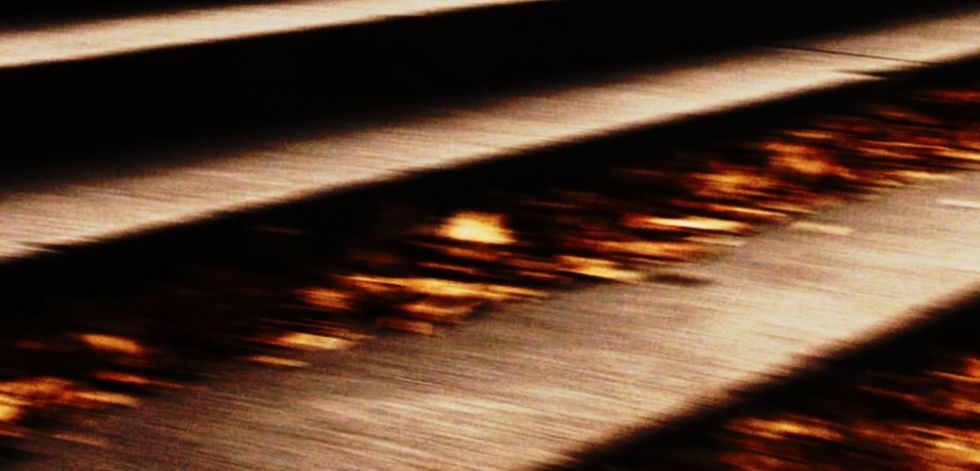
 Raw shooting often opens up a whole host of tweaks you can make to a shot in post.
Raw does this by recording the raw image data coming off the sensor, unprocessed. Most cameras take that data, process it using the camera settings (for ISO, white balance, etc.), and write it into a linear video file that leaves out a lot of picture information.
This makes for an easy workflow since linear video files are easy to work with, but also leaves a lot of valuable picture information in the trash. Recording and color grading in raw opens up a whole world of flexibility in what picture information is available to you. The tradeoff is that raw files tend to be slower to process, so you need a more powerful machine to work with them. You will also benefit from making a proxy file for editing purposes.

Log accomplishes a similar trick differently. Linear video has a certain latitude. Roughly 7 stops of brightness information can be stored in a traditional 10bit HD video file. If your camera shoots to the traditional linear video file formats, that was the most latitude you could get.
Log allows you to record wider latitude brightness data (often up to 13-14 stops) into a linear file by flattening out that brightness. Since it's a log image in a linear file container, it will look very flat (milky blacks, grey whites) when you view it, but if you bring it properly into an editing system, you'll end up getting access to the full range of data, giving you more room to color grade.
Color Management
One newer thing to understand about workflows is the concept of "color management." With the development of ACES and the evolution of color managed workflows from Blackmagic, color management is becoming almost commonplace in the industry. But what is color management?
In its simplest format, a color-managed workflow is one where you tell the system what camera and settings were used to shoot the source footage, and the system treats each shot differently because of it.
Let's say you shot half your project on a Canon R5 in C-log and the other half on a Sony FX6 in S-log3. In a traditional workflow, you would either apply LUTs to both sets of footage from the manufacturer, or you would match each shot by hand. Since both cameras have their own look or personality, this wasn't always easy.

With a color-managed workflow, you simply highlight all the footage from a camera, right-click on it, and identify the format, such as C-log or S-log3, and the software "manages" it into a common color space. Now, there are still going to be differences in how the images look. No color management is perfect, but the footage should behave in a much more similar fashion, making matching between cameras easier.
Color management also comes into play in the exports as you can color manage the individual exports you are creating for a theatrical release, streaming release, or even old-school formats like Blu-ray.
Dark Footage and Noise Correction
One of the most common questions about color grading is what can be done with dark footage that was underexposed when it was shot. Maybe the scene itself was too dark, such as a night exterior. Or maybe the settings on the camera were wrong. But the footage is too dark, leaving it hard to see important detail.
Can color grading fix that?
 Some video noise, which you often get when lifting a dark shot, which can be fixed with noise correction.
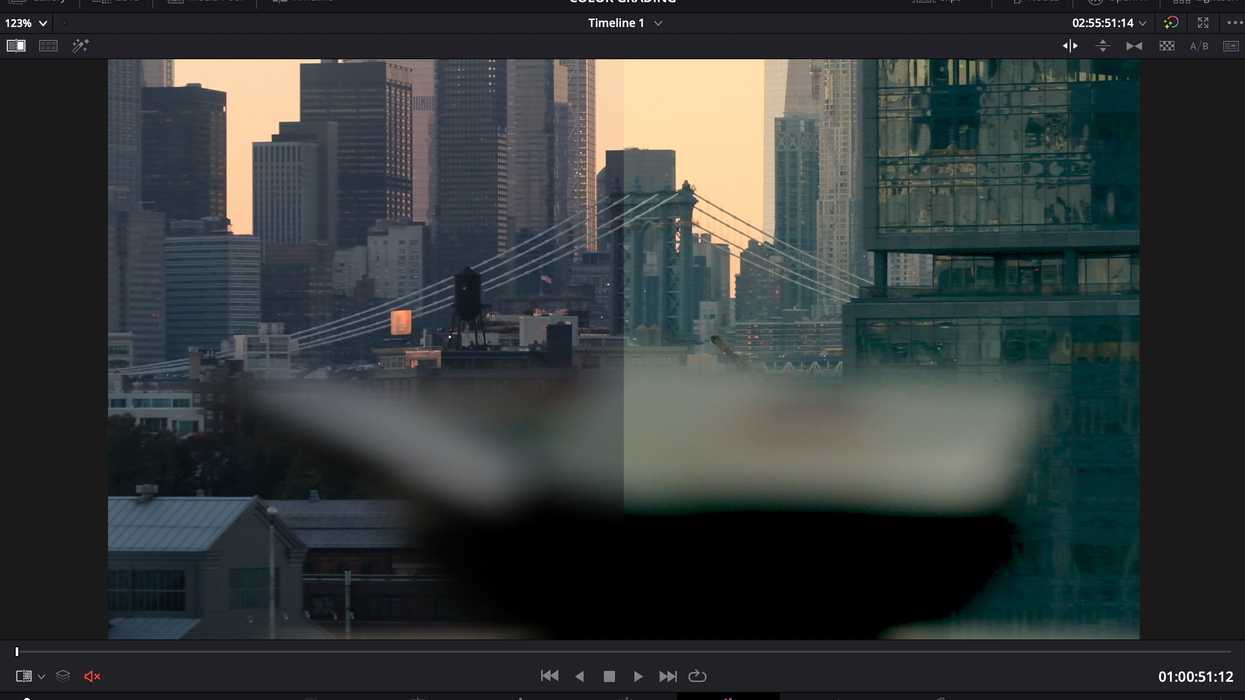
Depending on the footage and how badly it was underexposed, often there is a lot you can do. While you might be tempted to simply brighten the whole frame, with underexposed footage it is often smarter to lift the brightest areas of the frame (your highlights) and your midtones (the middle parts of your shot in exposure) up, while leaving your shadows in place. This can help bring useful picture information out of the darkness, while still leaving a pleasing image.
However, there is one primary drawback to most dark footage, and that is digital video noise. At the lower end of the exposure spectrum, digital video picks up a lot of noise, those dancing dots and flecks that cover footage. While gentle noise can be pleasing in many cases, heavy noise is distracting to an audience, and as you brighten dark footage, you often get a tremendous amount of digital video noise.
This solution to this is some form of noise correction. DaVinci Resolve has a built-in noise corrector if you upgrade to the $299 studio version, but you can also purchase third-party noise correction tools from Neat Video, Magic Bullet, and more. If you have a project where you ended up with shots that are darker than you hoped, chances are noise correction will be part of the process of fixing it.
Conclusion
Color grading is absolutely a vital step in the process of achieving everything you could want to do with your footage. Even if you don't want to become a colorist yourself, learning the basics of color grading will make you a more informed client when hiring a colorist in the future to do a grade on your footage.
Gaining basic color grading knowledge can also help you do a quick and dirty grade on small projects where bringing in a colorist might not be possible or necessary. Mastering color grading can take years, but hopefully, this is a good start on your journey of understanding what color grading is all about.


