Beginner's Guide to DaVinci Resolve 9 and Blackmagic Cinema Camera RAW CinemaDNGs

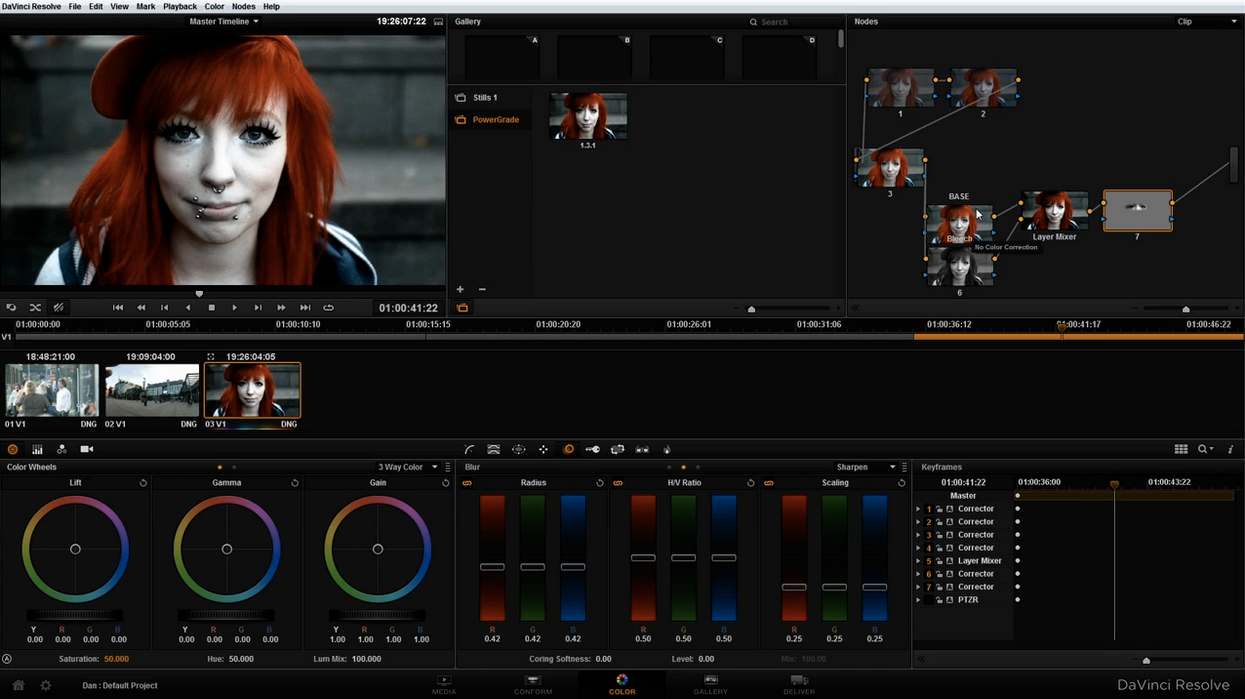
With the Blackmagic Cinema Camera just on the horizon (sooner rather than later, hopefully), one of the big hurdles for many people is trying to understand the new RAW workflow with Cinema DNG files. Since the camera includes Blackmagic's color grading suite, DaVinci Resolve 9, the RAW files can be brought into that program and then converted into something with a more manageable bitrate and color space for editing purposes. Colorist Dan Moran over at Philip Bloom's blog takes a look at DaVinci, and gives a nice and simple tutorial to get you started working with and color grading RAW files.
Since I can't actually work with Resolve yet (my computer refuses to run it), it's great to get these really simple tutorials to learn the software. Some of the techniques are applicable to any color grading program, but it's usually the interface that takes time to learn. I doubt the girl in Philip's review ever though she would get this much exposure, but she is certainly an interesting test subject for trying to pull a color mask, especially since there are such definitive separations between the different layers in the image.
Comparing the before and after too frequently can end up with very saturated images, and it's something that I've definitely done on more than one occasion. In the end it's all subjective, so while the original image may seem washed out compared to the final image, it may not fit into the look of the entire piece. For those wondering, Dan also mentioned the computer he is using on Twitter, and it's simply a PC with an Intel i7 processor, Nvidia 680 graphics card, and 32GB of RAM.
For those who haven't used Resolve, was this tutorial from Dan Moran helpful? If you've never tried it, you can download the Lite version of Resolve right now by heading on over to the Blackmagic site.
Links:
- DaVinci Resolve 9 Lite -- OSX
- DaVinci Resolve 9 Lite -- Windows
- Dan Moran -- Digital Colorist
- Getting started with the Blackmagic Camera raw in Davinci Resolve -- Philip Bloom


