Using light leaks to color grade your film can be a fantastic way to give your footage a dynamic, custom look. It's compatible with every video editing suite you've ever worked with (Premiere, Final Cut, Avid, etc.). Simply import them in and layer them on to add that extra depth.
How do I use light leaks?
Light leaks are surprisingly easy to work with. All you have to do is layer your light leak element above your footage in your NLE timeline and set your blending mode to either Screen or Add. The Screen blending mode will add the light leaks into your scene in a more “natural” way, while the Add blending mode will create more of a glowing effect. Screen mode works perfectly 90% of the time.
It’s best to add light leaks in post so you have more control over the final image.
This tutorial explains how to use light leaks in Premiere Pro:
Not all light leak elements start and end on a completely black screen, so you’ll probably want to add a small cross dissolve at the start and end of each clip. A simple transition of around three to four frames will do nicely. This will make the light leak less abrupt in your video (unless that’s the look you’re going for).
What can I use light leaks for?
1. Adding ambience
One of the most popular uses of light leaks is as an ambient element that gives footage the appearance of authenticity. While you could try to shoot a live light leak on set, it’s best to add them in post so you have more control over the final image.
Light leaks may have started out as tools for giving videos a vintage look, but their application has expanded over the last few years. It’s not uncommon to see light leaks used in modern indie films, wedding videos, lifestyle documentaries, or product demos. By simply overlaying a light leak into your project, you can dynamically change the look and feel of your video.
2. Overlay transition
Another great way to use light leaks is as an organic transition. They’re a great substitute for your NLE’s built-in transitions. My favorite way to use light leaks as transitions is to find the point of greatest brightness in the transition and set an In point. Once you do this, you can easily drag the clip into your timeline at a transition point and drag out the In point to include the beginning of the transition. If your light leak doesn’t take up the entire frame with brightness, you can add a quick cross dissolve to smooth out the transition.
3. Luma matte transition
One unconventional way to utilize light leaks is to use them as a luma mask to reveal a clip. This can be an interesting way to transition between two clips. The best way to do this is to use After Effects, but you could hypothetically use Final Cut Pro, Premiere, or Media Composer to pull off the same technique.
Can I customize light leaks?
Light leaks are incredibly customizable. For example, if you were working in After Effects, you could add the Hue and Saturation effect to change your light leak from orange to blue. If you’re working on a wedding video, you could use a tint effect to turn your light leaks black and white.
Where can I find the best light leaks?
The best place to find professional light leaks is the Illuminate pack from RocketStock.com. Illuminate includes 120 4K light leaks that can be dropped into any video project. Unlike other packs on the market, Illuminate comes with different styles of light leaks. The pack is broken up into two categories: ambience and transitions. The light leaks are also broken up into three styles: Modern, Vintage, and Sci-Fi, each with their own unique look.
Check out this quick video of the Illuminate light leaks pack in action, and then head over to RocketStock to learn more:
Ever think that in 2024 we'd have a beautiful, black-and-white slapstick masterpiece about a guy and his Loony Toons-esque vendetta against hundreds of beavers portrayed in goofy, straight-forward beaver mascot costumes?
I sure didn't, but I've never been so delightfully ignorant.
Mike Cheslik's Hundreds of Beavers is a beautiful anomaly of a movie made with his long-time high school best buddy Ryland Brickson Cole Tews in the leading role. From their personal history, to the conception of the project, to utilizing savvy indie filmmaking techniques to their fullest extent Hundreds of Beavers is a pipe dream for anyone who's ever wanted to make a movie with their friends and have it really take off. It doesn't hurt that it's truly independent through and through.
Below, Mike dives deep into his filmmaking origins, breaks down the art of slapstick comedy, and most importantly, explains how they pulled off those titular "hundreds of beavers" visually.
Editor's note: the following quotes have been edited for length and clarity.
The Secret Origins of Mike Cheslik, Filmmaker
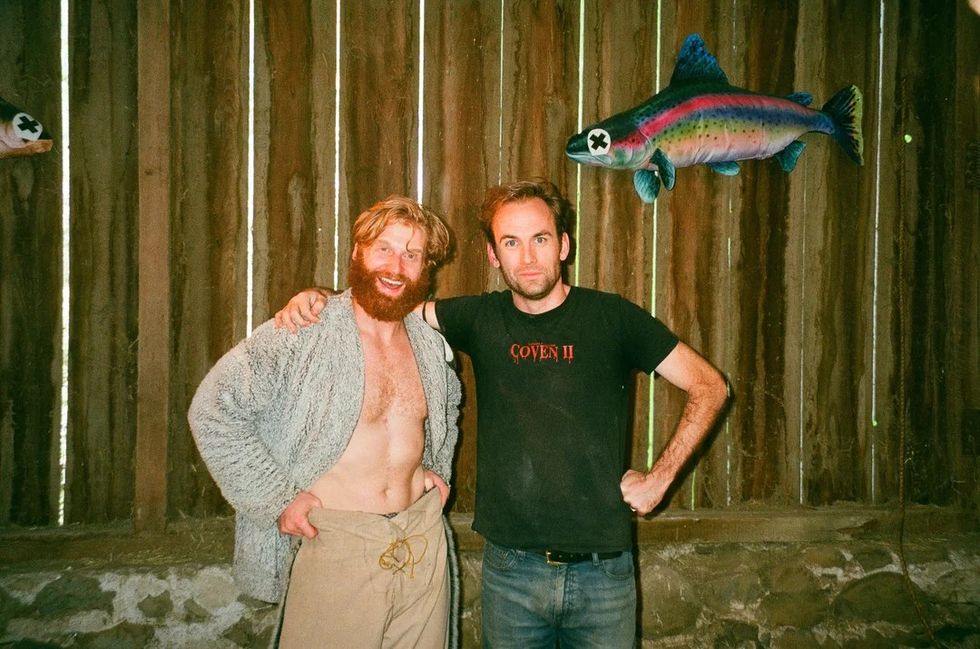
Ryland Brickson Cole Tews (L) and Mike Cheslik (R)
Courtesy of Hundreds of Beavers
"I started to make videos in high school when it was MiniDV.
I graduated high school in 2009 in Milwaukee where I met [Hundreds of Beavers lead] Ryland [Brickson Cole Tews] and the principal hired us to do a video promoting our school for the open house night for parents, and we just filled it with a bunch of visual gags and jokes. It was like seven minutes, and then we got a bunch of laughs from all the parents that went that night, and we really enjoyed getting laughs for the video that we made together.
I went to NYU at 18 and he went to University of Wisconsin-Milwaukee, but we continued working together. I made a few films at school and then after college we did a show called LIPS: The League of Interplanetary Process Servers that was half live action, half animation, really simple crude after effects animation, probably inspired by Adult Swim stuff and Adventure Time.
We tried to fill it with jokes. I spent a little time trying to sell that show, trying to sell the pilot we made to a real studio, and it was just kind of a waste of time. And while I was driving around LA trying to sell that, Ryland just started shooting a movie called Lake Michigan Monster and started sending me footage. Then I started editing the footage, and by the third act I was more involved and we did this whole storyboard and sequence for the end of that movie, which turned into a dry run for Hundreds of Beavers, our second feature and my directorial debut."
Crafting 'Hundreds of Beavers' From Concept to Reality
"It starts as gags on note cards the same way you'd have written ideas on note cards just being moved around this big Joseph Campbell structure of "guy thrust into wilderness learns to survive, learns to become a master fur trapper and catch hundreds of beavers", and then the beavers get their revenge in act three.
That basic structure is super simple with a mentor figure and a love interest. That is how all of the gag ideas are hung on that simple structure. And we just spent months moving the gags around to get the runners working and have all the runners kind of dovetail. And then we had a big grid for the second act that was like the 12 stops in the trap line and the five loops that he makes around the trap line, each item he gets affects each location. So it's like every row is a physical principle of the location and every column is the new item.
He gets on that loop and then drawing 80 gags or whatever from that. So it was a big crossword puzzle. It was like writing a crossword puzzle, and once all those gags are in place for the structure as simple little note cards ideas.
Then I did the actual storyboards in Storyboard Pro, which is a pretty standard storyboard software for an animation pipeline. You can print Storyboard Pro storyboards into a PDF that you take on set and you check off the shots as you shoot them, but you can also export it into a QuickTime that you lay down in Premiere Pro and sync to music.
So the timeline for Hundreds of Beavers began in writing, and that same timeline took us all the way to the end of the film, and we were just dropping the effects elements onto the animatic as we went, keeping the same songs in most cases. And so the entire shoot less than covering scenes like a normal movie, it was a slowly collecting effects elements. It was just a very long, tedious scavenger hunt for effects elements to drop on Animatic."
The Power of a Well-Executed After Affects Workflow
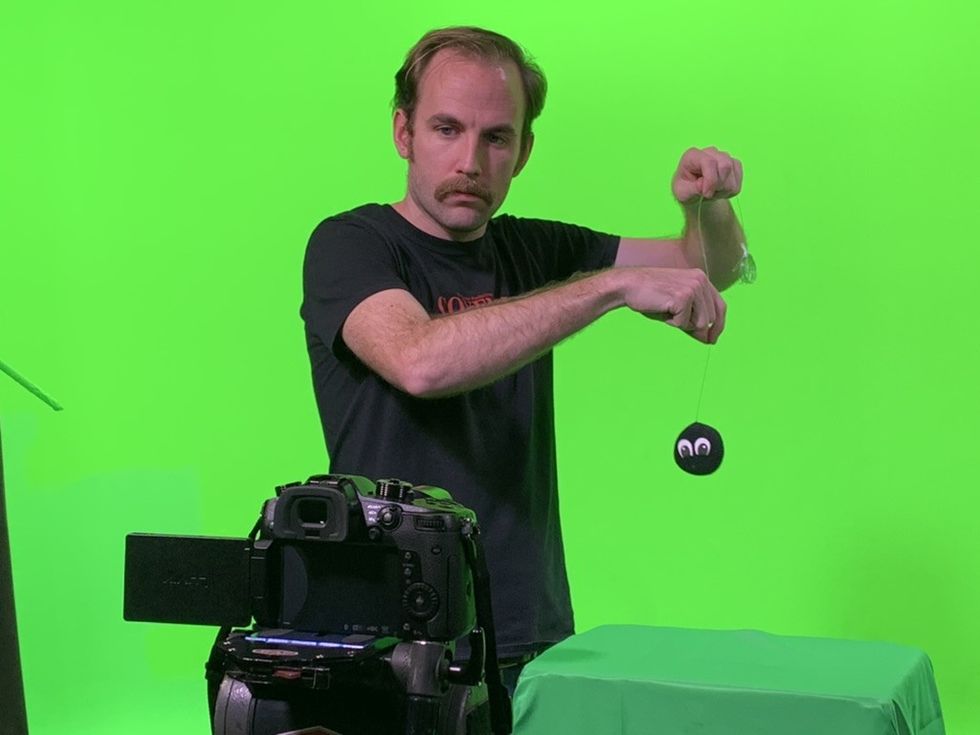
Mike Cheslik comping for Hundreds of Beavers
Courtesy of Hundreds of Beavers
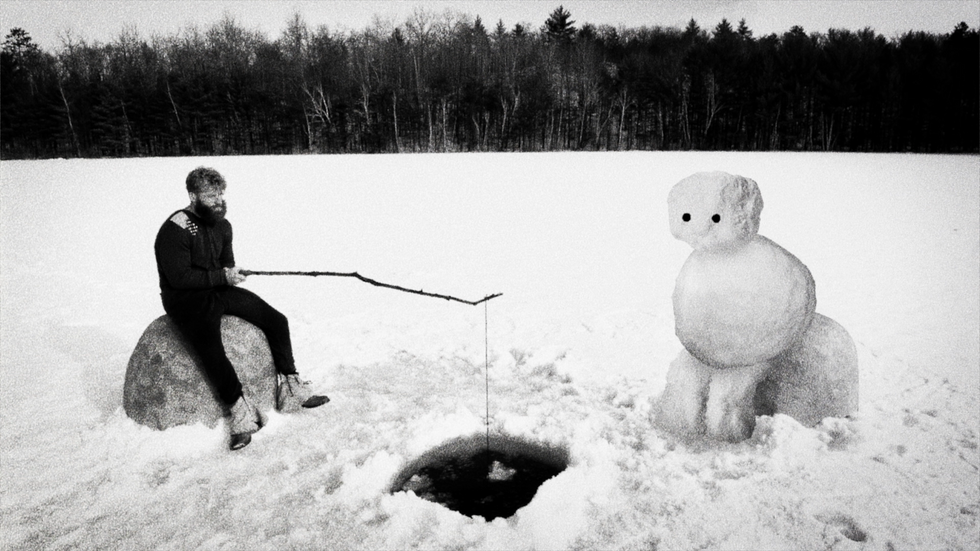
"Very little was built. It's all After Effects comps with Shutterstock elements. The only thing that's real is the cabin is a real historical cabin, and then there was just the little oak arena of time.
The merchant stand was built by Ryland's dad and placed in front of a real cabin. Other than that, I don't know how much we built. I mean, my buddy's barn becomes the fight interior where Ryland gets chained to a table. But the art there is, we put some fish on the wall and we put up a quilt my wife made, and then we lugged a table in there. It's not a ton of set design. It's mostly After Effects comps.
My shoddy comp work being hidden by the grainy black and white, that aesthetic of doing grainy black and white on Lake Michigan Monster and Hundreds of Beavers. I really think if you don't have much money, you should just steal that because you can make a big crazy image without having to achieve a high quality visual effect.
You just get the audience to accept that. It's just going to look kind of shoddy up front and just say, nah, this is a punk. This is a punk lo-fi look. This is our style, man. But actually it just allows you to make stronger images quickly. And then we're not limited in writing. We know we can do anything as long as it fits into the parameter of it's just Ryland and mascots, and we have three days on set with the other actors.
But other than that, it's like 12 weeks of mascots and Ryland in the snow and on green screen. So any idea we want to have within those limitations we can achieve with our silly look. So I don't know. I think the grainy black and white thing that could become a whole look the way that we would always say an indie game, so many of them are pixel art because that's a style that a team of two can achieve all their biggest ideas if they stick to pixel art instead of trying to make a more sophisticated aesthetic.
It was like 1500 after effects shots over the four years. And sometimes the first element for a shot would come in, I would do a temp version, and then two years later, the fish element or whatever would come in and I would add that.
We shot I think it was 12 weeks, nine of which were winter exteriors, and I then I just had this [post production] project going for four years—five, including the release and just not updating Adobe or my operating system that entire time."
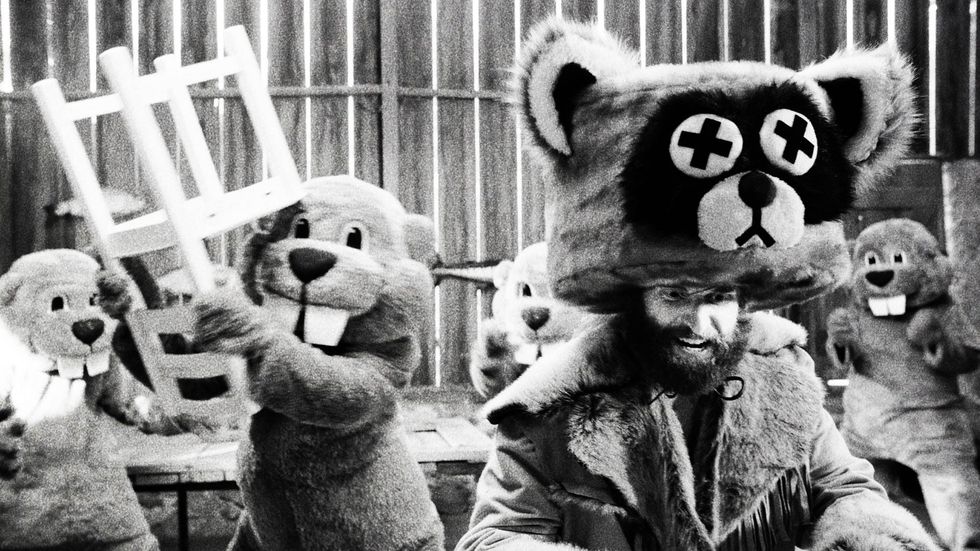
How Did They Craft All Those Beavers?
Hundreds of Beavers
Courtesy of Hundreds of Beavers
"Just bought them online. I mean, we added the second tooth. Everything is pretty much just ordered on Amazon. Some props were made, oh, we need a wooden fish. And then Ryland's dad would make it. We went to a real guy for the rocket miniature, but most of these things are pretty handmade or bought offline. It's very simple. I mean, all the effects are me just downloading Shutterstock images and comping them in really simply.
[There were just six beavers] and then I had just seen a Lord of the Rings special feature where they just duplicated a group of three. You don't want to duplicate one subject a hundred times, but if you have a little group that makes it a lot easier, and then they're bumping into each other, so it just adds a little realism to it."
The Art of Slapstick Comedy
Hundreds of Beavers
Courtesy of Hundreds of Beavers
"I think there should be a bedrock of the straight world, like Monty Python and the Holy Grail. They actually did try to make a nice looking medieval setting without a lot of money. They tried their best to establish the straight world.
The Naked Gun movies have a real professional crew doing their best to have the aesthetics of a cop show or a cop movie, and then the music is straight. It's from the Dick Wolf library, and that's what Monty Python and the Holy Grail does too. There's very straight music, and then you want your one joke happening at a time in an otherwise straight, logical world. And then clarity, just making sure that all extraneous information is removed from the frame so that you have a really clear joke and then you want your setup should be straight, and then there should be a hard turn into the joke.
In Ryland's case, we also crafted his performance. He's a puppet where he just has to hit communicative poses one after the other and kind of pop and log through them the way that to share up a food egg would where he is just using his whole body. He's very quickly demonstrating one emotional beat after another, and he's like an editor's dream. He gets through those. So physically and quickly."
Mike's Story-Driven Advice To Filmmakers
Hundreds of Beavers
Courtesy of Hundreds of Beavers
"I think you need to entertain an audience and start with that. And I think a movie should have a strong dramatic question that heightens, and it should be a question with a definitive answer. Is the steam roller going to crush the guy? And that could be the whole movie, and it has a definitive answer where either it crushes him or the steam roller is destroyed, and then we know that's the end.
You need a physical dramatic question that can play out visually, and I think you should have shots with more than one thing in them, not just singles of people talking, but I think a shot should have two people or a person and an object or show the spatial relationship between two things. And I think that the story, the goal and obstacle should play out physically. Even if you do have dialogue, it should still be playing out onscreen visually.
And I think if you want to do bigger, crazier things, you should pick a lo-fi aesthetic and let the audience know right away that's how it's going to look, so that their expectations of realism are set at zero and you can have bigger, crazier ideas."
Hundreds of Beavers is now available to buy and rent digitally.