How to Make Your GoPro Footage Look More Professional and Cinematic
You don't need a big, fancy camera to make your work cinematic.
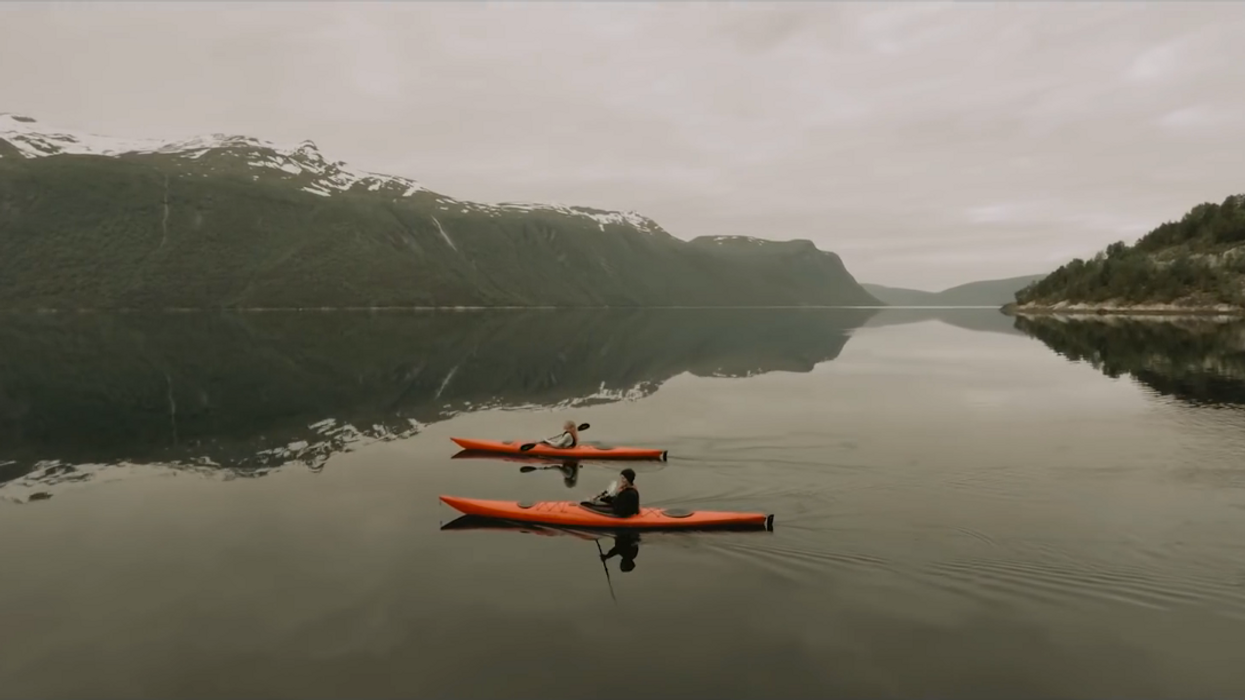
Every filmmaker wants their projects to look cinematic, but that's easier said than done. Though a lot of work needs to happen before you ever set up your camera, there are ways to get the look you want once you're in post. In this video, Matti Haapoja of TravelFeels takes you through his workflow of putting together sequences in Premiere and After Effects to produce cinematic GoPro footage. Check it out below:
For his video, Haapoja utilized the Phantom 2 drone with the GoPro HERO4 action cam, both of which are earlier iterations and cost about $300 each. Instead of shooting with top-of-the-line camera equipment, Haapoja relies on plug-ins and LUTs to give him the look he wants.
Now, I know what you're thinking—having a "fix it in post" mentality can lead to trouble. You're right; you should always do your due diligence before editing starts. But if you're in a pinch—or even if you just need to add a little extra something to your footage to make it pop—plug-ins and LUTs can oftentimes be just the thing you need. (You can find both online, oftentimes for free.)
Haapoja adds several effects to his sequence in After Effects, including LUTs, a stabilizer, as well as a denoiser to reduce any noise in the footage. But perhaps the most important thing he does is alter the images' field of view using a lens distortion effect, which counteracts the wide angle look that you typically see in GoPro footage.
Of course, there are so many different ways to make footage look cinematic, most of which need to happen before you ever turn on your camera (like lighting, costuming, and composition; camera movement also plays a huge role). However, Haapoja's video provides a relatively simple workflow to follow for those who either don't have one or don't like the one they have. As you go, you might find other tricks and techniques that work better for you.
Source: TravelFeels