Understanding Lighting Ratios: What Are They and Why Do They Matter?
What are lighting ratios and how can using them make your life on set easier and more efficient?
Unless you're a professional or formally trained filmmaker, you might not be very familiar with lighting ratios. Now, don't get scared off by the mathematical term—this concept is actually pretty simple to understand and can really help you previsualize and plan your shots to get the exposure you need. In the video below, Jay P. Morgan of The Slanted Lens provides a useful overview that not only breaks down the basics of lighting ratios, but also shows you how to use a light meter to find them. In the video, Morgan uses the Illuminati meter that we recently reviewed.
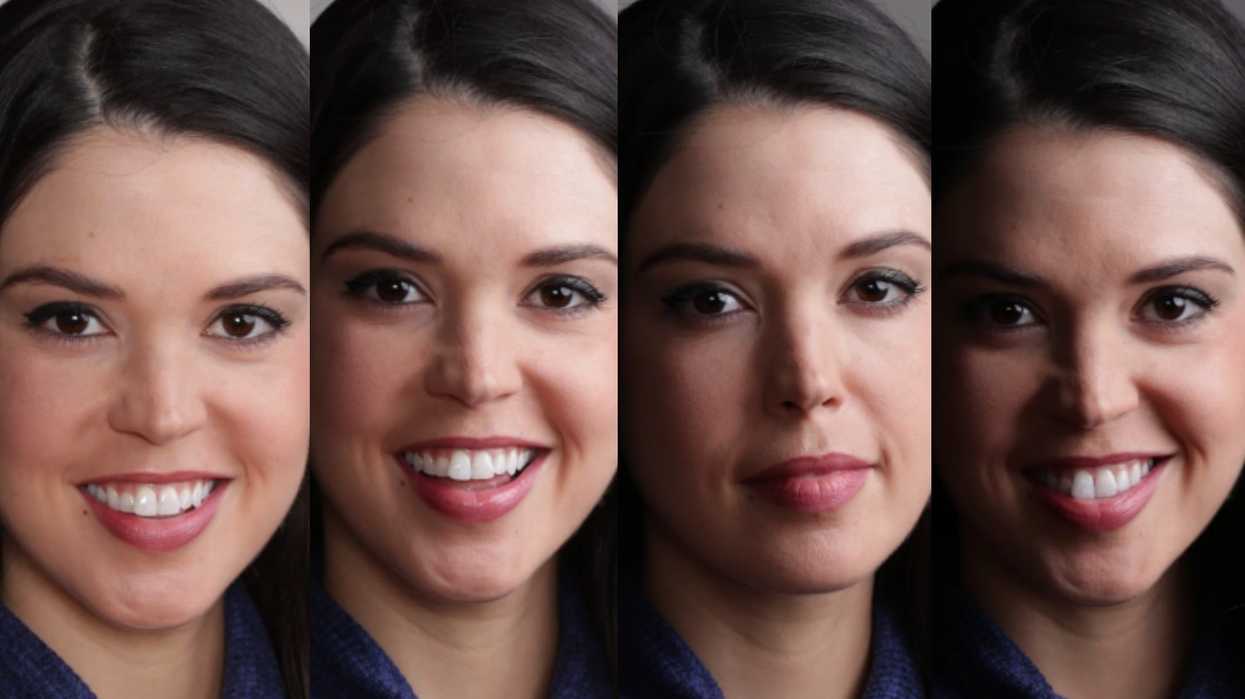
Pretty simple, right? A lighting ratio essentially expresses the relationship between the antecedent, the "highlight/key side" and the consequent, the "shadow/fill side" of your subject. The higher the ratio, the higher the contrast. So, if your subject is evenly lit and exposed, it will have a 1:1 ratio, but if you've got some bold shadows going on, with the "highlight side" of your subject being one, two, three stops brighter, your ratio will be 2:1, 4:1, or 8:1.
So, what's the point of using lighting ratios? Isn't it just a lot of unnecessary work? Well, if you shoot and find your exposure manually, then probably. However, understanding light ratios can actually help you expose your image properly, as well as choose the right lights for a certain scene. For example, if you know you want a moody shot with lots of contrast and shadows, you could tell your crew that you're going for a 8:1 light ratio. Now that everyone's on the same page about how much contrast and shadow you want, they can choose the right lights and modifiers to create the scene (likely a powerful key and a reflector—probably no need for a fill light).
Source: The Slanted Lens


