5 Things That Will Help You Record Audio That Doesn't Totally Suck
If you're a filmmaker who gets completely lost when it comes to audio, you're not alone.

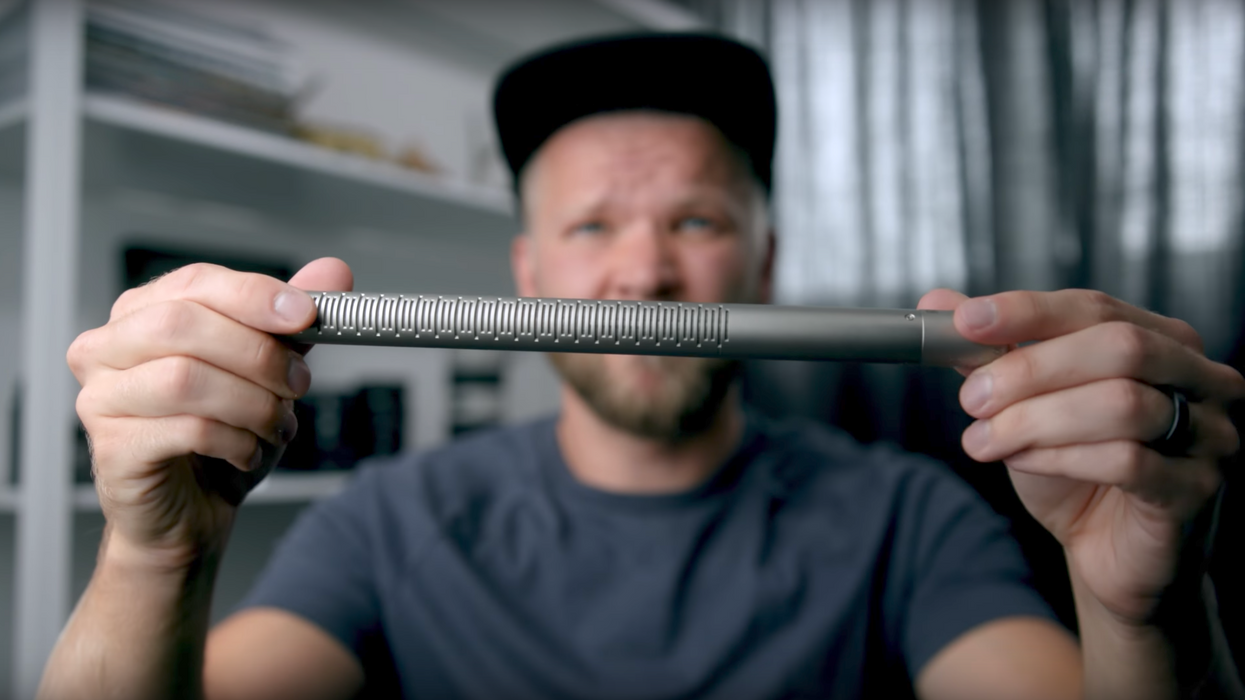
Most of us got into filmmaking because we wanted to tell stories with beautiful images. That's not really news to anyone. However, there's the visual side of cinema, which is important, and then there's the audio side, which is arguably even more important, and the unfortunate thing about is many new filmmakers don't know a whole lot about how to record great audio. If that's you, you might want to take a look at this video from Matti Haapoja of TravelFeels. He admits to not being much of an "audio guy," but provides some really simple, really basic tips that can help you get better sound without knowing much about it.
I'll be the first to tell you that if you want to be good at something, you have to learn everything you can about that thing. However, I've tried for well over ten years to understand audio and, like chemistry (which I failed miserably in high school), I just don't f**king get it. Sorry about it, but I don't. That's why I need clear and simple directions on recording that don't require me to know much about how sound works.
So, here are the tips Matti talks about in the video, which are, yes, super easy to understand and super easy to apply.
- Use an external mic: Do not use your camera's onboard mic. It's total shit. Trust me. Get yourself a shotgun and/or lav mic and a boom pole. You don't have to break the bank, but expect to spend a few hundred dollars on a decent unit.
- Choose the right mic for the location: The kind of mic you use depends on a few different factors: location, type of scene, type of audio being recorded. Lavs are great for interviews and wide shots (and other shots in which a boom operator would be visible). Shotguns are good for just about everything else.
- Get your mic as close to the source as possible: When it comes to audio, the closer you get your mic to the source the better. Just make sure your boom isn't in the frame! Also, don't forget to point your shotgun mic in the direction of your source.
- Try not to go over -12dB: You really have to watch out for clipping, which is when your audio signal goes past an amplifier's limit and the sound wave basically gets its head cut off, resulting in distortion. And distortion is (almost always) bad.
- Make sure you're monitoring your audio: Look, I know you're super focused on the visual aspects of your film, but you really have to give some attention to your audio, too. Whether you get a friend to monitor for you or are able to hire a pro, get some ears on that audio to make sure it's sounding great.
A few other easy things I've learned on my misadventures with recording sound are:
- Using good handheld recorder with XLR ports allows you or your sound recordist to go where they need to go without being tethered to your camera. Yeah, you'll have to sync your audio later in post, but it's usually worth it. (I've had my Zoom H4n for years and it's still a beast.)
- Blankets and mats are pretty damn effective at cutting down on echo and reverb. You can throw down some heavy mats on surfaces like wood, cement, tile, or marble floors, and even hang up blankets around your set if you're shooting in a big open room.
- Don't be afraid of ADR (automated dialogue replacement). Also called looping or dubbing, this process seems a little scary because having your actor re-perform their lines over their previously recorded scenes can be awkward and messy and not look or sound natural. However, after a little bit of practice, your actors will most likely get the rhythm and delivery right. Besides, slightly off ADR is better than unusable audio anyway.
What are some other audio tips you can share with mega ultra audio noobs like me? Let us know down in the comments.
Source: TravelFeels


