LUT Video Guide: Learn What Looks Can and Can't Do for Your Images
LUTs aren't magic. They only enhance the magic you've already created.
LUTs can be powerful tools to use when calibrating a monitor or grading your footage, but many new filmmakers aren't quite sure what they are or what they're limitations are. Many beginners I've talked to think of LUTs like they do an Instagram filter: they make a boring image awesome by giving it a vintage, vibrant, or dynamic look, but that's not really the best or most mature way to approach applying these things to your footage.
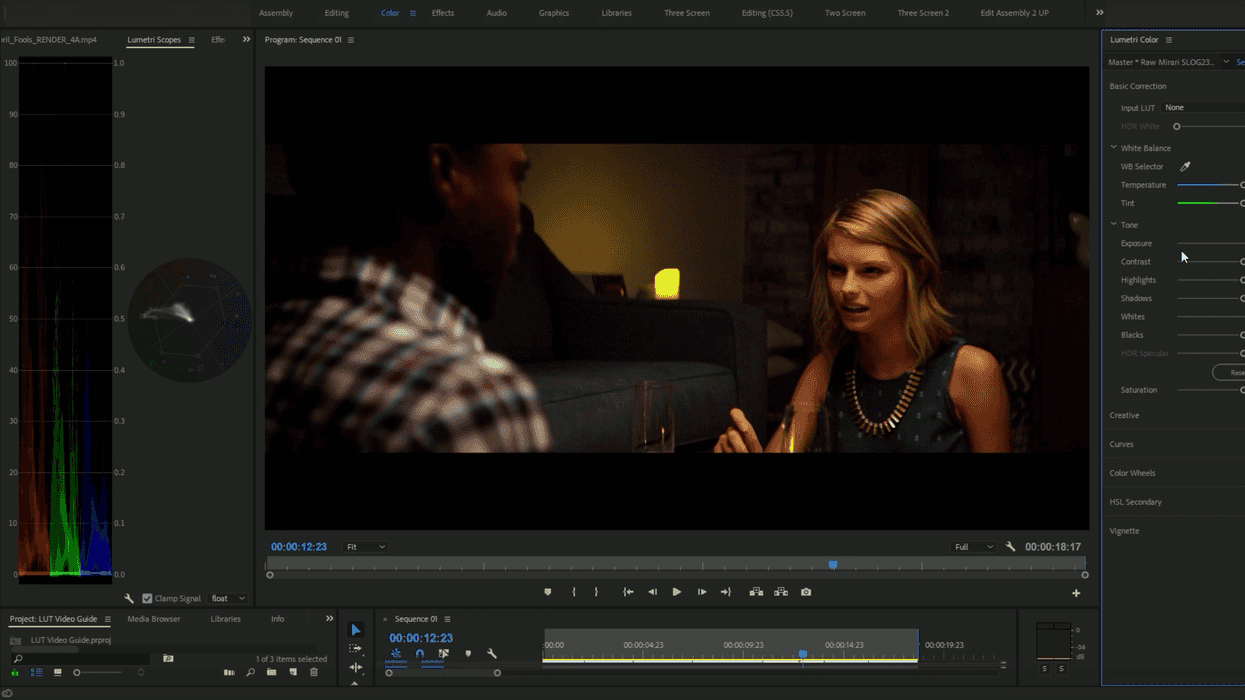
In this video, colorist Casey Faris goes over some LUT basics, explaining what they are, how they work, and how they can be used properly to enhance your footage. Check it out below:
At the beginning of our careers, most of us have applied LUTs to our footage with reckless abandon, not understanding their purpose in full while turning our films and videos into over-graded messes. This is why it's important to know exactly what LUTs actually do because they're not magical drag-and-drop assets that somehow make your work look good or more cinematic. In fact, Faris and the team over at Ground Control, which provides camera-specific LUT packs, made an April Fool's Day video this year satirizing this popular misconception.
You have to approach adding LUTs to your footage like you would working with video or audio in post-production: garbage in, garbage out. If you import bad (over/underexposed, grainy, poorly composed) footage or bad audio (noisy, muddy, crackling) into your editor, you're not going to be able to magically make that media better with a few post effects. Those tools are meant to enhance your media, not upgrade it.
So, if you have to be sure to light your scenes well, stabilize your footage (if you want it smooth), add camera movement, compose your shots, and do all of the other important and necessary things that make a film cinematic. A LUT is the Holy Fixer; its powers are limited. You have to make sure that you're shooting the best footage you can in order for a LUT to have a positive effect on your work.
Source: Casey Faris