Tutorial: The Beginner's Guide to Shape Layers in Adobe After Effects
Cut through the confusion and take control of your shape layers.

If you’ve ever worked with a shape inside of Adobe After Effects then you’ve no doubt had some confusing moments. The layout of a shape layer isn’t exactly intuitive. You can easily lose track of a shape in the sea of groups, paths, attributes, and transform properties. Understanding how these layers work will help you master how to use them.
You can create a lot with these colorful little vectors, including dynamic transitions, colorfully animated backgrounds, and motion graphics elements for a lower third. Turn masks and text layers into editable shapes for some versatile and dynamic options in post. You can even harness the power of the Adobe CC family and import Illustrator layers as shapes.
This tutorial is targeted at folks who have little to no experience with shape layers. Maybe you use shapes from time to time, but you just can’t seem to figure out how to apply a stroke or customize a path. By the end of this article, you will feel comfortable creating and manipulating shapes inside of After Effects, allowing you to focus on the creative side of your project.
Let’s get started.
The Building Blocks of a Shape
To understand a shape layer, you first need to learn a few of the fundamentals.
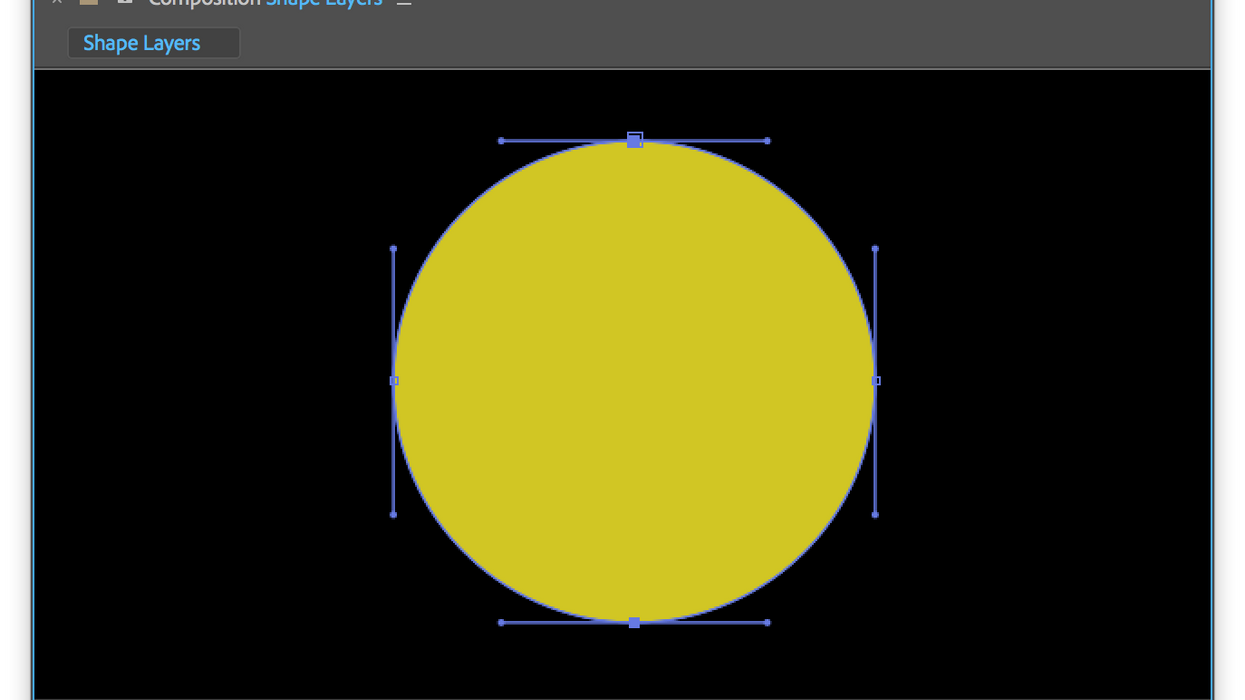
At the most basic level, an After Effects shape is a vector graphic made up of vertices and segments. Together, these vertices and segments create paths. You can add, delete, and edit vertices in the composition using the Pen tool. When you add more than one vertex to your comp, they will be connected with segments. Control how these segments and vertices connect with each other via bezier handles. To create a closed path, simply connect the last vertex with the first. Now you have an infinitely scalable vector shape.
Pro tip: When using the Pen or Shape tool, be sure that the Tool Creates Shape button is active, otherwise you'll create a mask.
Once a shape is drawn in the comp panel, a new layer will show up in the Timeline. Open this Shape layer and you’ll find two properties—Contents and Transform. Go inside the Contents to find your shape. This shape resides inside of a group, which contains all of the attributes and properties that make up the shape. Let’s open it up and have a look.
This grouping system is where most of the confusion sets in for AE users. You can see the layer’s main transform properties just below the shape’s transform properties. Sometimes it’s difficult to understand which object you’re manipulating, as each group has its own transform properties and blend modes. Let’s have a closer look at how to properly handle groups inside of a shape layer.
Stay Organized with Groups
It’s best to think of groups as comps and precomps. You can place a group within a group, and then another group within that group, and so on and so forth. To help keep everything organized, it’s good to rename groups in your shape layer. Rename these shape groups just as you would any other layer—select the shape, hit the return key and type in the new name. You can even rename any of the attributes within the group, including the Path, Fill, Stroke, as well as any other attribute you add.
When you create a new shape with an existing shape layer selected, you’ll simply create a new shape group within that layer. While this can be quite complex and confusing, this grouping system offers incredible versatility. In fact, each group can contain as many paths and attributes as you’d like, which allows you to create extremely complex shapes.
To help illustrate this, I’ve created a mini-universe within this shape layer. First, I created the sun and the eight planets and grouped them together in a Solar System group. Next, I placed the Solar System in a Milky Way Galaxy group. Once complete, I can now edit everything in my “universe” individually or together, all from within this one shape layer.
Understanding how the grouping system works is only one piece of the shape layer puzzle. You still need to learn how to properly work with shapes within the Composition panel.
Select Shapes with the Selection Tool
Trying to isolate and manipulate individual elements in a complex shape layer can quickly perplex even the most experienced of After Effects users. With so many assets, you can easily grab the wrong thing and mess up a graphic, especially when everything resides on one layer.
When working with a shape, it’s imperative to utilize the correct tools. You can, in fact, grab anything within the Composition panel using just the basic Selection tool (V). Select the entire shape layer, or navigate down to an individual group or path. You can even grab an individual vertex.
Pro tip: Make sure you have the Toggle Mask and Shape Path Visibility selected.
Add Attributes with the Add Menu
If you look to the right of the Contents of your shape layer, you’ll see an Add button. Here you can add a number of different attributes and properties to your shape. These include new groups, shape templates, as well as paint and path operations. Again, paint operations refer to the fill and stroke attributes, while path operations are similar to effects. Just as with groups, you can place these attributes anywhere you’d like within the shape layer, and even duplicate them with a simple copy/paste command.
The difference between paint and path operations is another point of confusion for many users, due to how they are rendered. After Effects renders paint operations (the fill and stroke attributes) from the bottom to the top. This means that whatever is at the top of the timeline will show up first. For example, if the stroke is at the top, you’ll see that first in the composition panel.
Path operations, such as Merge Paths, Repeater, and the eight other options available in the Add Menu also work from the bottom up. They affect paths above them in the same group, even groups nested within the same group. Let’s have a look at how the render order works by creating a group of stars for my Universe layer.
I can accomplish this by adding a combination of elements via the Add menu. First, I’ll create a new empty group, rename it Stars and then add a Polystar. Since I want my stars to be behind the solar system, I’ll place the group at the bottom of my shape layer. To give the stars some color, I’ll need to add a Fill attribute and adjust the color accordingly.
Next, I’ll add a Repeater path operation to create a group of stars from this one polystar. I need to place the Repeater inside of the Star group, otherwise, it will affect all of the groups above the stars. I can adjust and even duplicate the Repeater to create a group a large group of stars for my universe. Voila. My universe is now complete.
Conclusion
As you can see, shape layers are quite complex, in both how they are organized and what you can create with them. The key to mastering them is the same as with anything else—just practice using them. The more time you spend creating things with shape layers, the faster you’re going to go pro.
Watch the video tutorial in this post to find out how to enter the one FREE year of Adobe CC membership giveaway contest!


