Watch: A Step-by-Step Guide on Creating End Credits in Photoshop
Adding rolling end credits to your film isn't as easy as it seems, but here's a tutorial that will walk you through the process.
One of the best (though least watched) parts of a movie are the end credits. It's the moment when everyone who worked so hard to bring your project across the finish line swells with pride as they watch their name scrolling slowly up the screen. The thing about end credits, though, is that they can be a serious pain to create if you've never done it before. (Even if you have, it's a pretty tedious endeavor.) How do you format it? How do you make the text move? Where do you even start?
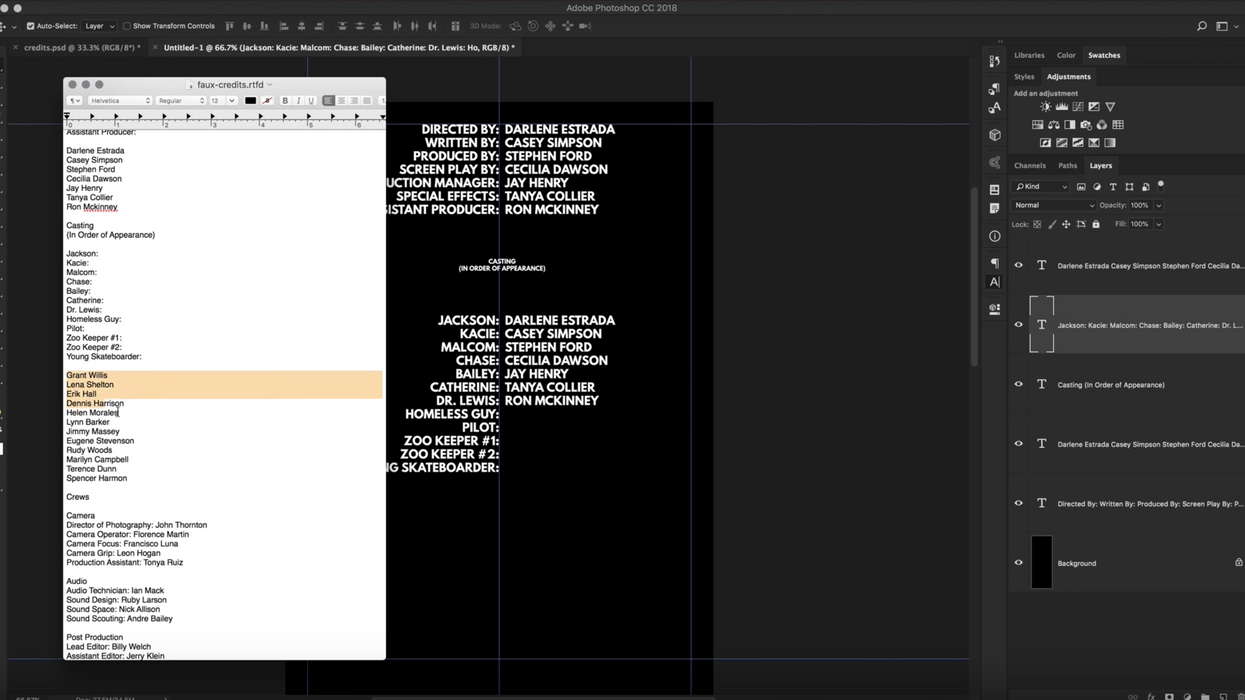
Luckily, in the helpful Photoshop tutorial, Nathaniel Dodson of tutvid walks you through the entire process of creating end credits, from setting up and formatting your layout to exporting it with a transparent background for future use.
I've tried several different approaches to making rolling end credits, including my former NLE's native end credit tools, but each one seemed either too complicated, too tedious, or too amateur-looking.
Dodson's approach is nice because you get to build your template from the ground up using only text boxes and guide layouts to complete the entire thing. If you don't necessarily like the way he formatted his end credits, no problem. You not only have the guide layout there to give you a general idea of where things can go but you also have Dodson's clever formatting tips, like how to space each section in a uniform way by using SHIFT + DOWN ARROW, which moves your text boxes down in specific pixel increments.
And finally, when you're ready to export, Dodson shows you a couple of ways to do it, whether you want to keep your black background or switch it over to a transparent one in case you or your client wants to give the end credits a different look. In the end, you've got end credits that look clean, professional, and are easy to throw inside Premiere Pro and animate.
Source: tutvid