Lighting Tips to Help You Survive Your Next Outdoor Shoot
The sun can be a wild beast. Here are a few ways you can tame it.
For some filmmakers, shooting outdoors can be a real challenge. That's mostly due to the fact that the sun, even though it's providing plenty of free, constant light, can be incredibly difficult to control. But instead of going outside like some pseudo-gothy socially awkward weirdo named V when she was 16 years old, you can learn a few easy and cheap techniques that allow you to use the sun to light better external scenes. In this video, Aidin Robbins offers up a few tips that require only a few very inexpensive modifiers, no additional lighting needed.
Modifiers
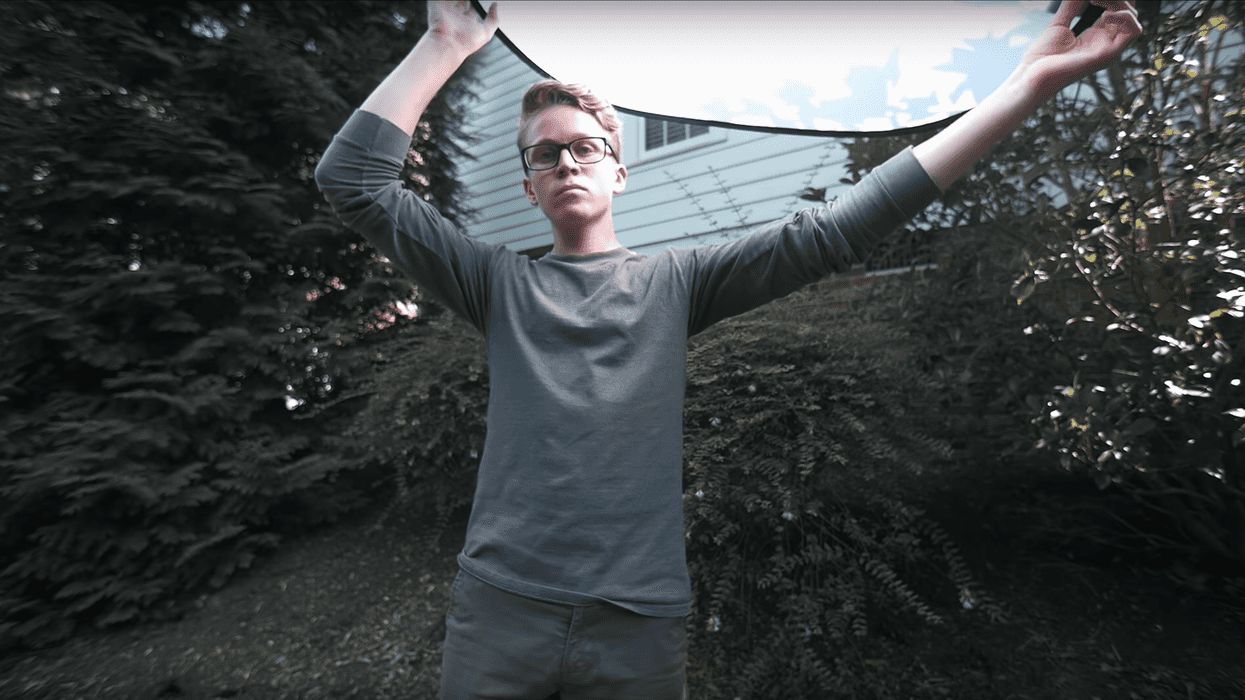
Light modifiers are an essential piece of gear when lighting a scene. Reflectors, bounce boards, silks, flags, you name it, they can all help you shape and control light on the cheap. You can get yourself a 5-in-1 reflector, which is somewhere in the ballpark of $20 to $50 depending on the size, and that'll give you, you guessed it, 5 different kinds of modifiers in one:
- White: produces soft, even, neutral-colored bounce
- Black: used as a flag to block light, negative fill
- Gold: very reflective, increases highlights, adds warmer color
- Silver: very reflective, increases highlights, no color change
- Translucent: used for diffusion
You can learn more about how to use a 5-in-1 here.
Filters
If you don't already have lens filters in your gear bag, you should definitely consider changing that. Neutral Density filters, Polarizers, and Pro Mist are so incredibly useful when you want to either reduce the amount of light that is entering your lens, soften highlights, or darken skies. If you're strapped for cash, though, and can only afford to get one, I'd say go with the ND filter. It allows you to reduce the amount of light that is able to enter through your lens, allowing you to shoot outdoors with the sun shining bright with a wide open aperture. That not only means shallower depth-of-field but also natural motion blur.
Bonus Tips
Other than buying a few essential pieces of filmmaking equipment, there are a few free things you can do to control sunlight.
- Avoid it: Seek some shade, stand under a tree, a bridge, on the opposite side of a building where the sun can't reach. If you can't avoid it, turn your subject's back to it. It's at least a little better looking than them getting blasted in the face with sunlight.
- Pick the right conditions: High noon when the sun is burning bright may not be the best time to shoot your scene. Try Golden Hour (sunrises and sunsets) when the sun gives off a beautifully soft and colorful light. Shoot during an overcast day when the clouds diffuse the intense light of the sun.
- Camera settings: You can try underexposing your shot, since it's easier to recover detail in the shadows than in the highlights. You can also try using a picture profile than has lower contrast.
- Use a gradient in post: Robbins says that he uses a nifty little trick in post. He adds a slight black-to-white gradient to bring more detail into his skies. However, this only really works with still photos or a short, stationary shot.
What are some other helpful tips for shooting outdoors in the harsh sunlight? Let us know in the comments below.
Source: Aidin Robbins