How Adobe After Effects Can Help You Make Dynamic Path Animations
The foxReveal script for Adobe After Effects allows users to create dynamic and complex path animations with just a few clicks. Here's how it works.

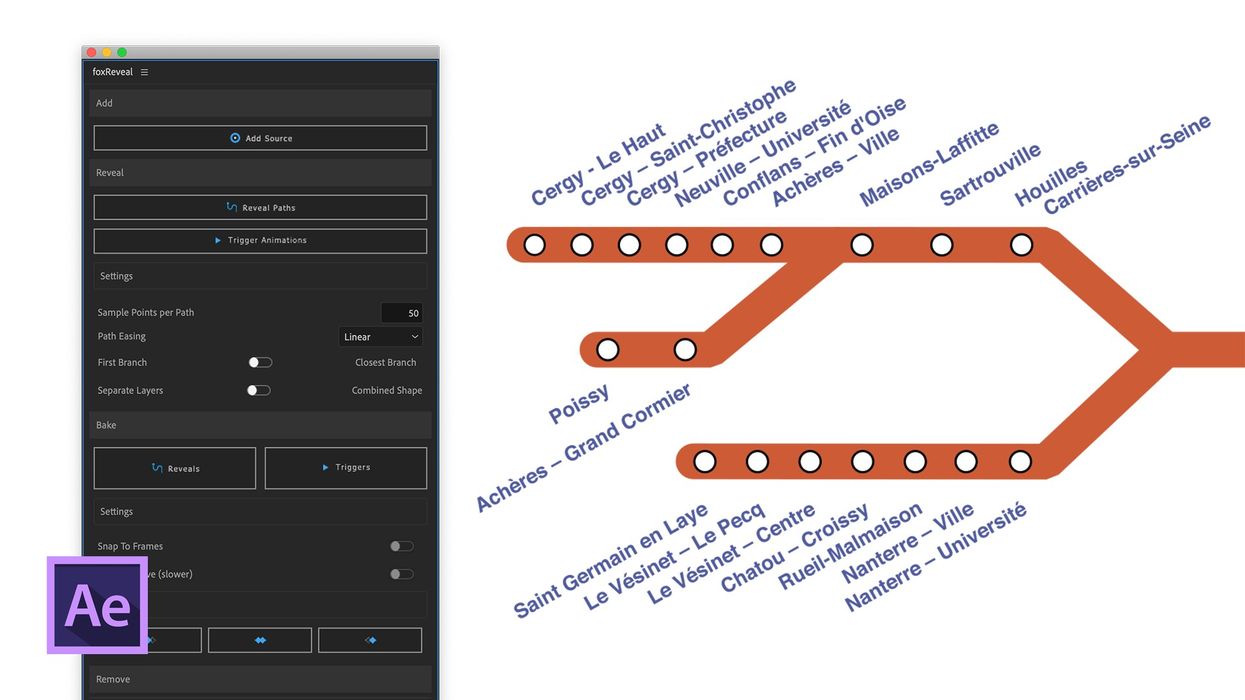
In this tutorial, we will be creating a simple animation of one of the suburban train lines here in my home city of Paris, France. I’ve already created all of the elements via shape layers in Adobe After Effects, and now I’ll be using the foxReveal tool from aescripts to bring the elements to life. If you'd like to follow along with the tutorial—
The beauty of foxReveal is that you don't have to add and move hundreds of keyframes by hand just to reveal a path anymore. It can reveal complex path structures from any point with one click. You control the reveal with two simple keyframes and it's curve, or get more advanced by baking in the keyframes.
Let’s take a step-by-step look at how to use this cool tool by bringing this train path to life.
Step 1: Set the Source
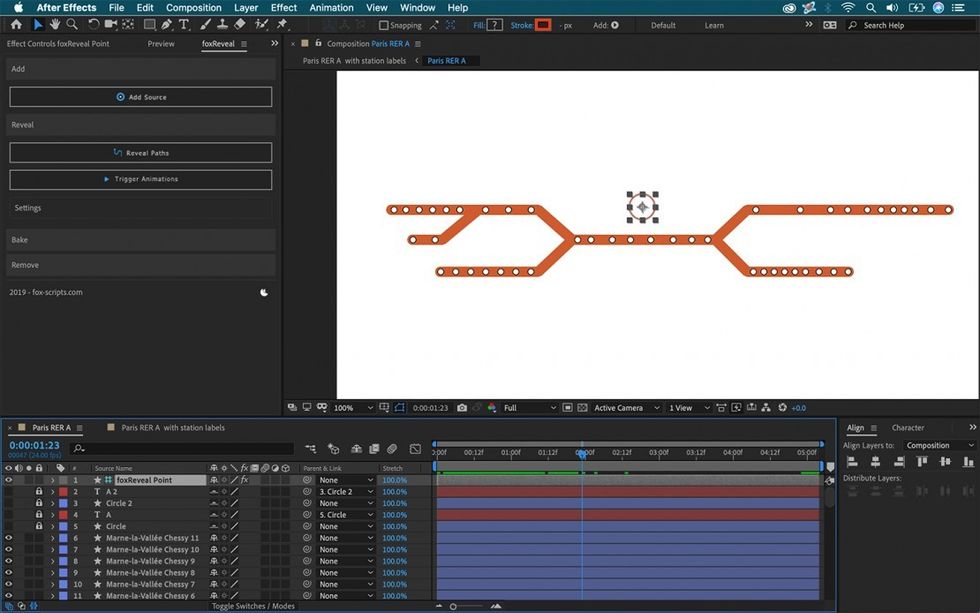
Before I can trim paths or trigger animations, I first need to select a source. For this I’ll go to Window > foxReveal to open up the panel. Clicking the Add Source button at the top will add a new foxReveal point layer to my comp. As the name implies, this point will serve as the source of the animation. All animations will originate from this point, and I can adjust the radius in the effect controls panel. I can move the point around the comp panel as needed.
Step 2: Reveal the Paths
Again, for this particular project I’m animating the path of one of the suburban train lines in Paris. I created the train line out of four different paths which are actually shape layers with stroke elements. I also have basic ellipses with a one pixel black stroke to represent each station on the line.
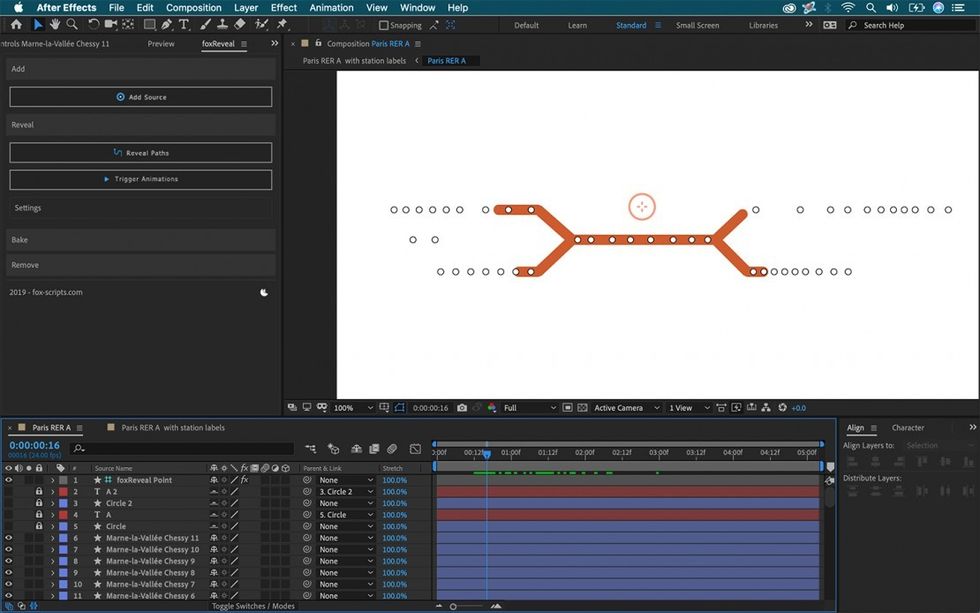
To have the paths of the train line reveal I’ll select all four layers and press Reveal Paths. After some computing, foxReveal will add the appropriate trim path effects to the shape layers. A new trim paths slider will show up on the point layer, with keyframes animating the trim paths.
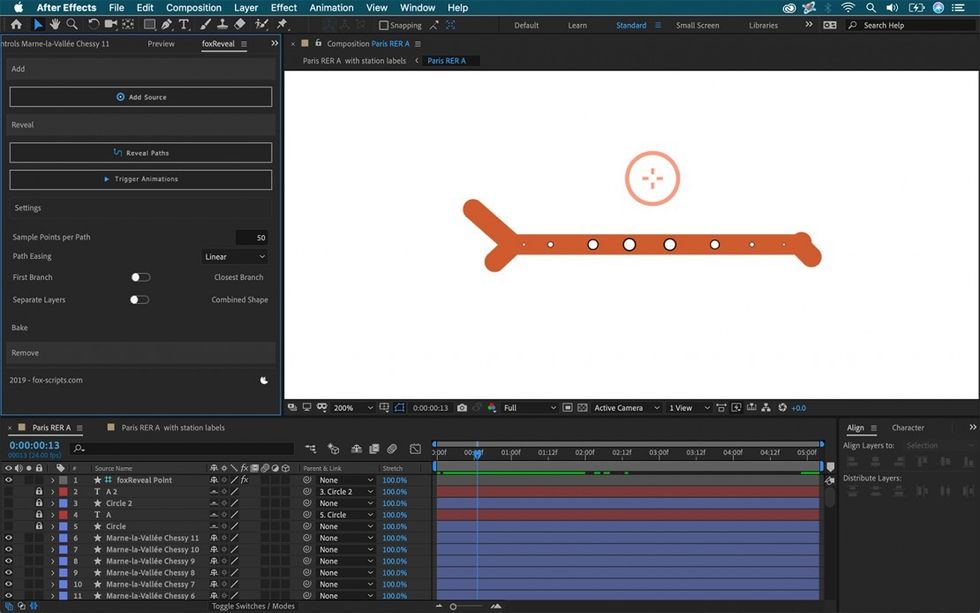
The settings section will allow me to customize the look of the animation, including how the path branches. I can have each path animate separately or together, and add ease to each animation. After making any changes to the settings I'll need to press Reveal Paths again to activate the changes.
To change the direction of the animation, I’ll simply move the point layer and again reselect the Reveal Paths button.
Step 3: Trigger Animations
With my train line now animating on beautifully, I’ll focus on the stations. Let’s say that I want to have each station animate in via a simple scale up as the path reaches the location of each station. This is easy with foxReveal.
First, I’ll keyframe the scale of one station and then copy/paste the animation on all of the remaining stations. These will serve as references for the animation trigger.
With all of the animations applied, I’ll select all of the station layers and then press the Trigger Animations button. Now each station animates in as soon as the path reaches its location.
As you can see, this powerful AE script allows you to quickly animate a path and use it to trigger animations. To check out more about foxReveal, head over to aescripts.com.
Disclosure: Boone Loves Video is a participant in affiliate advertising programs designed to provide means for individuals to earn advertising fees by reviewing and linking to products.


