We love a good practical effect, especially the gory ones. Special effects makeup artists are frequently tasked with giving characters convincing injuries, making the job one where you have to understand what both human anatomy looks like and what looks best on camera.
There are many ways to create a fake injury for the screen, but we have a few tips to help you out the next time a project calls for a bloody neck wound or a missing limb. Insider breaks down how you can create seven gory injuries, from neck wounds to decapitations, and make them look good for the camera. Let’s break down how to achieve these effects.
1. Breaking a Hand
When you have to break a hand on camera, the makeup effects team has to go beyond realistic looks and make something that can also move realistically, bending and breaking in just the right way.
Start by modeling the arm in a skin-like silicone mixed with plaster, so the final piece is somewhat translucent and rigid. Then, add a metal armature, a frame you normally see inside a stop-motion puppet. While the outer layer of the arm provides rigidness, this armature creates a more flexible hand and fingers.
When ready to shoot, place the fake arm under the actor’s sleeve and carefully position the actor’s body to block the real arm.
2. Losing a Finger or Two
Similar to constructing the arm, cast the base in silicon for skin-like translucency. For a more realistic look, you can punch hairs into the piece when it is dried and ready to be molded.
The hand and the forearm should be created together so you can slide a series of tubes into each finger. The tubes will allow for the pressurized air to blow off the fingers on cue. You can also place blood in the fingers before pushing the pressurized air to create a spurt of blood to shoot out of the wound when the fingers come flying off.
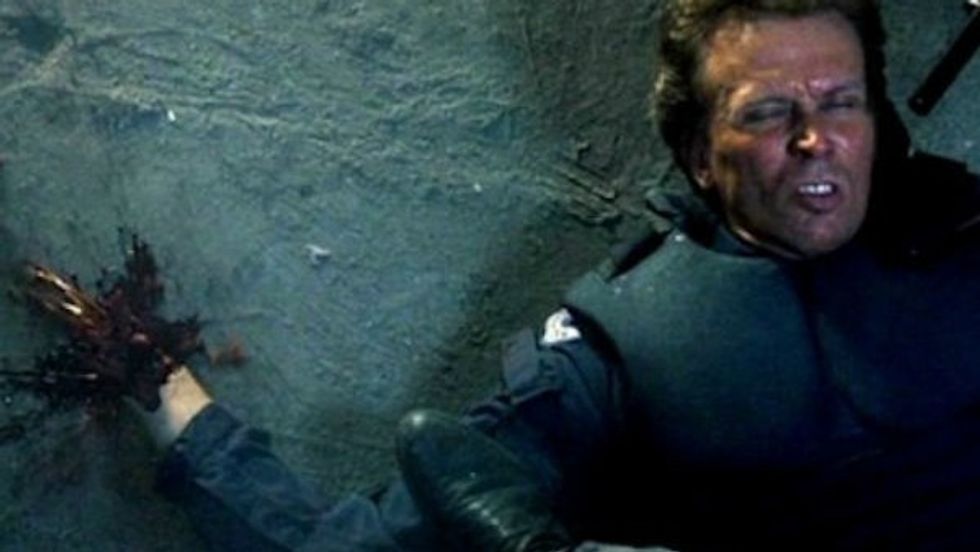 'RoboCop'Credit: Orion Pictures
3. A Missing Limb
Creating the illusion of a missing limb requires both digital effects and realistic practical effects. If you are wanting the character to have a missing hand, paint the hand in a specific shade of green, which will allow the FX team to easily digitally erase the hand in post.
Then, create the prospect that will take the place of the “missing hand” for the shot. The prosthetic piece will further emphasize the injury, and probably cost less than creating the injury digitally.
4. Splitting a Head in Half
Sure, decapitations are cool, but seeing a character’s head cut in half is so much cooler.
When cutting a character’s head in half, the makeup effects artist has to consider the entire head when making the effect. First, take a silicone life cast of the actor’s head to capture every detail of their face. Then, make a replica out of clay to add more details to the face before casting the model in more silicone. Then, punch in all the head and facial hairs.
Unlike other decapitated heads, the half-cut head will show off more of the muscles and tissues inside the head. To get a more realistic effect, do some research on human anatomy textbooks to get the most realistic look.
5. Burn Wounds
Making a burn look realistic requires close attention to texture and color. Special effects makeup artists often look to burned chicken as a reference point, often finding a great color pallet to work off of.
Heavy black is typically the deepest part of the wounds, while shades of red and yellows make the rest of the palette. To create a convincing burn in a short amount of time, you can 3D print wounds for background characters or set a vinyl bald cap on fire. Some of these pieces that are filled with KY Jelly can create depth that is truly convincing when blended onto an actor or performer.
6. Throat Wounds
Creating a neck wound requires manipulating a latex piece or thicker gelatine piece that won’t soak up the fake blood. If you want the most blood for a neck wound that still comes off as realistic, go for the jugular vein.
Start by creating a slit near the vein, then slide a flexible flat tube connected to a syringe of blood up through the costume and to the slit. When the time comes, push down on the syringe and let the blood flow.
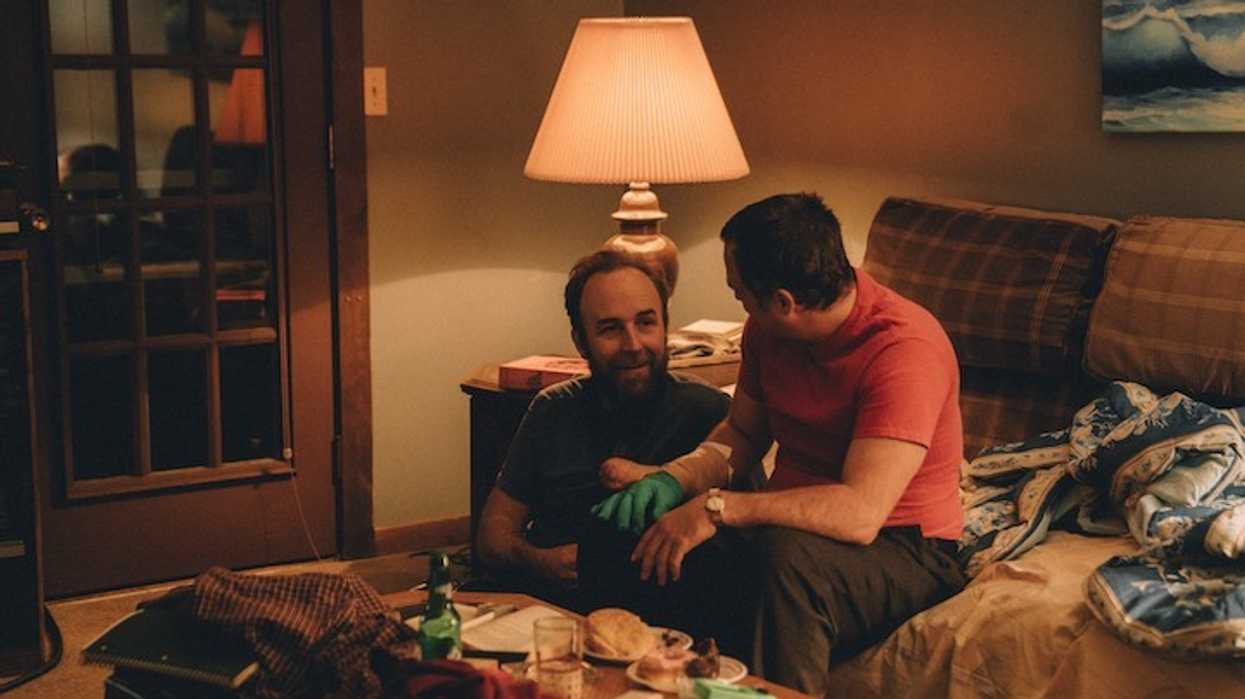
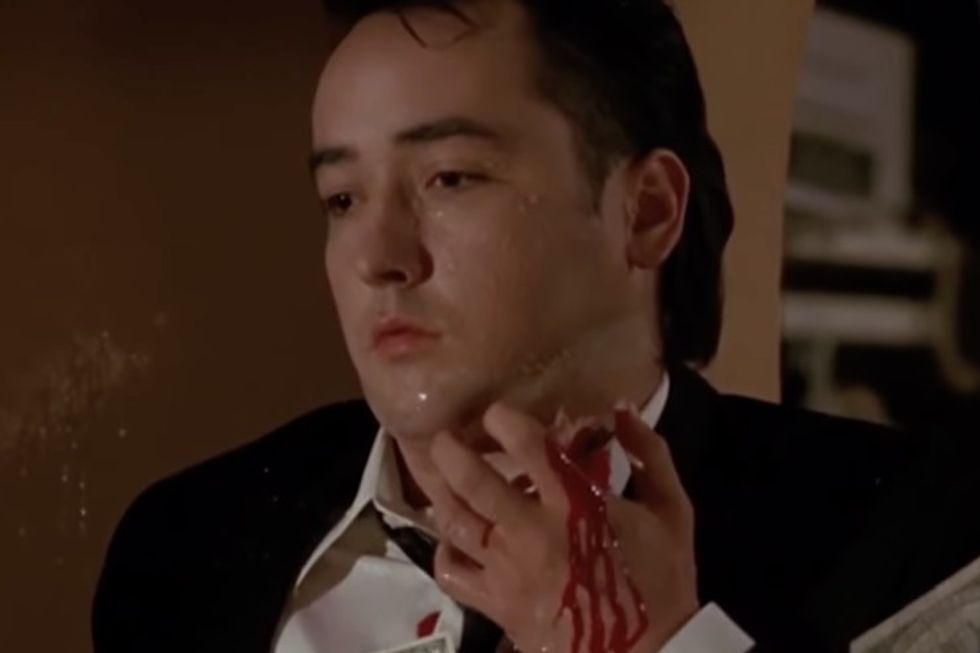 'The Grifters'Credit: Miramax Films
7. Surgery Wounds
Crafting surgery wounds involves thinking backward. Consider the different layers of skin, fat, and muscle that make up the human body before you start considering how thick each layer needs to be.
When making the model for the character, start creating each layer from the skin to the deepest part that needs to be shown. This allows you to control the thickness of each layer. Reading a lot of anatomy textbooks will also help you craft a realistic open body. Remember, this is a surgery wound, so it won’t be as bloody. This means paying close attention to the details that will be shown on screen.
Creating wounds is really about research, experimentation, and knowing what looks good on camera. Don’t be afraid to try something new when making a wound because it might change the way special effects makeup artists look at on-screen wounds.
Are you a special effects makeup artist? Let us know your favorite wound to craft in the comments below!
Source: Insider