Creating the Super 8 Look in Adobe Premiere Pro
If you need to create a vintage film look, here's one way you can do it with Adobe Premiere Pro.
Every script has a visual story that wants to jump from the page. Sometimes the imagery can be subtle. At other times, it's going to hit the audience without holding back.
For example, the Matrix movies have a look that resonates. It's become such a part of pop culture that moviegoers can easily describe the green color palette and crunchy blacks behind the visuals.
When it comes to developing the look for your next project, color is going to play one of the most important roles, along with lighting, pace, texture, and even aspect ratio. If you want to go old school, considering a palette based on 35mm, 16mm, or 8mm film can add a sense of nostalgia and nuance if done right. The problem is processing costs may not be in the budget. With digital image capture workflows, it's gotten much easier to step outside the film lab and layer a look similar to film.
The team over at Artlist has an awesome tutorial on how to create the Super 8mm look using Adobe Premiere Pro based on tools from their Cinematic Creative Pack.
Let's learn some techniques.
History
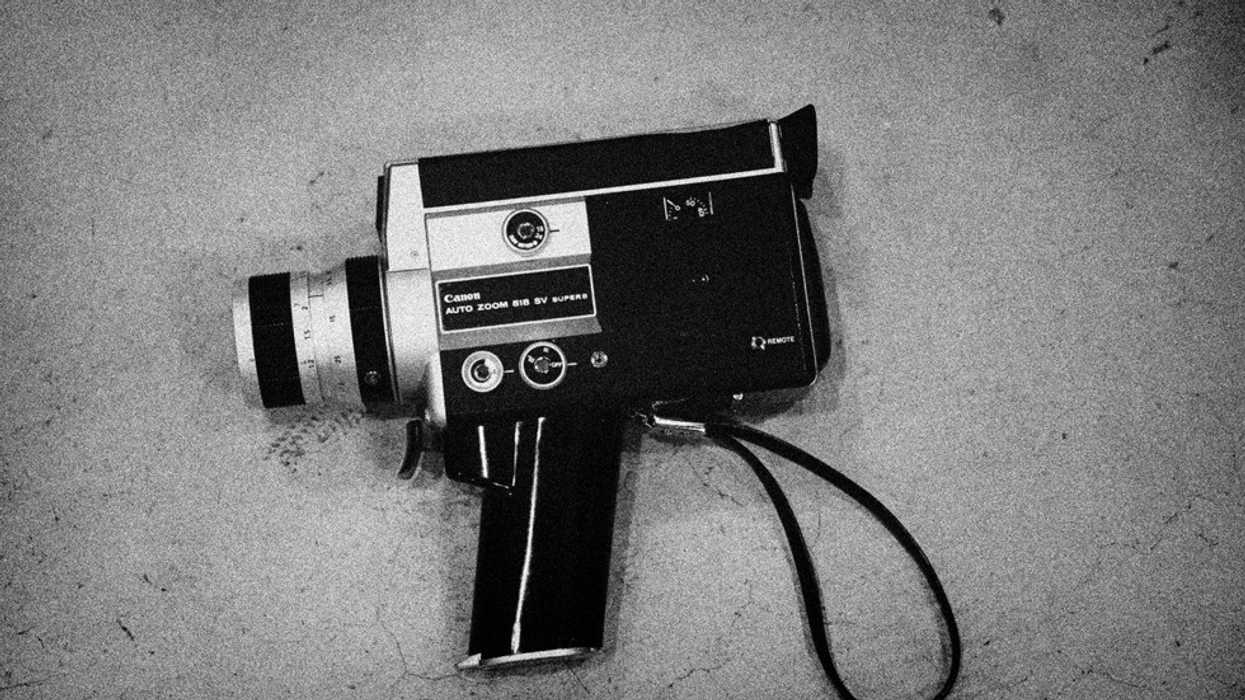
Now, there is a difference between 8mm and Super 8mm. They're actually two different film stocks.
As Kodak puts it, 8mm was released in 1932, and the film captures the image at 4.5mm, which is 43% smaller than the full width of the 7.9mm frame.
Super 8mm is much larger, filling about 73% of the full width. Super 8mm is the film stock recognized by most people and it was cheaper and a lot easier to use than 8mm. It's the format that made home movies accessible during the 1950s and '60s—very similar to how the Canon 5D Mark II ushered in the digital revolution.
Frame size aside, Super 8mm is known for its near-square aspect ratio (1.33.1), grain, and unique light leaks that are caused by the light hitting the film plane.
Aspect Ratio/Film Grain
With the Creative Pack, a lot of the heavy lifting is done for you and it's more a matter of taking the assets and adding them to your footage. The pack comes with a variety of mattes, grains, and overlays that allow you to fine-tune your image.
After adding the preferred matte to your timeline, you can add grain and film burns next. By adjusting the different blend modes between the two layers, you can dial in the look you want to achieve. You can also adjust the fill and/or opacity to pull back some of the effects.
18fps
Super 8mm is also known for its somewhat choppy look, where images often appear to "shake" when the film is being run through the projector gate. The original format was filmed between 18-24fps.
A simple way you can achieve a similar look is by using the Posterize Time tool in Premiere Pro. After dragging and dropping the effect to your footage, in the Effects Control panel adjust the frame rate to 18fps.
To go a little deeper, you can track the movement of actual Super 8 footage and add that tracking data to your project.
Color Grade
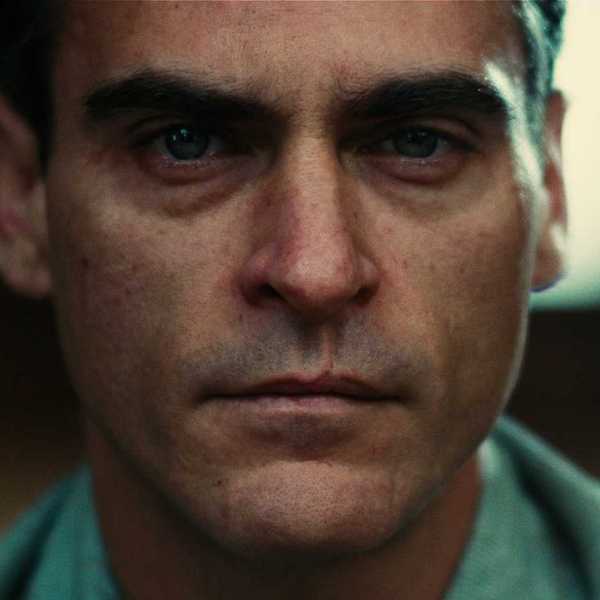
When it comes to grading the footage, Super 8mm is most known for its light leaks and burns. The footage itself tends to have less contrast, low highlights, and crunchy blacks with a bit of green tint.
By first lowering the contrast and highlights of the image, you'll start to dial in the Super 8mm look. Then bump the shadows, reduce the whites as well as the contrast. Finally, you'll want to add some green tint to the shadows using the Curves adjustment tool. Add a little bit of yellow into the highlights too. You'll also want to add some blur to the image to reduce some of the digital look of the footage. The Creative Pack also comes with several different flares and lens burns, allowing you to add the image even more.
The Super 8mm look tutorial is a very popular tutorial found on YouTube. If you're looking for other ways to achieve the look, check out this article, or even this one.
Source: Artlist