How We Shot A Horror Short On Just One Lens
"Sony FX6 + 24mm GMaster, the little camera setup that could."
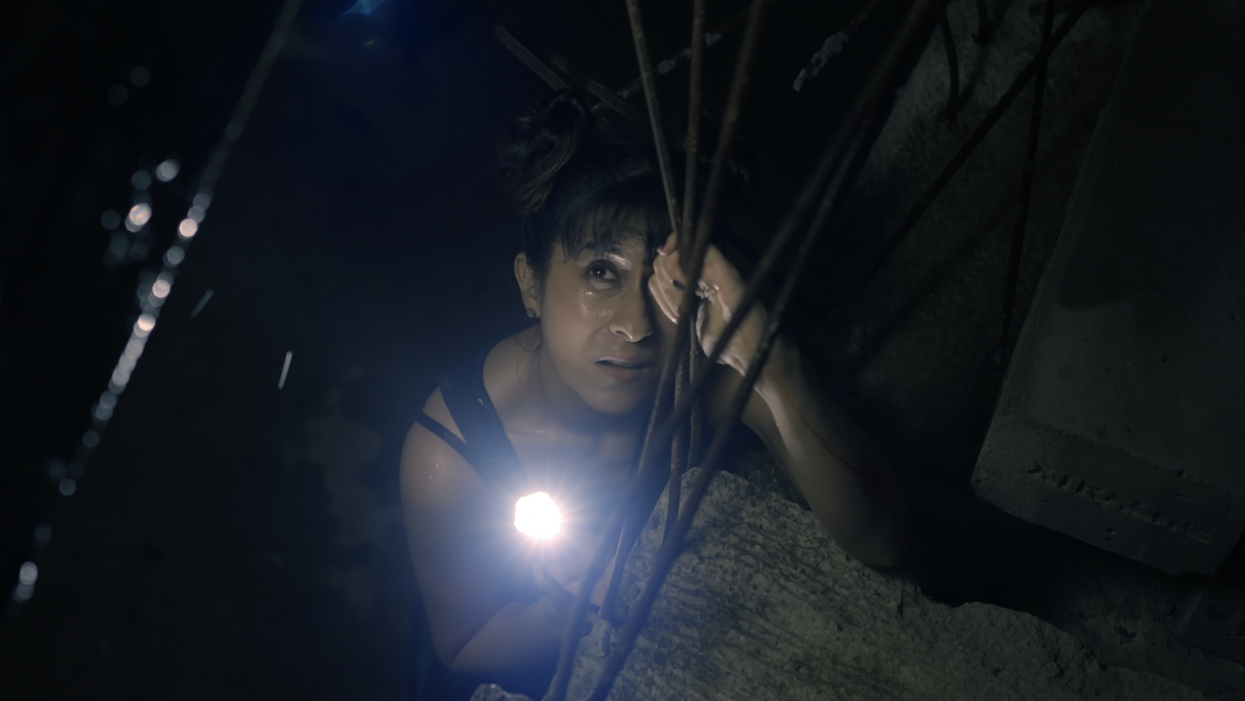
"44"
Written by Dhwani Shah
So you want to make a short film. And why shouldn’t you? It’s a great way to show your craft, grow your skills and it could even end up becoming a calling card for bigger and better projects.
But unless you are an established director, chances are that you won’t be getting any investors breaking the bank. That leaves you to apply for grants, fellowships and screenwriting contests. Or do what I did—spend the last of your savings on a film you believe in, hoping it pays dividends in some way later.
When I set out to make "44," my first horror short, not only was it in the thick of the 2021 pandemic wave but also I had no prior experience self-producing a short film.
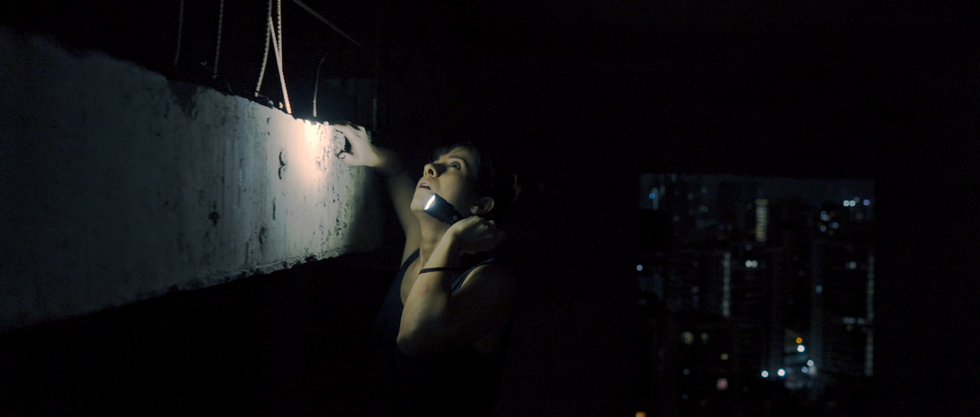
"44" is a horror short film about a girl who gets stuck in a loop on the 44th floor of a building. Luckily, I found a crew that was willing to collaborate (read: work for free), and after six months of hustling, I also managed to get a great location for close to nothing. We were pretty much “beg, borrow, steal”ing our way through pre-production.
But then came production and the costs started mounting very quickly. One of the ways I was able to cut it down significantly was by filming on one lens. What started out as a production necessity, quickly turned into a fantastic visual treatment; and here to talk about it in depth is "44" Director Of Photography, Vishnu Tenkalaya.
44 | Horror Short Filmwww.youtube.com
Dhwani S.: Vishnu, can you walk us through the camera choice for "44"? Why the Sony FX6?
Vishnu T.: Sure! In 2021, the Sony FX6 had just entered the market six months before we went into production. It is a Netflix approved camera that I’d heard so much about and when you approached me with the script, I immediately knew that it was the right camera for us. This is for a couple reasons.
Dual Native ISO
The dual native ISO of 640 and 12800, something unheard of before, proved to be imperative for the film. Dark under-lit shots meant I could crank up the ISO to 12800 with visibly no cinema grains whatsoever. This meant lesser light requirements and setup time too. Truly a producer’s dream.
Variable ND
The built in Variable ND meant I didn’t have to constantly swap external NDs to cut the exposure. This also reduced the camera setup time significantly. There were instances that I would over expose my shot using the higher base ISO by a couple of stops and would later cut them to the right exposure value using the internal variable ND.
MXF Format
Third, the FX6 also natively gives a higher compression format: the MXF. No, it isn’t RAW, but the MXF files had more than enough data for me to work seamlessly during post. I was able to manipulate color since it was shot on the Slog3 S Gamut 3 cine profile, a very capable format that could surely rival larger cinema camera formats. All shot internally on a small exFat super fast card that was able to seamlessly handle a high resolution of 4K. Truly impressive.
Dhwani S.: What made you pair this with a 24mm lens?
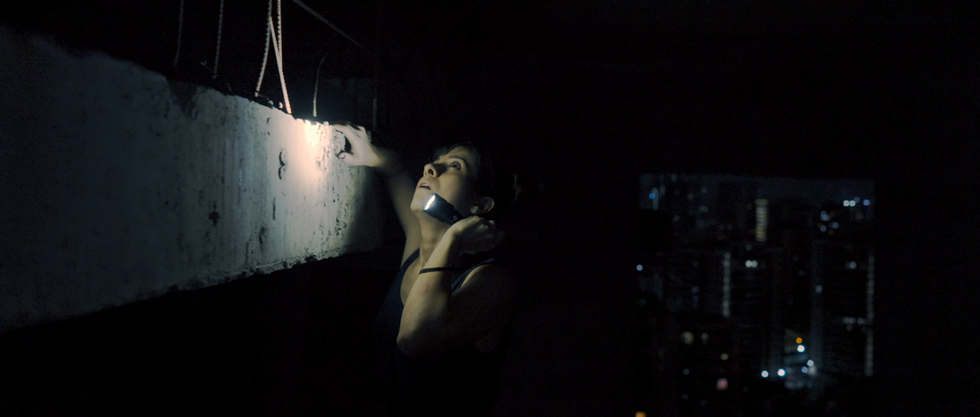
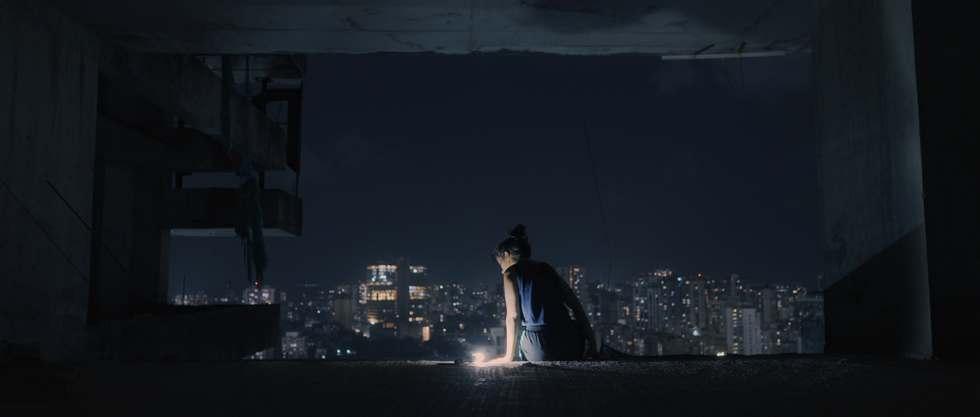
Vishnu T.: We used the 24mm G Master lens for the entirety of the film. The reasons were multiple. But the primary reason for choosing a 24 was to perfectly preserve the character always in relation with her surroundings. Since we had a huge open location, I wanted to portray the wide emptiness of it on-screen and relay the same dread of isolation that the character feels.
Superior Autofocus
The combination of the FX6 and G Master lens gave us great autofocus tracking even in low-light conditions. It barely missed focus and tracked my subjects with so much ease. We were able to keep the crew and costs slim by avoiding a focus puller, and being a lot more nimble on the gimbal.
The Sony Imaging Edge mobile app also made it so convenient to connect the camera to an iPad wirelessly. My AC would constantly keep track or adjust the focus by simple touch gestures. Truly marvelous.
Reduced Setup & Reset Time
Since the lens was always mounted on the camera, it was pretty easy for me to be hands-on and quick between takes. This meant that long takes would have shorter reset time and you, my director, had a lot more time for multiple takes.
Uniform Visuals
The images in the frame stayed consistent. This was a conscious choice. Working with a single magnification of lens has become a personal choice for me of late. This helps me maintain the face feature between different camera angles and shots; avoiding and aiding any jumpy cuts.
Lightweight Body
Speed was a non-negotiable in this project. We had to shoot fast. The light weight body with an advanced sensor was a great plus. I was able to set it up on a simple gimbal like the DJI Ronin-S, that could easily handle the payload. This helped immensely in getting more dynamic and movement shots as well as a huge cost saver. This also meant lesser hands of camera crew members and assistants.
Dhwani S.: Let’s finally talk about lighting. What was your approach to creating a dark macabre environment in ‘44’?
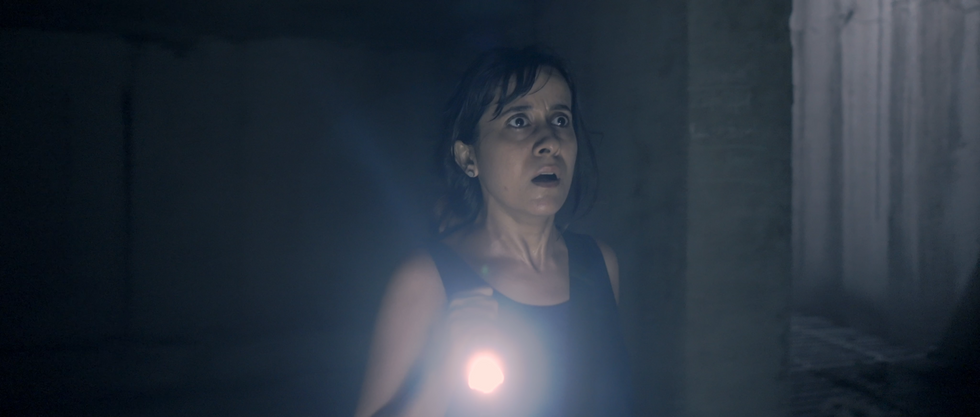
Vishnu T.: As I read the script and the milieu you had created, it was pretty clear that the character’s handy torch was a huge part of the suspense building of the film. I wanted the camera to virtually see just as much as the torch light exposes.
The Torch
I decided to use the torch to my advantage and use it as my key motivator when I was designing my light breakdown. We used a really powerful hunting torch from Fenix lights. We found the torch just two days before the shoot, and it shipped in on the day of shoot, in the nick of time! We had to take the risk and oh boy I’m glad we did.
Not only was it capable of lighting up our scene, but it also had a brightness control feature. The torch light also had a movable lens within its housing. This meant I could make the projected light conical or spread out.
We used the conical light to throw in wider shots to show the prominence of the light a lot more clearly and used the larger spread configuration where the shots involved exposing the face and close ups.
I often paired it with a bounce board underneath the character to expose the face. It was the most practical and fastest way to get my shot. And that made it feel a lot more natural as opposed to having other external lights.
Aputure LED
I also worked with a bunch of Aputure LED lights. More particularly the 300x and the 300d with a few attachable modifiers like the spot mount, Aputure lanterns and light dome. This would mold the light just like the torch. These super powerful and capable LED lights were both light weight and battery powered.
This meant that I could make them a lot more mobile and versatile. We were able to get them in really right spaces.
Overall, with this approach we were able to achieve the look and feel we had in mind for the film.
Dhwani S.: Whilst cutting down costs!
Vishnu T.: Yes, and without compromising on the vision.
Dhwani S.: Amen.
- What I Learned From Making an Award Winning No Budget Short Film Alone at 19-Years-Old ›
- Exploring the Cameras and Lenses Used on Scorsese’s ‘Killers of the Flower Moon’ ›
- Here's How to Create Viral, Low-Budget Horror ›
- What are the Best Short Films on YouTube? | No Film School ›
- How 'Cuckoo' Achieved Its Unique Shots and In-Camera Effects | No Film School ›


