When lighting a dinner scene, or any kind of table scene where you need to place your key above an actor, there's always a certain amount of risk or nervousness that comes with it. You want to keep your actors safe, while still setting up the light you need without it falling on anyone and staying out of the shot. So what do you do?
In this incredible tutorial from Rob Ellis (the master of cinematography content on YouTube), he walks us through how to build your own lighting setup using bounce and well-placed flags, on the cheap, all while getting the most out of your shot and the location you've been given. Let's take a look.
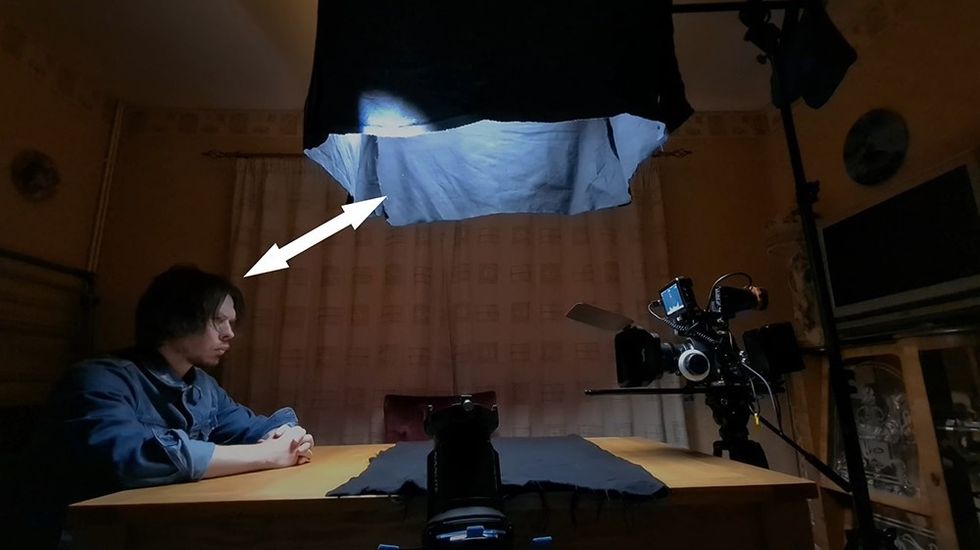
The idea is simple—create a framed bounce, with flags attached to each side that you can attach to a boom pole (cheap, lightweight) or any other C-stand type pole to hang above your subjects while you shine a light on the bounce, illuminating your subjects below in a controlled way.
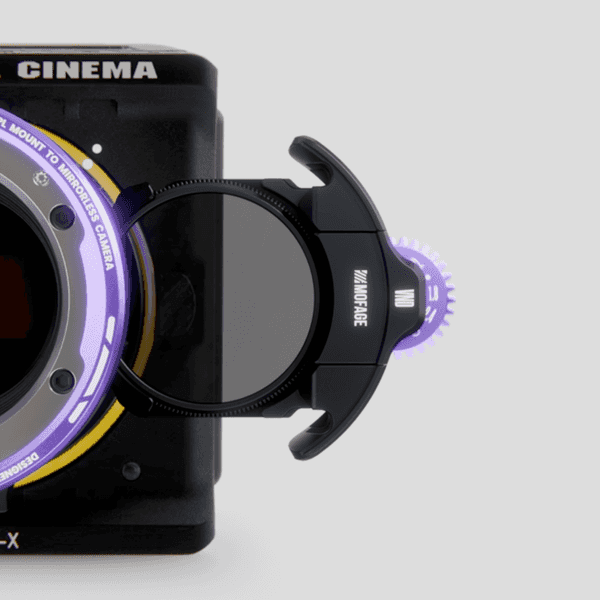
Now the one hefty expense you should expect when building this rig is the mount for your light.
To get the bounce from your light, you need some type of projector or spotlight attachment. Pretty much every major light brand makes this in some shape or form, but you will need one of these to get the controlled light you need. Building the rig is fairly simple, so let's go over what materials you need.
Here's what you need:
- A1 stretched canvas
- Zip ties
- Hook and loop velcro tape
- Pins
- Screws
- Duvetyne-esque material—this will be your flag
- Bounce material—could be unbleached muslin, could be a poster board, it just needs to be able to bounce light
- Screwdriver
- Fabric scissors to cut the material
 Credit: Rob Ellis
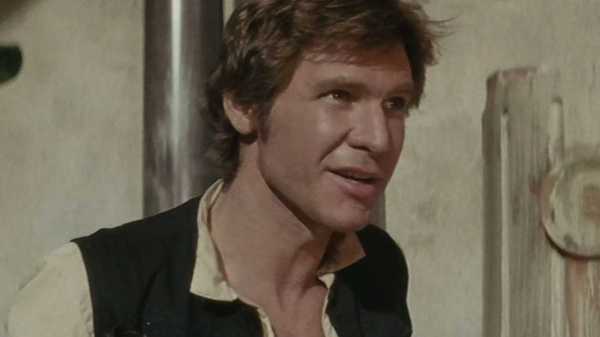
For the first example, Ellis demonstrates how the rig can be used to light subjects that happen to be sitting at a table. He demonstrates the various amount of spill you can get from folding up the front flag or the side flags.
It's a good example of how different levels of contrast can affect your image, and how to control spill and bounce through the use of flags.
 Credit: Rob Ellis
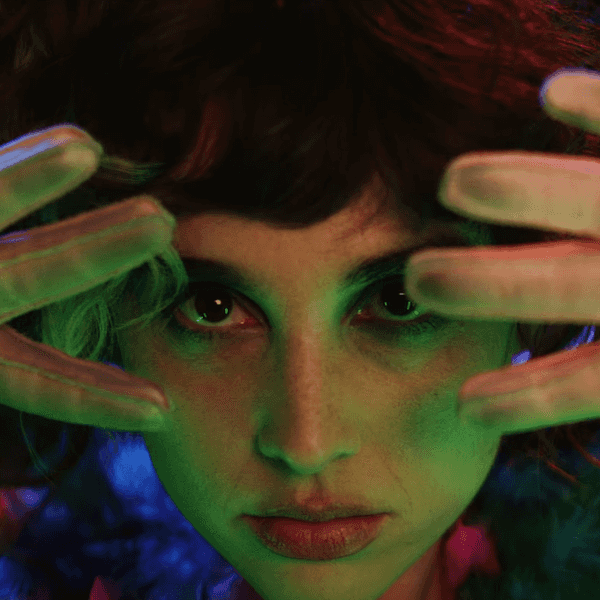
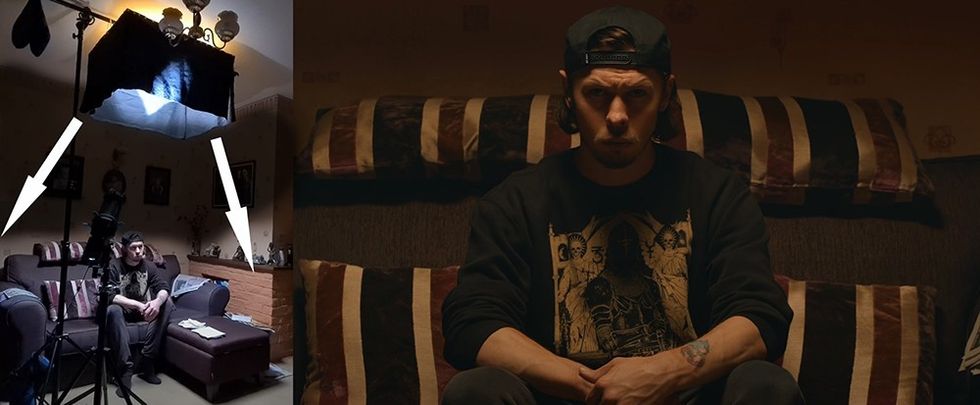
Then, Ellis demonstrates what it would look like for a subject to be sitting with an additional light on to provide some fill.
As he says in the video, this is just to fill in where the bounce light isn't able to cover. The example shots are a great way to understand how providing fill can either help or hurt your image.
 Credit: Rob Ellis
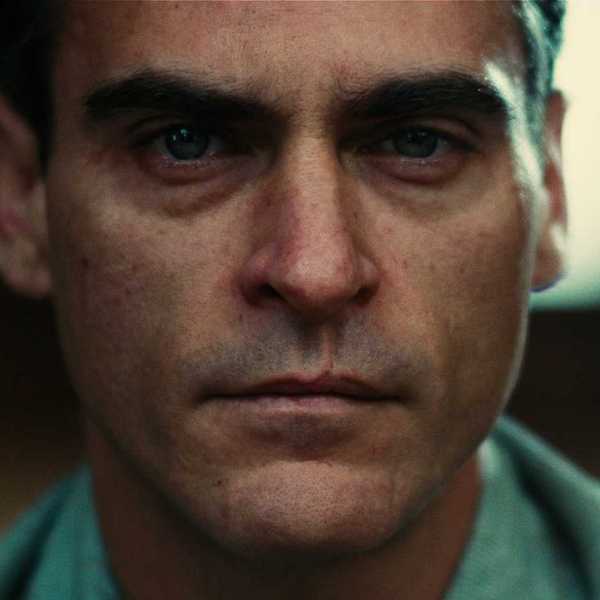
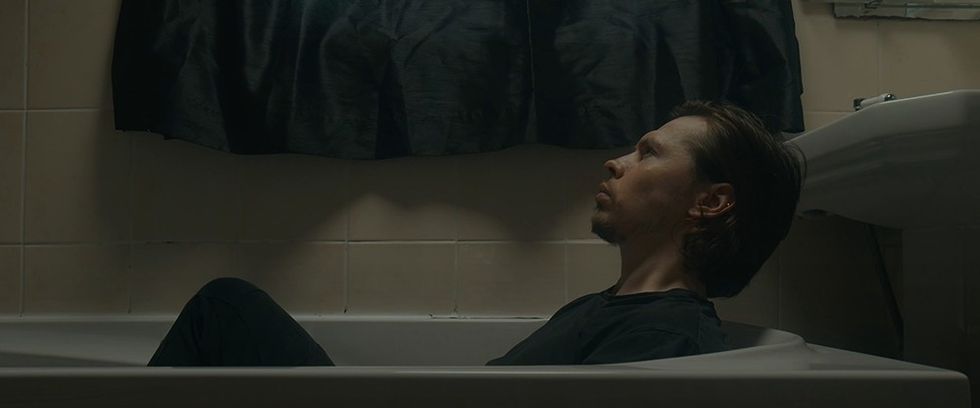
For the last setup, Ellis demonstrates one of the best possible scenarios you could use for a setup like this.
You can put your actor at risk while shooting them in a bathtub. With this method, by using the bounce light, you never have to stick a light above them while they're in the water ever again.
While that may be a pretty specific scenario, if you ever run into it, you'll know a cheap, safe solution for the director's vision. It's also worth mentioning that all of these shots look really good. They're not just... gimmicky.
Tutorials like this are hard to come by, and I'm super grateful we get to watch creators like Ellis find new ways to light scenes, create safer sets, all while not breaking the budget.
Would you ever build something like this? If not, what are some easier solutions to overhead lighting?
Source: Rob Ellis