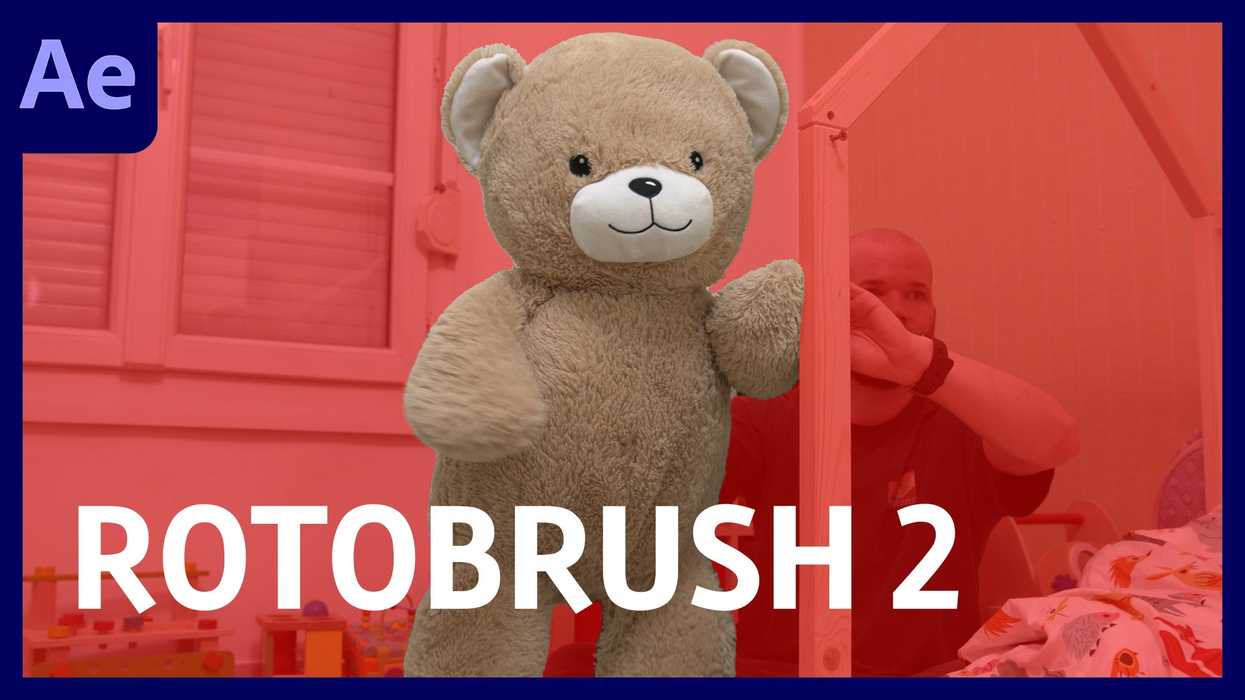
With the latest release of After Effects (version 17.5), Adobe has officially rolled out the much-anticipated Roto Brush 2. This new and improved tool is now powered by Adobe Sensei, using artificial intelligence to locate and stick to the edges of roto subjects. While it’s not quite ready to put the traditional roto artist out of a job, it still provides some impressive results.
I spent two days tinkering around with this new feature and was pretty impressed with how well it held up. I used it to create a simple VFX shot of a dancing teddy bear. This was a great test, as I came up against detailed furry edges, motion blur, and busy backgrounds with low contrast. Here’s a step-by-step look at how it works:
Isolate Your Layer
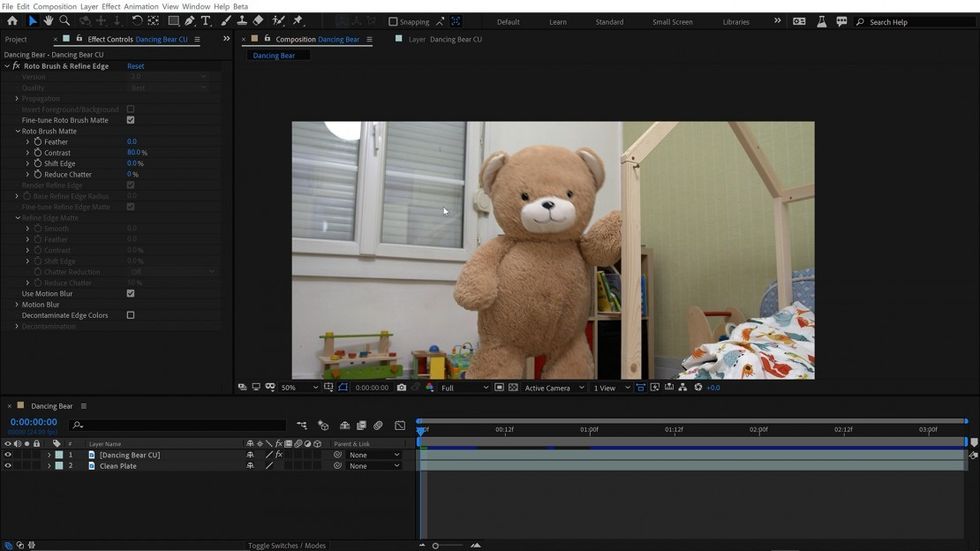
For the first step, isolate the clip where you want to perform the roto. This is as simple as double-clicking to launch the clip in the Layer panel. This is where most of the roto work is done.

Brush on the Base Frame
Once in the Layer panel, grab the Roto Brush tool.
After the first stroke selection, a new effect is applied to the layer. Click and drag to add to the selection, or Alt-click and drag to subtract from the selection. To resize the brush, hold Ctrl and click + drag up or down.
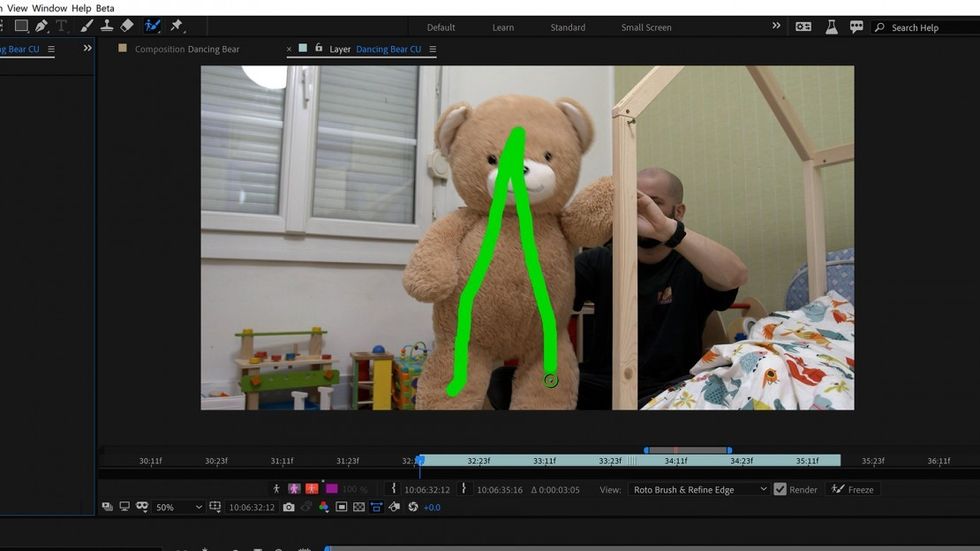
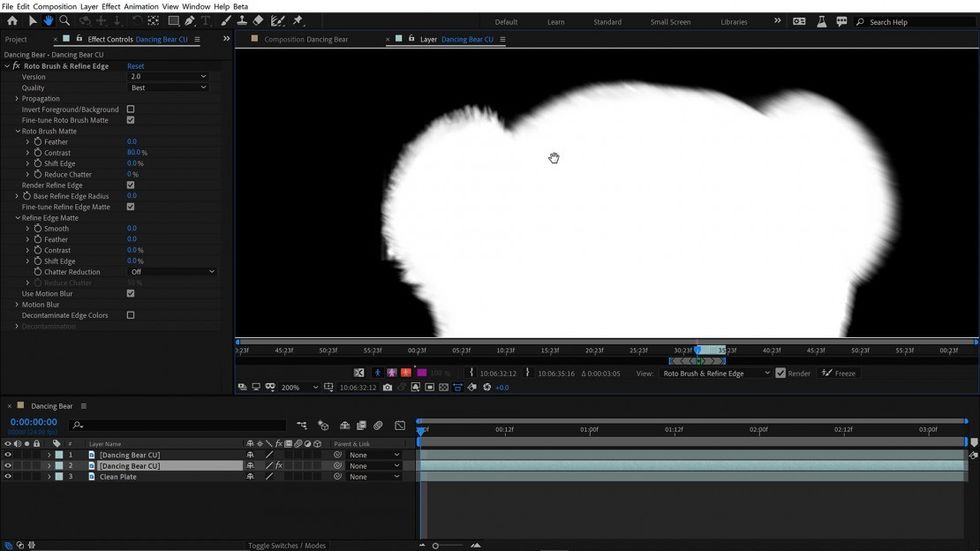
This first selection creates your base frame, which is one of the most important steps in the roto process. All of the other frames will propagate from this one, so make this initial selection as precise as possible. Use the various view options in the Layer panel to check the edges. These include Alpha, Alpha Boundary, and Alpha Overlay.
Start the Propagation
After the subject is selected, it’s time to let Adobe Sensei do the heavy lifting.
For this, simply press the spacebar to start the process. If the roto isn’t staying with the edges, you can use Ctrl + Arrow Right/Left to go frame by frame. I’ve found it best to do this for the first few frames just to see if the selection will hold, and then press the spacebar to begin the automation.
Make even further refinements via the Propagation section of the Roto Brush & Refine Edge effect on the clip. If you prefer the controls of the original Roto Brush, you can activate them via the effect.
There’s also a Refine Edge tool located just underneath the Roto Brush. This is designed to help select hair and other fine details of an edge. However, I found that it was quite difficult to make changes once I was already several frames into a roto using the Refine Edge tool. Surprisingly, the standard brush captured the edges quite nicely, even the furry edges of my dancing teddy bear. I ended up not using the Refine Edge tool at all.
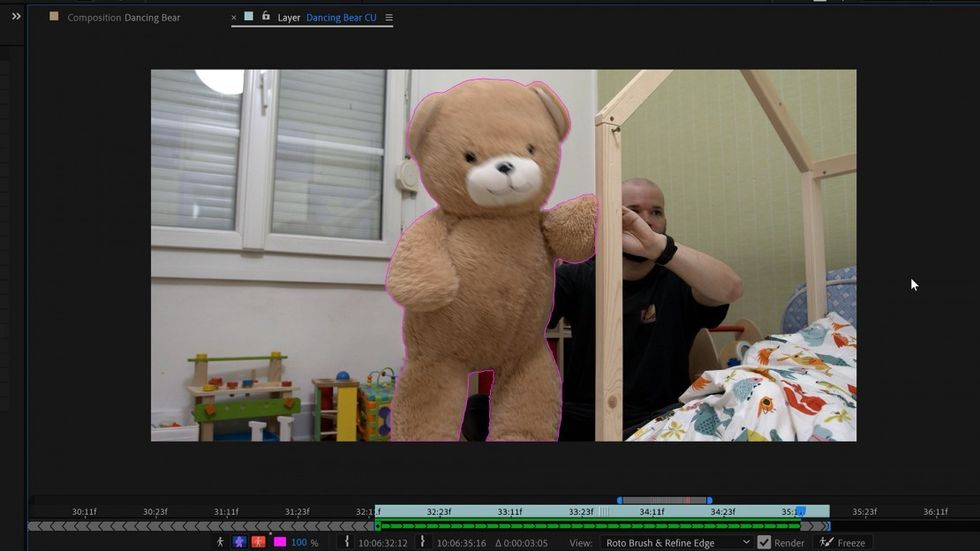
Freeze and Refine
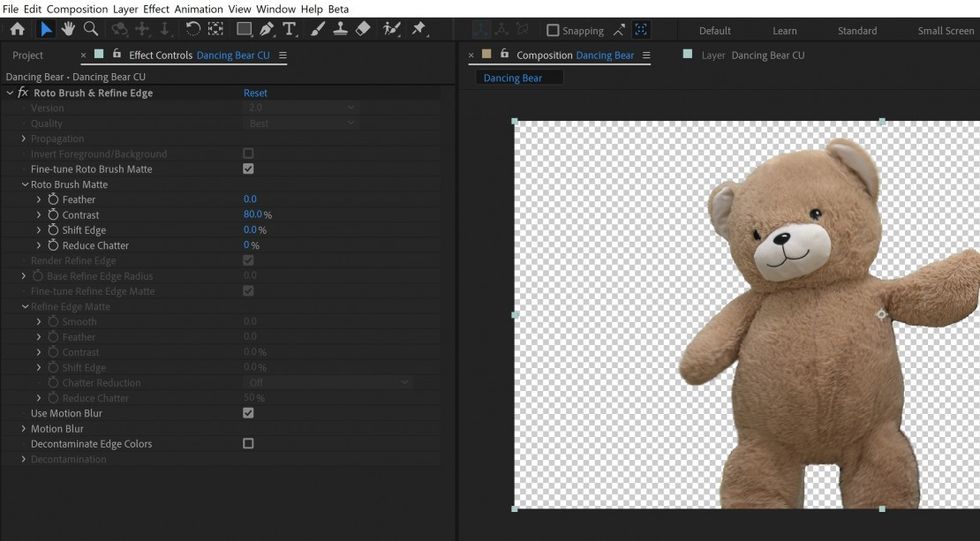
Once you’re happy with the results of the propagation, press the Freeze button at the bottom of the Layer panel. After freezing, you can still make adjustments to the matte itself in the Roto Brush effect without having to re-propagate. However, if you need to add or remove from a selection, you can always unfreeze the propagation with the same button.
Once again, after freezing you can still fine-tune the matte via the Roto Brush Matte section of the effect. You can also activate Motion Blur and Decontaminate Edge Colors. I was able to achieve a pretty detailed edge to my teddy bear after adjusting a few of these parameters.
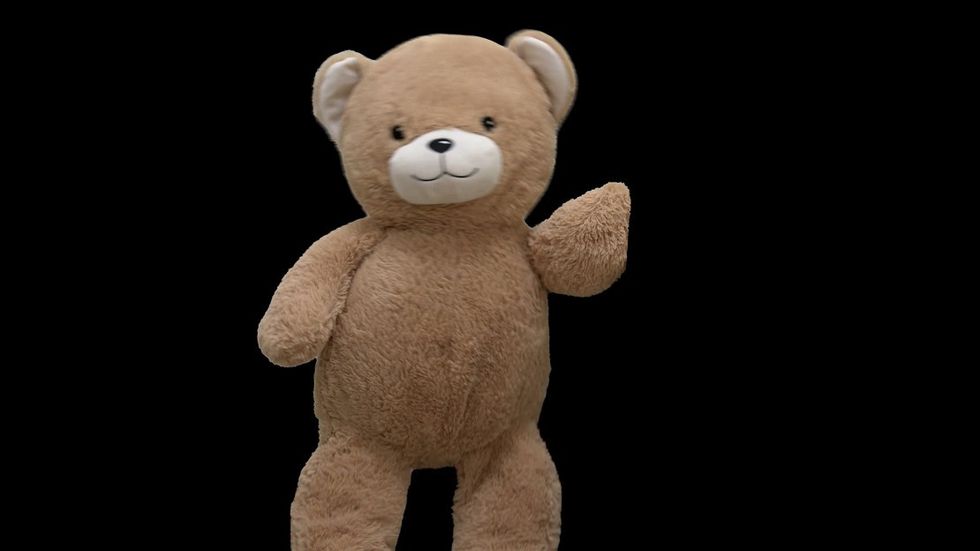
I am by no means a roto professional or even a seasoned VFX artist, and I was able to create this dancing teddy bear shot very quickly. You can see it’s not perfect, but pretty impressive for a quick job. If you’d like to take a closer look, you can download the clip here.
So what do you think of the Roto Brush 2? If you’ve had a chance to test it out, let me know what you think in the comment section.