As filmmakers, photo editing software is a critical link in the creativity chain. For a long time, Adobe software was really the only viable option. And we'd argue that in its early days of being heavily pirated, it may have hurt them financially, but it also benefited them as well.
How? Well, when you become proficient with a program you're less likely to want to switch and learn something new. With Adobe's Creative Cloud, a monthly subscription-based platform, you may be paying for a program each month you rarely use. In 2019 alone, Adobe made 11 billion dollars in revenue.
Since then, we've seen plenty of competitors emerge, one of the most popular being Pixelmator.
Pixelmator has been around since 2007, and they offer three different software options, each one dedicated to a specific platform. Pixelmator for iOS is designed for Apple smartphones, Pixelmator Photo is for iPads, and Pixelmator Pro is geared toward Mac computers. The latter has a popular following of users who like its tight integration into Mac software and hardware for more efficient rendering and automation.
Let's take a deeper dive into Pixelmator Pro.
What is Pixelmator Pro?
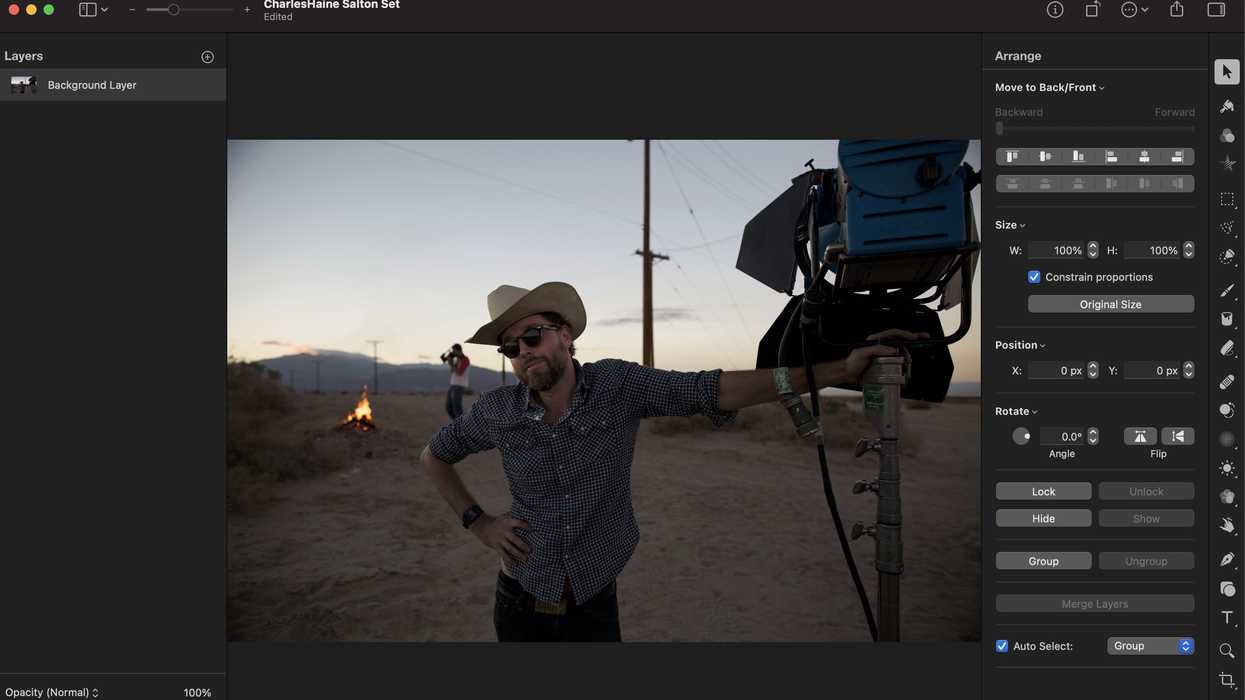
Pixelmator Pro is currently in version 2.0.5, and it's one of the best programs I've used for photo editing outside of Photoshop. Better yet, the software supports the new M1 chip from Apple, so it has some speed under the hood.
The versatile program works with Photoshop's (PSD) layered file format and many common image file structures we all work with. If you shoot RAW, Pixelmator Pro supports RAW photos from over 600 digital cameras including Canon, Nikon, Panasonic, and Sony. It even supports Apple ProRes RAW. As for tools, it has over a dozen different adjustment types including levels, curves, color balance, sharpen, and grain to tune your images.
As a filmmaker, my primary uses for Photoshop are text manipulation, image adjustments, and comps and mock-ups for previz and prep.
For instance, when I'm bidding on a commercial, I want to create a boardmatic of ideas. I will pull images from the company's website, open them in Photoshop to composite them, and then animate them in Resolve. I could have done the composites in Resolve, but Photoshop is simply better when it comes to still images.

Recreating those same composites in Pixelmator Pro with no recourse to tutorials was fast, easy, and efficient. One of the features I liked most about Pixelmator Pro is that it has a much bigger default toolbar menu. This shows you all the controls for a tool and gives you an indication of how to customize it.
One feature that's turned on by default is the quick select tool. Before you start selecting, the program previews what you'll select wherever the mouse is hovering. Cool.
There are similar features like this in Photoshop, but it was really nice to have it on by default making working with the tool a breeze.

Pixelmator Pro also makes scouting locations with your phone easy. If you use an iPhone for your location scout photos, there's a very well-integrated functionality with the iPhone portrait mode for compositing in backgrounds. Portrait mode creates a depth map that makes it very easy to separate a subject from the background, which is how it creates its out-of-focus effect. With Pixelmator Pro, it's as simple as dragging in a new background layer and blending them.
There are ways to do this in Photoshop as well, but it involves a few more steps, and Pixelmator's version is easy enough that I could see it being a useful tool for photoboards as well.
Let's say you shoot the rehearsal on your phone with portrait mode in a blank rehearsal space that's hard to cut out normally. With this technique, you can comp in backgrounds from your location scout and have immediately slicker previs shots that will help the team get a handle on how you envision staging the scene.
Retouch and Repair
As with any new program, one of the frustrations is learning the new naming conventions for special tools. With Pixelmator Pro, basic things like layers and masks stay the same, but for something like Photoshop's Content-aware Fill, it uses a set of extension tools called Retouch. Within Retouch is the Repair tool that performs similarly to Content-aware Fill. It's those little things you'll have to get used to when switching to a new program that can slow you down. Once you get a little muscle memory, you won't notice a difference.
The most logical use for Pixelmator Pro's Repair tool as a filmmaker is erasing objects from scout photos that will need to be covered up by the art department. Another way it can be used is for set extensions.
For instance, if you want to see what a shot might look like with more sky, you can use it to make more sky. This was trickier with Pixelmator Pro, but doable once you got used to the different controls.

In summary
Overall, I found that Pixelmator Pro covered all of my general needs as a filmmaker very well. While it may not be as robust or cross-pollinated as Adobe Creative Cloud software, with a one-time price tag of $39, it's tough to beat.
I've already moved on from Lightroom to FastRawViewer, and Darktable, for RAW image processing. Now I think I think I'm willing to make the jump away from Photoshop. Anyone else with me?