Whether you're shooting a feature film or a music video, adding effects to your footage can add loads of style, depth, and intrigue to your work. But how do you go about achieving these looks?
If your mind immediately went to post-production and After Effects tutorials, you should know that there's another way. I mean, yeah, you can definitely go that route and, depending on your skill level—produce some great results, but what if you could create stunning lens effects, like flares, ghosting, and kaleidoscoping, without ever having to open any post software?
In this video, learn how to craft these kinds of lens effects all in-camera from Jakob Owens of The Buff Nerds, who has shot countless music videos using these very techniques. Check it out below:
Why Not Use Post?
There's nothing really wrong with creating effects like these in post—in fact, you might actually have a little more control over your final image if you do it this way—however, there are several reasons why one might prefer using filters, prisms, and other accessories to produce lens effects in-camera.
Real-Time Monitoring
For one, what you see is what you'll get. You'll be able to see what your image looks like in real-time. You can adjust your lens filters and accessories to suit your tastes or swap them out if they're not giving you the look you want.
Save (SO MUCH) Time
Avoiding post also saves you a hell of a lot of time. It takes seconds to mount a prism or split diopter to your lens—compare that to the hours or days you'd spend recreating that look in After Effects.
That Nice, Warm, Organic Feeling
There's something about in-camera effects—something...real—that you just can't get with effects created in post. Maybe my inner crunchy granola treehugger is coming out, but effects that are produced in real-time with actual materials using actual light from the actual sun are, I don't know, very human, very warm, very rich, and are honestly way more fun to make, but that's just my own opinion.
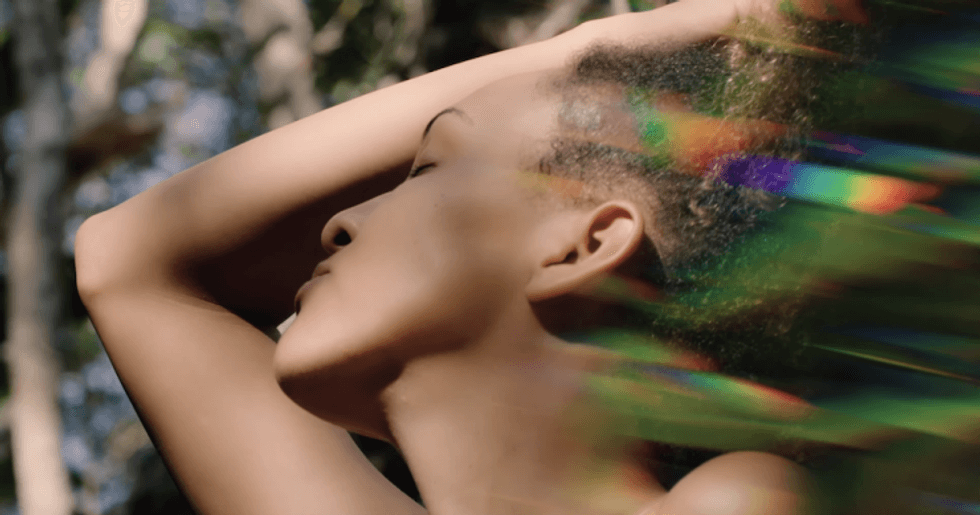
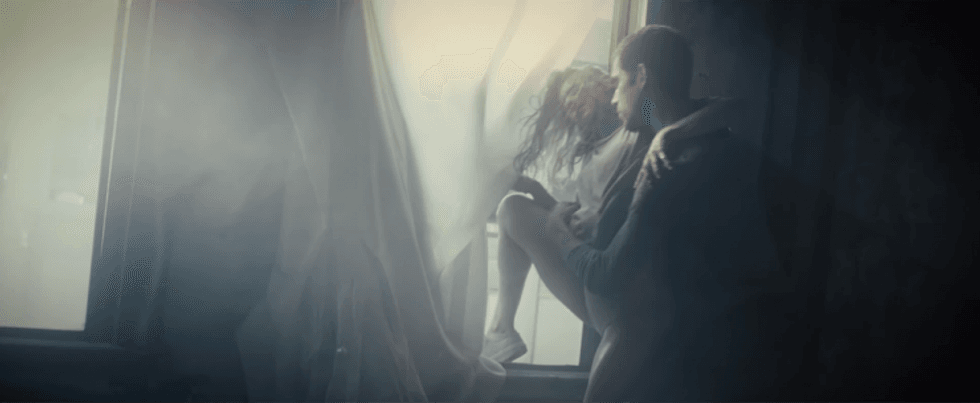
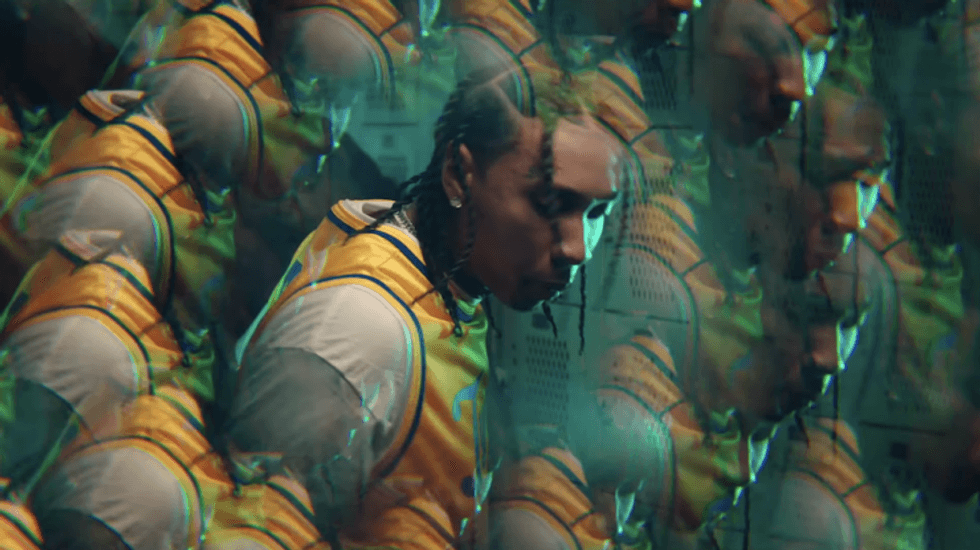
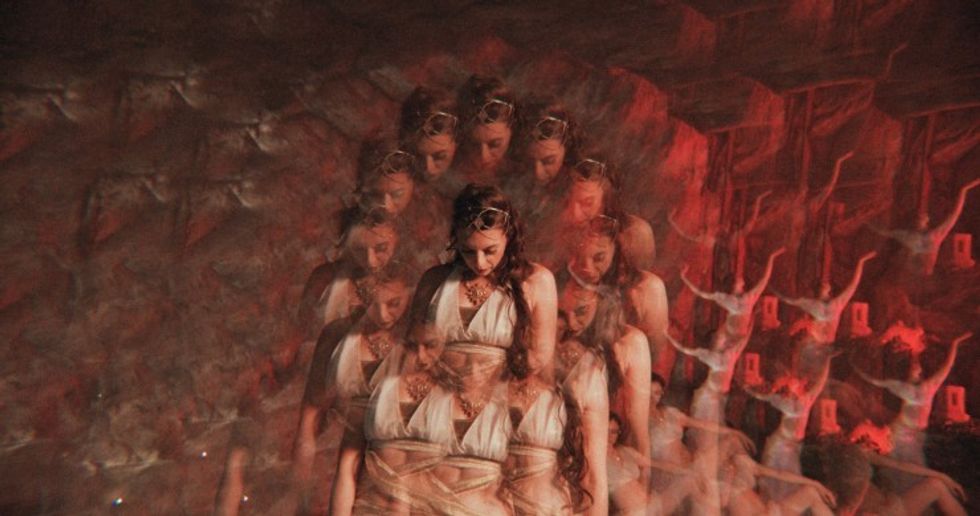 Image captured using PrismLensFX's kaleidoscope lens filter
5 In-Camera Effects Techniques
Okay, now that I (hopefully) convinced you to at least give in-camera lens effects a try, let's go over the five techniques Owens talks about in the video.
Split Diopter
These specialty filters are used all the time in all sorts of productions, from low-budget indies to giant Hollywood tentpoles. Split diopters are just filters designed with half flat glass and half convex glass, which makes one side of the frame nearsighted and the other farsighted. Because you're able to focus on multiple planes, you can have objects in the foreground and background completely in focus.
But that's it's traditional "intended" use. If you want to use a split diopter to create some sweet lens effects, Owens suggests moving the filter around, tilting it, jiggling it in front of the lens, whatever you have to do in order to create some cool looks.

Prisms
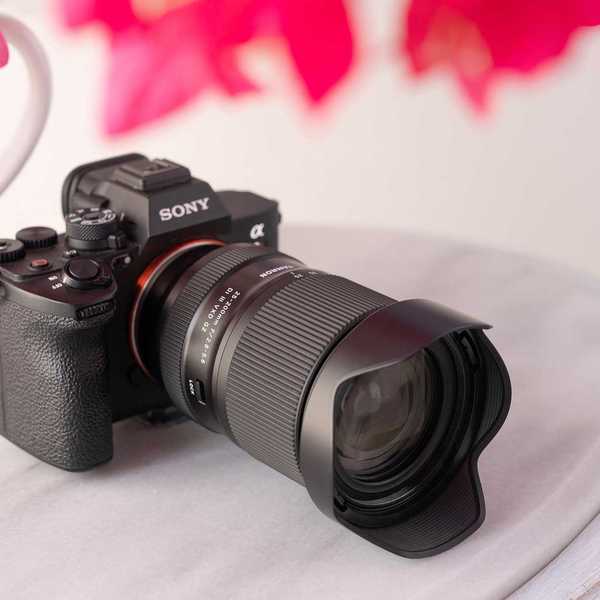
Filmmakers have been using prisms to create in-camera effects for a long, long, long time. When it comes to technique, there's not a whole lot to know, because it's as simple as holding the thing in front of your lens. Of course, the longer your lens the better, because you want the prism to be an effect maker, not a character in the foreground, right? You'll want to use something at least in the 50mm to 100mm range.
If holding a prism in front of your lens all day doesn't sound particularly enticing, Owens' company, PrismLensFX, actually sells a sleek mountable prism for a more hands-free experience.
HBM Filter
Not a fan of the crispness of UHD images? Looking for a smoother aesthetic with light that blooms more than it beams? Then you might want to get your hands on an HBM (Hollywood Black Magic) filter.
Similar to Pro Mist filters, HBMs do a lot of great things that will help you make your images more cinematic and beautiful, including diffusing light, reducing highlights, slightly lowering contrast, and smoothing out wrinkles and skin blemishes.
Admittedly, this may not be what you might expect to see on an in-camera effects article (light leaks, rainbows, and flares, oh my!), but it is an effect...and one that you can get in-camera rather than spending hours in post trying to replicate the look digitally.
Kaleidoscope Filter
I mean...this effect is just fuggin' awesome. Obviously, you're most likely not going to be using kaleidoscopic images in all of your work (or maybe you will, and I fully support and want and need that), but if and when you do, you do not need to try your hand at replicating the look in post...which I assume would be quite complicated and time-consuming.
There are a handful of great kaleidoscope filter options out there. Again, Owens' company sells one that is pretty dope for $75, but Schneider Optics also recently came out with a new set of special effects filters that include everything from "confetti" to "rainbow". Watch out, though, some of them are upwards of $600.
Put Random Stuff in Front of Your Lens
If you want to take a DIY approach to creating in-camera effects, you can always try, you know, putting random stuff in front of your lens. If you have a long enough lens (remember, 50mm to 100mm or so), you can put anything near your lens and create some pretty sweet effects. You can try Christmas or fairy lights, leaves, champagne flutes, literally anything you can think of that will obscure your image, bend light, or produce something that looks interesting.
The best thing about this technique is...it costs you nothing! That's always nice.
What are some of your favorite in-camera effects? What about your favorite tools and accessories for creating them? Let us know down in the comments.
Source: The Buff Nerds