I chatted with the film's director, Dito Montiel, who made his mark with his autobiographical indie drama A Guide to Recognizing Your Saints, about his work on Riff Raff and quickly discovered the influence his hardcore punk rock past had on his approach to filmmaking.
He told me, "I make noise and I keep making it."
That noise he's making is something all filmmakers need to hear if they want to learn how to survive the film industry.
No Film School: You got your start in filmmaking with A Guide to Recognizing Your Saints, a super powerful drama—autobiographical. What made you want to make the jump into this darkly comedic story about family dysfunction...and lots and lots of killing?
Dito Montiel: Well, when you see Saints, it's a pretty dysfunctional family, a different version of one. Originally, it was written by John Pollano as a play where everyone was in a room together, and PJ Ransone, who's an actor I love—he's a nut—and he said, "You got to come check out what we're rehearsing and read it." And I read it and I remember thinking, it feels like Virginia Woolf, but everybody's Virginia Woolf.
I was watching White Lotus like the rest of the world, and I had been obsessed with this thought of Who's Virginia Woolf? And I'm looking, and I go, "This lady's freaking great." And my wife is like, "That's Stifler's mom." Apparently, I was the last person to know who [Jennifer Coolidge] is, and I've been well-schooled on her ever since. It's funny, but I read things or I work on things and I think of someone in it and I say, "Well, the family doesn't think it's very funny, so we'll go with that." And so I just jump into it because I see my mother in something, or very selfishly, I see somebody I know or myself.
NFS:Riff Raff blends the crime genre and the comedy genre really, really well. When you were working on the movie, how did you strike that balance between the two genres?
DM: I don't think about big-picture stuff. I just think of a scene or a person. I thought of Ruth and DJ—the two people I was really thinking about so much. I remember I had this vision that wasn't in the script that Ruth would look through Sandy's really expensive drawers in her house. That was a thought I had. And I wrote it down and I said, somewhere in this movie, if I'm so lucky to get someone like Jennifer Coolidge, we're going to do a scene like that. We ended up doing a scene where she's looking in the bathroom at all the expensive things that Sandy had. It wasn't in the script, but we had an extra twenty minutes one day. So I was like, "Let's just grab this." If it wasn't going to work for the movie or the character—I thought, if nothing else, I'd be able to see Ruth for who she is. And I wanted that.
When I made my first movie, you'll see it was funny because Channing Tatum is in it, and he kept walking up to me and saying, "Is my character the baddest motherfucker who ever lived?" And I remember thinking, "Oh, the guy who I wrote, he's impossible to love and he thinks he's nothing." So I said, "Why don't you walk to the camera and tell the camera you're a piece of shit?" Just my weird Sundance crap in my head just for character. And then we ended up using it in the movie, but I just wanted his character to know he's not incredible...he's nothing. At least he thinks he's nothing because of what he's been through in his life. So, I think of things like that—more emotionally than a genre.
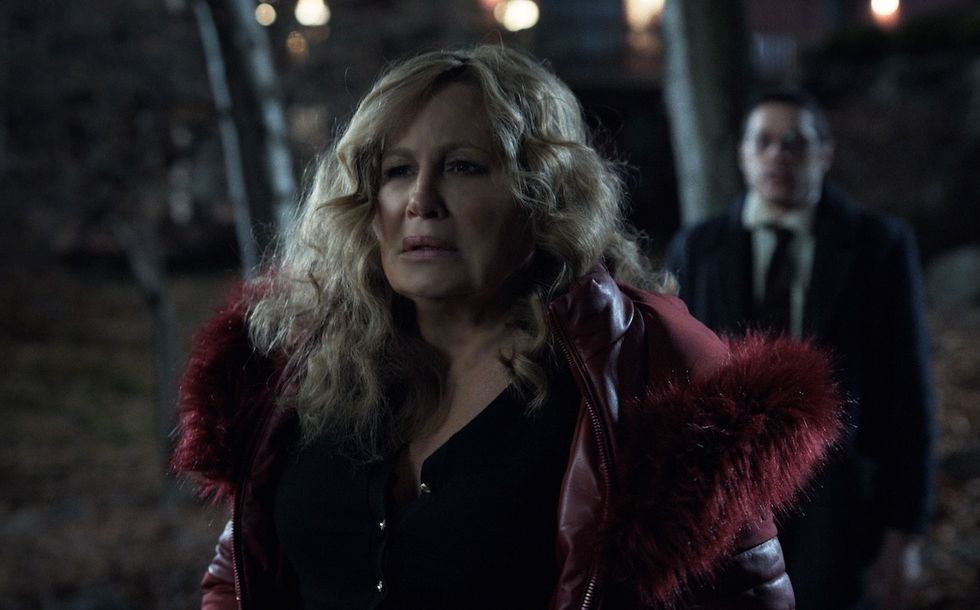
 Jennifer Coolidge and Pete Davidson in 'Riff Raff'Credit: Roadside Atractions
And then again, if you're so lucky to have Jennifer Coolidge and Bill Murray and Pete Davidson and Gabrielle Union—I mean, these people you don't really have to worry about. If I have to push you to laugh at Bill Murray there's probably a bigger problem. So, I don't think of genre at all.
NFS: It's so funny that you mentioned that scene where Jennifer Coolidge is walking through the bathroom and taking out Gabrielle Union's makeup, putting on the lotions and serums. I watched that and thought, "Dang, that's a really pivotal moment." She's sitting there being like, "This should have been my life." And she wants a little bit of what Gabrielle Union's character has. It broke my heart.
DM: When she was doing that scene, it broke my heart because I love Ruth and I love all that she doesn't have. It was a moment that we could all understand. We're not here to laugh at Ruth. We might laugh with her. We might laugh at her at times because...insane. But I wanted to understand her. Then, the other side of Jennifer Coolidge, which is what's great, is first she steals one thing, two things. And then on the day, she stole everything. And at some point I'm like, "Jennifer, you can't steal everything." It was like...she took the soap. I'm like, "Okay, now we're out of control."
NFS: You were the lead singer of Major Conflict in the late-80s.
DM: Well, the early-80s, unfortunately, but yeah. Yeah.
NFS: That was a hardcore punk rock band based out of Queens. So, here's my weird question for you, because I'm a little bit of a musician myself. If you had to define your voice as a filmmaker, not necessarily in terms of themes or influences or whatever, but in the way a musician defines their sound, how would you describe it?
DM: Oh gosh. Okay. Well, I never could play very well, which is why I loved hardcore because most of my friends at the time were trying to figure out Jimmy Page riffs. I ran into this guy and, within six days, we were playing at the A7 Club screaming. He showed me two-finger bar chords, and we played a bad version of La Bomba. My life completely changed at 14 in that moment, I couldn't believe it. All these incredible musicians that I knew, that I never thought that I could never be a 10th as good as, were sitting in Queens trying to learn Jimmy Page, and I was on a stage with six crazy Mohawk people screaming. And then along with that comes, well, now you have to write your own words for it.
 Gabrielle Union, Miles J. Harvey, and Ed Harris in 'Riff Raff'Credit: Roadside Attractions
So, this sort of do-it-yourself attitude has been a part of me since I was a kid, where it doesn't matter if I'm as good as the other guy. I think of myself still as that kid in a hardcore band that can't really play, but I snuck into the party and you're not going to get me out and I'm going to make noise, and I don't quite know the proper angle to shoot this on. I go with a feeling at all times. That's my style. So musically, it probably is all over the place. I like to make a movie as quick as possible, as long as I can get it done.
And this is maybe slightly off what you're saying, but everything is related to music for me. There is a place for the incredible, artistic filmmakers. I got kicked out of high school. My father was a typewriter mechanic from Nicaragua. I have no business to be in this business. I landed here because I loved to write, and it stemmed from being that kid who had to write stupid lyrics—terrible. But it was a way for me to survive and be able to have a little bit of a voice. I make noise and I keep making it.
NFS: I love that. I want to put a lot of what you just said on a shirt.
DM: Yeah, that's a lot of small print.
I love the name of your show, so I'm like, yeah, No Film School. Not that film school is bad, but it's kind of a nice name.
NFS: Yeah, when you mention you're kind of a DIY guy, I am like, "Yes, that's kind of what our whole thing is over here." You want to make a movie? You don't have any gear? Do you have a phone? Get it out. Let's go out in the backyard and make a movie
DM: Oh, yeah, who cares if it's horrible? I don't care. Half the hardcore bands were terrible. Mine included, but it didn't matter. We had fun.
NFS: That's the coolest thing about it. It's just fun for me and I don't care if I'm good. I don't care if I make any waves. I just enjoy doing it. I write scripts just because it's fun. Who cares? Nobody has to see it.
DM: It always should be. And it is a strange world because film is nuts, right? The truth is, you can do whatever you want on your phone, but if you're going to try and get people involved where they're going to invest money—I don't care if it's $5,000 or $5 million or $50 million—there is a certain amount of duty that you probably should have, not to making their film, but to making your film as best you can. So, it's not really a matter of, I don't care. I care so much. It's insane. I lose sleep over every bit of it, but I don't care if someone says they're not going to give me $50 million or whatever. You just got to adapt. That's part of the trip.
Gabrielle Union and Dito Montiel on the set of 'Riff Raff'Credit: Roadside Attractions
NFS: What's your advice for aspiring filmmakers, specifically the ones who are reading this on the subway on their way to work and they're just like, "How in the hell do I do this? What's even the first step?"
DM: The thing that I hate to talk about—people will say things just fall into place. Well, they don't more than they do. It's a very heartbreaking, hard business because rejection is insane and critics will kill you. It's a mean world out there, and it's painful because you put your whole life into it. Ray Liotta, who I worked with years ago, would say, "Don't read [reviews]. It's like taking a sip of poison and you wonder why you got a stomachache." For a young filmmaker, it doesn't ever get easier—you got to block the stuff out that says you can't do it because most people are right. It's a tricky world. My father wanted me to be a token booth clerk because he loved me, not because he thought I was nothing. He knew how painful the world can be, and he was scared. I took a different path.
But, if you do love it, if you want to take it to the level that you think you can get other people to invest in your dream, you got to respect it to some degree. You better work hard for it and think about every little bit of it.
It's just like music. You can record the whole [record] in your room and good, it's better. It's better because the Rolling Stones, yeah, they had a great time, but 99 out of a hundred bands didn't. Now you can make some junky little song in your room for free and go tour Europe if enough people like you. It's that "Just Do It" mentality, but without getting too corny about it.
RIff Raff will be in theaters in the U.S. starting February 28th. Tickets are available by visiting Fandango.


 Jennifer Coolidge and Pete Davidson in 'Riff Raff'Credit: Roadside Atractions
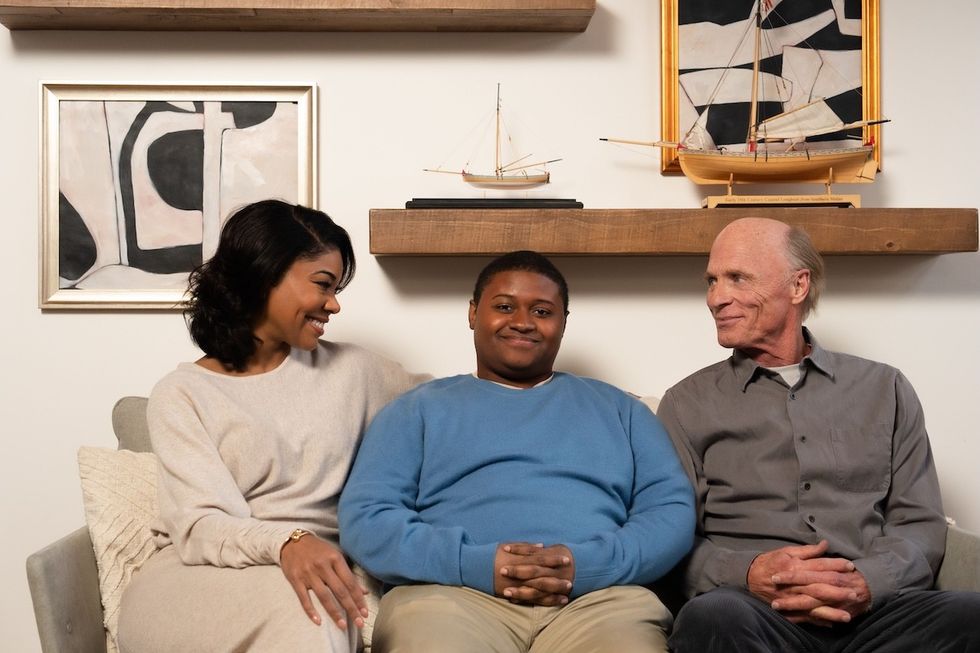 Gabrielle Union, Miles J. Harvey, and Ed Harris in 'Riff Raff'Credit: Roadside Attractions
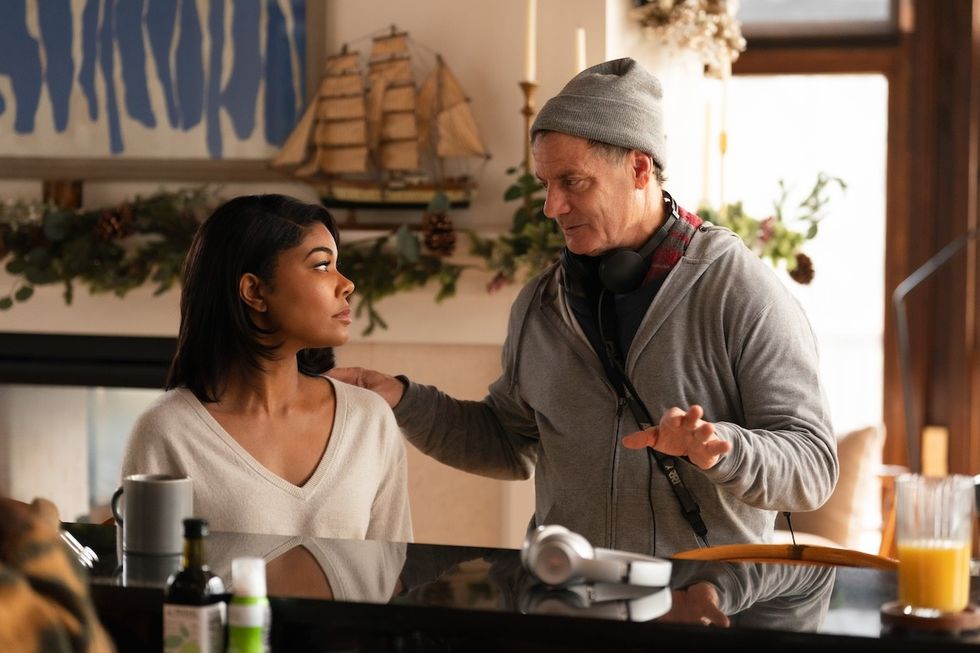 Gabrielle Union and Dito Montiel on the set of 'Riff Raff'Credit: Roadside Attractions


