Audio Quality is just as important, if not more important, than video quality to the viewer. In fact, there are several studies that go into great detail on the impact of audio quality versus video quality and the audience experience as it has a deeper impact on the percentage of viewers dropping off, the audience's trust, information retention, and even emotional and physiological responses. Great audio is seamless and goes unnoticed; bad audio sticks out like a sore thumb, pulling the viewer out of an immersive experience.
While it’s easy to obsess over visuals because its tangible, sound is half of every video and shouldn’t be neglected. It’s what holds back a lot of great content from having a higher user retention or even being accessible to a larger audience. Experienced filmmakers understand the importance of quality production sound, and what it takes to do it right.
By avoiding several common pitfalls, it will be easy to elevate the quality of your video’s audio. Even if you haven’t invested tens of thousands of dollars in professional level gear, these tips will still hold true.
1. Ditch the on-camera mics for a standalone recorder
We have all heard the results of a videographer running around as a one-man-band relying solely on an on-camera mic (hopefully not the internal camera mic). While cameras have the ability to record audio, it’s really an afterthought in their design and as a result have a lot of shortcomings in that regard. This is especially true of DSLRs, but even professional cameras like the Sony FS7s all the way on up to ARRI and RED are going to sacrifice audio quality in the name of cost, weight, and size. Many cameras record audio with lower bitrates or compressed codecs, sacrificing quality and introducing more noise. That being said, having the onboard mics can be incredibly useful to the editor as sync reference.
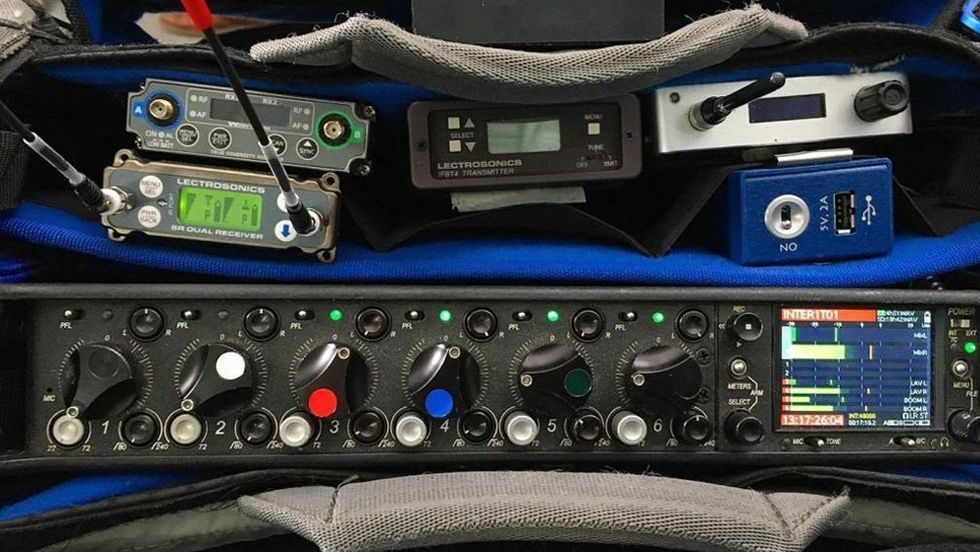
By using a dedicated audio recorder, you’ll have a lot better control over your recordings, better mic preamps, and higher quality analog to digital conversion. Additionally, having an external recorder comes with the flexibility to optimally place the microphone rather than being limited to the position of the camera with respect to the sound source. Whether a professional grade recorder, such as a Sound Devices 664 or something entry-level like a Zoom H4, it's a huge leap forward from the camera’s internal audio capabilities.
2. Get your mic as close as possible
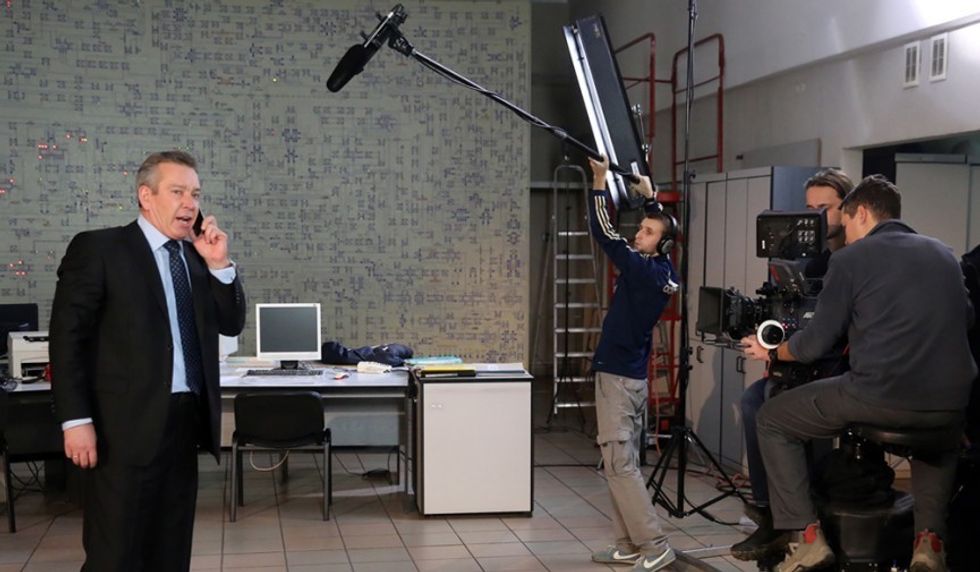
In most cases, getting your mic as close as possible to the source you're trying to record is going make it sound significantly better by reducing background noise, downplaying the effects of room acoustics, and increasing proximity effect. When working in uncontrolled locations, such as events, this becomes make or break. Simply put, a mic half an inch out of frame is going to sound significantly better than the mic on the other side of the room.
3. Shotguns vs. Small Diaphragm Condensers vs. Lavaliers
Not all mics are created equal, and some will perform better in different scenarios. Camera framing, talent movement, and filming location are the few major factors that play into your choice for what microphone to lean on in each situation.
While a well-placed boom will almost always sound better, lavaliers are great for unpredictable dialog from multiple people (i.e. reality TV or roundtable discussions) or if the camera framing prevents a boom mic from getting close to talent. As a downside, they can easily suffer from clothing rustle due to their proximity, or a muffled sound when hiding them beneath clothing.
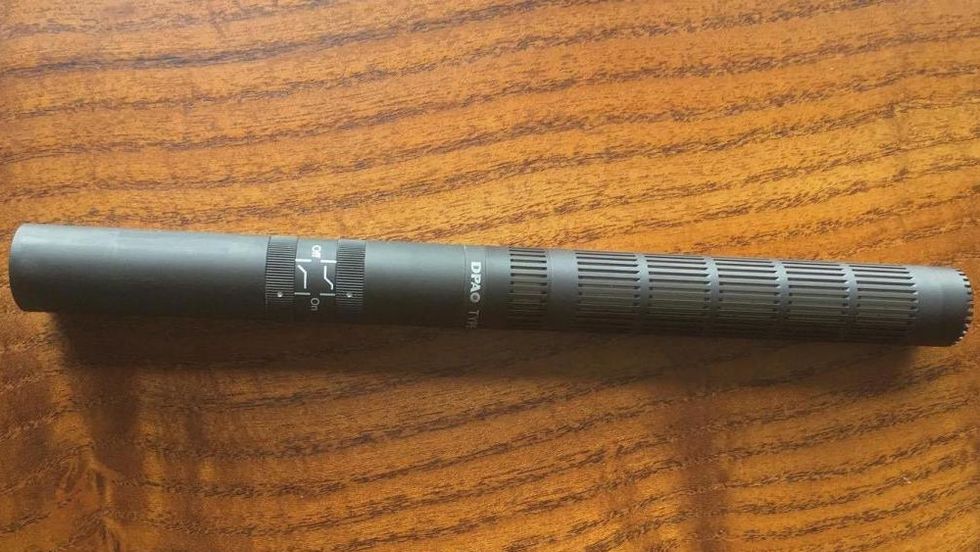
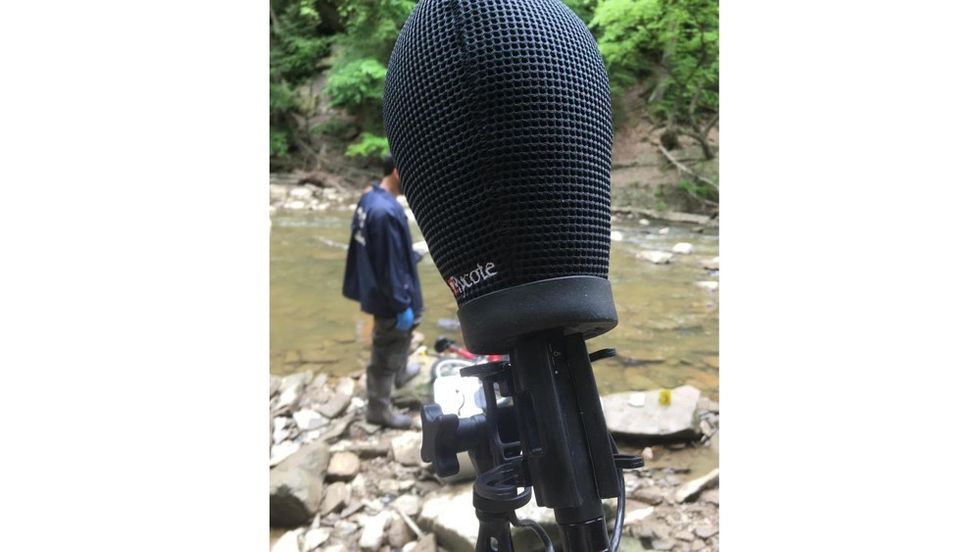
All shotguns are small diaphragm condensers but not all small diaphragms are shotguns. What makes it a shotgun is the interference tube pattern down the body of the mic that gives it its incredibly tight polar pickup pattern. With such a narrow pickup, it will have more “reach” when compared to other small diaphragms. This is an ideal choice for recording dialog outside since it does an excellent job rejecting the outside background noise. Though, what makes this mic type so great outdoors can also be its downfall. The use of an interference tube indoors can accentuate problematic room acoustics, bringing more reverb of the room into your dialog recordings. Every mic type and even manufacturer’s mics will perform differently. Getting to know your mics will ultimately inform your choice when in demanding environments.
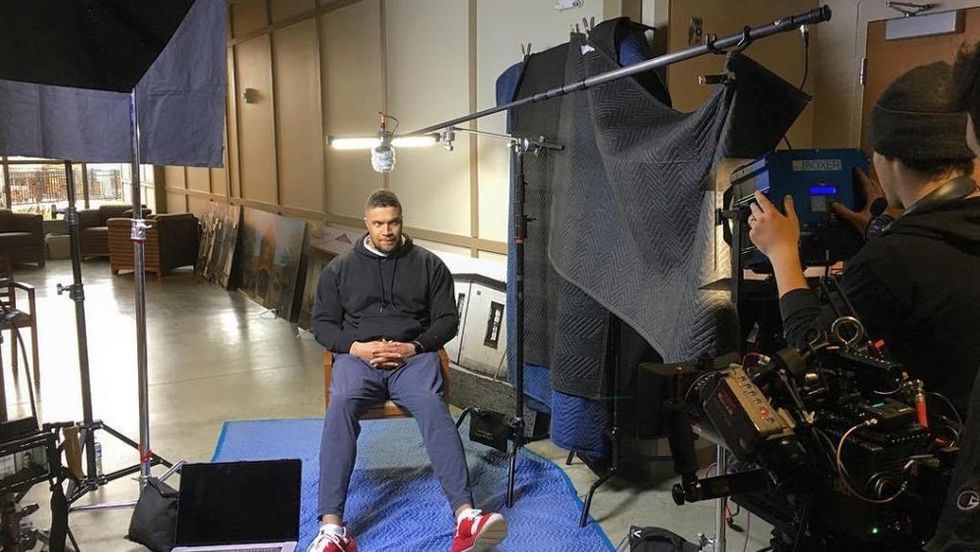
Small diaphragms, whether supercardioid, hypercardioid, or cardioid, are all excellent choices as primary indoor dialog mics, whether in an interview setup or for narrative productions. With a wider pattern than shotguns, they have the most natural, detailed, and true-to-life sound. If you have an interview subject that moves in their seat, a wider pattern can help prevent them from getting off-axis or “off mic."
4. Dealing with Wind Noise
Wind noise is an extremely common problem plaguing amateur filmmakers and YouTube content. When wind blows across a mic’s capsule, it suffers from excursions to its extremes. In extreme cases it can even damage the mic’s capsule.
When working outside, you need to cover the mic element with some sort of wind protection—the amount needed will vary based on the wind speed. Lavaliers can be buried in felt, such as Rycote Overcovers. Boom mics can use Windjammers or full Zeppelins for more effective protection. Even with wind protection, if the wind is strong enough, it can still introduce a low frequency rumble. By using a low cut filter (also called a high pass filter) at the source, you can help remove this extra low frequency content by filtering it out. Fix it at the source, since you can never fully remove the problem after the fact.
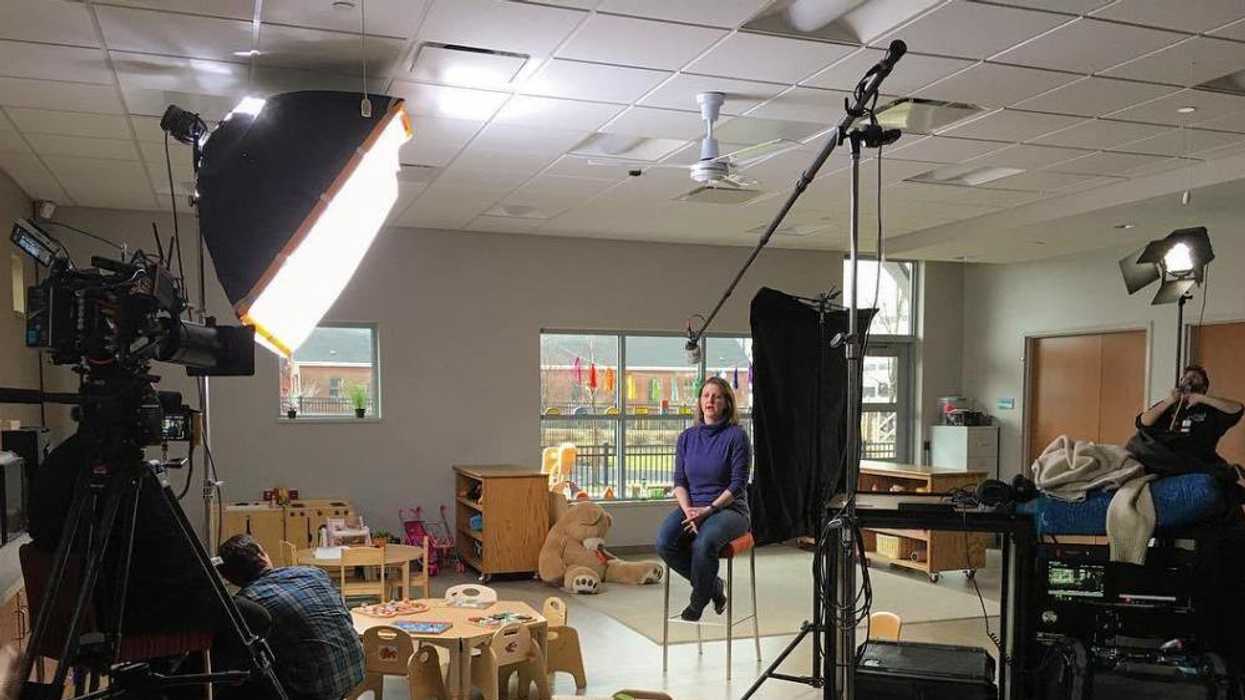
5. Controlling your environment
Not every shooting location is going to be perfect. When picking a filming location, I highly suggest not just considering the noise in the space, but what’s nearby that could be potentially problematic. Airplanes, public places, landscaping crews, police or fire departments, highways, construction sites, and more are all common problems that can affect quality and cause shooting delays.
Noise
When first entering a film set, I take notice of potential sound sources that may be a problem. This may include refrigeration, HVAC systems, mechanical clocks, house music, etc. The more of these you can eliminate the better. In active locations such as bars, restaurants, stores, and cafes, you can often just go up to the main counter and ask them nicely to turn the music off while you are recording sound. I’ve yet to have someone tell me no.
Ask before you unplug someone's fridge, but that can easily quiet a house down quickly. Just don’t forget to plug it back in. You won’t be able to shut off the HVAC in every shooting location, but on several occasions, I’ve had luck with gaff tapping the room’s vents shut to kill that room's HVAC. If the neighbor starts mowing the lawn, you can always explain you are recording an interview and ask if they don't mind waiting a few hours. You’d be surprised how accommodating people will be.
Reverb
Overly reverberant spaces can decrease clarity and intelligibility. While you can effectively “de-reverb” a recording after the fact with specialty software, it will introduce a ton of artifacts. Fortunately, the most noticeable part of the tail are the high frequencies, which can be absorbed with sound blankets to knock down some of the slap and tail. While it won’t sound like a recording studio or sound stage, it will be a big improvement nonetheless. Walk in your sound blankets on C-stands as close to the edge of the frame as possible, tightening the immediate area of the on-camera talent.
6. Record Room Tone
Recording room tone has two big uses come time for post. Often with edits, you need a bit of room tone edited in to help smooth out the dialog edit. Every sound source in a space adds up to create a unique noise profile for the room that won’t sound like any other space. By recording the noise profile, you can use noise reduction software to analyze and remove the noise floor from your dialog.
I suggest recording 30 seconds of room tone for indoor spaces with a very consistent noise floor. For outdoor locations, or spaces with a lot of variance to the noise floor, I suggest recording at least 1 minute if not longer.
7. Hire a professional production sound mixer
The best thing you can do is hire an experienced production sound mixer with the gear to accomplish your production’s needs. Knowing what’s going to work in each scenario you encounter comes with years of experience. Great sound mixers show up with top tier gear, backups, and additional gear in case of unplanned needs, and consistently deliver you the highest quality possible given the circumstances you throw at them.
Editor's Note: This story first appeared on Rapp's website and was edited for clarity.