5 Tips to Make Filming on the Coast a Breeze
Here are some practical tips and tricks to keep in mind when you want to capture a scene on the beach.
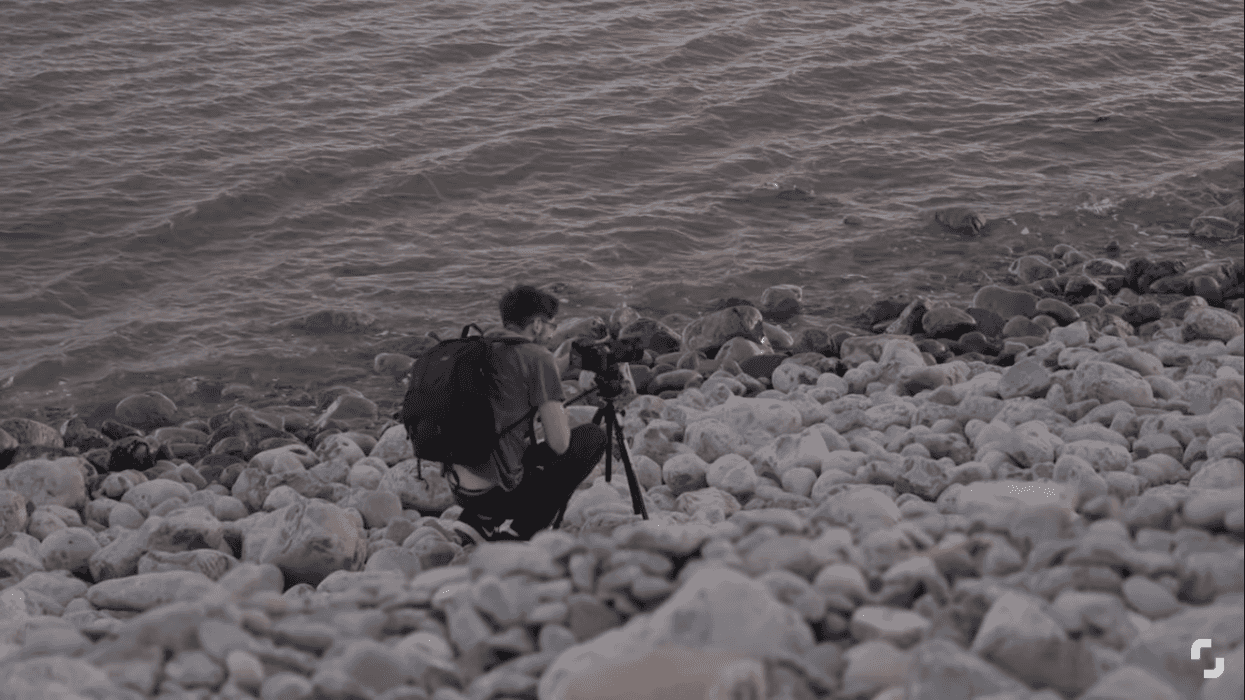
There is no doubt that there is something breathtaking about an ocean shot. It’s equal parts peaceful, chaotic, irregular, and mysterious, which allows the coast to be used for several different genres of film and music videos.
There are no secrets that are unique to shooting at the beach; the same principles for a regular shoot apply to the coast.
There are a few elemental factors that are special to the coast that could cause trouble for your camera. Shutterstock Tutorials breaks down how to avoid these factors that only appear at the coast.
Check out their video below:
Shoot the ocean at an angle
We all have our good angles and our bad angles, and the ocean is no different. Unless 12-foot waves are crashing into the coast, the ocean can be a bit boring to film. Since the ocean is mostly calm, there are two things you can do to bring energy to the ocean.
First, don’t film directly out into the ocean. Instead, film down the shore to give the audience two lead-in lines to look through the frame: the waves and the coast. Since the ocean is the main star in this shot, make sure it fills in two-thirds of the left or the right of the frame.
Second, bring the camera down lower to the ground to fill the lower third of the frame. What you end up getting is a constantly moving reflective surface. The more ocean you have in the lower frame, the more shapes and motion there are moving and creating depth within the image.
Avoid getting the camera wet
If your camera isn’t waterproof, then here are some tips for keeping your camera safe.
You may not think it’s a big deal if a little ocean spray gets on the camera, but it is! Saltwater is very lethal for electronics, so if you get any spray on the camera, wipe it off immediately with a damp cloth.
If you get it on the front filter, don’t wipe it off with a lens cloth because ocean spray smudges differently. Have lens spray and a clean lens cloth (a different one from your normal lens cloth) to get rid of that saltwater smudging.
Avoid the haze
Sometimes, a small amount of ocean spray may still get on your lens and you might not catch it until you get home and watch the footage. Don’t be discouraged because the footage is salvageable.
First, go into DaVinci Resolve Studio, click the tool that says "dehaze." Drop the tool on your final node, and voila! the footage is dehazed.
There are a few sliders to help with the color and contrast, but keep in mind these principles. The dehaze tool applies contrast and saturation to a hazy image. Gade your image as you would, but leave out the contrast and saturation.
Clean your camera thoroughly after shooting
It is common knowledge that sand gets everywhere. Even if you take the utmost precaution and keep your gear clean, the sand will find its way into your camera. This isn’t so much of an issue with a modern lens because they are designed to keep the dirt out of your camera, but with older cameras, the gap between the focus and the zoom ring is much larger.
If sand gets in the gap (and you’ll know if any is in there when you turn the focus and your camera sounds like a pepper grinder), just take the sharp edge of a polymer note or a piece of printer paper and flick out the sand in the focus ring.
Sometimes, your camera is wrong
Most cameras house the tool zebra—a tool that shows you clipped images. However, it is natural to find highlights on the tips of waves because it is a phenomenon we experience with our own eyes. If your camera is telling you there are areas of clipped value and you expose to correct them, you may end up with a shot that is unflattering and unnatural. Let the ocean have its moment and realize that your camera may just be wrong.
Do you have any other tips for filming on the coast? Share them down below.
Source: Shutterstock Tutorials