As a cinematographer, knowing how to light any space on the spot is always a great skill to have. It is also great to know how to light for any time of the day. Whether it is the middle of the day and you need a dusk shot, or vice versa.
While there are common lighting techniques that filmmakers tend to gravitate toward, there are a few uncommon ones that don’t get a lot of recognition. Many of these uncommon lighting techniques are used for lighting scenes that take place right as the sun rises or sets, during the middle of the day, or at night.
There are many different ways to light these scenes, and Lewis Potts shows us how he sets up his lights for different times of day all in one room.
Lighting for the dawn and dusk
Think back to the last time you were up just as the sun rose over the horizon. The night sky slowly turned into the pale morning, and the world was peacefully quiet. This same feeling exists as the sun sinks back into the Earth and the night takes over. To recreate the sensation you are feeling at dawn or dusk, you have to find a way to make the interior location a certain shade of blue.
A simple way would be to recreate the specific mood of dawn or dusk would be to change the color temperature of the camera to blue or add more blue to the shot during post. The problem with this approach is that the sun creates hotspots, and the camera will have to be set to a low exposure to compensate for those hotspots. Sure, the shot will look fine, but real-world objects that produce light like a laptop or phone can only go up to a certain level of brightness, and won’t be able to fully illuminate a person’s face.
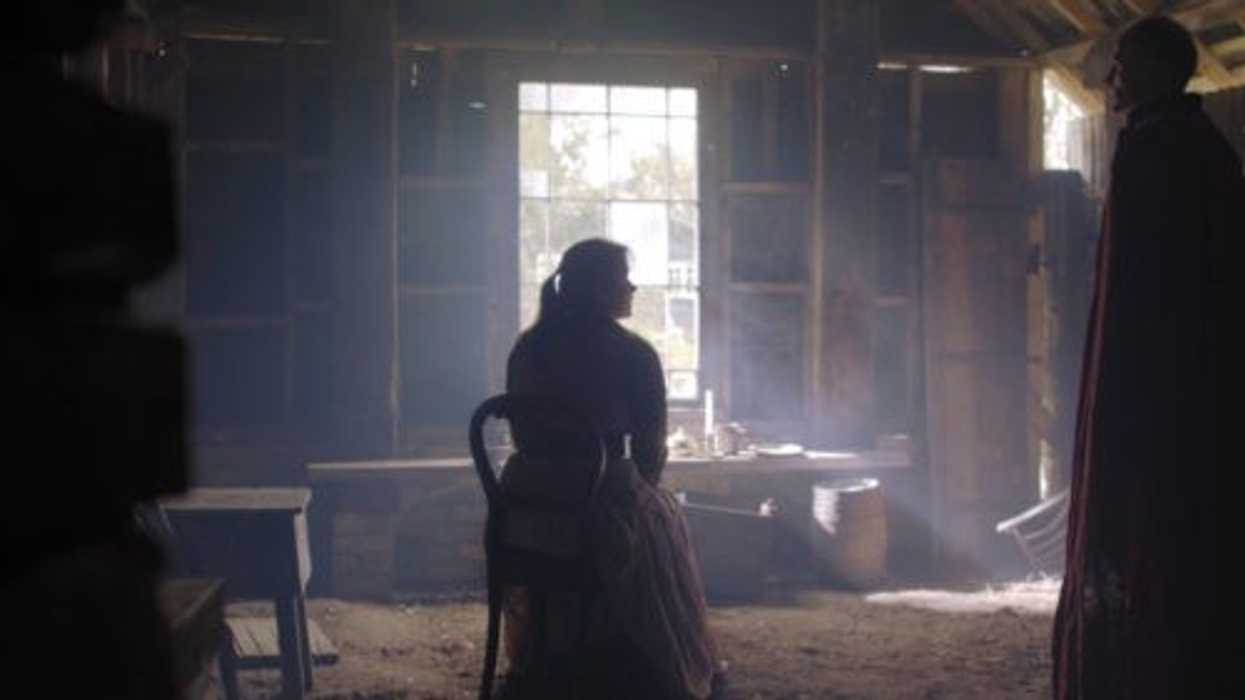
 Lighting for dawn shots in 'The Bad Son'Credit: Stuart Brereton
Another way to light for a dusk or dawn shot is by having two rolls of gel—one blue and one ND9. Cut both gels to fit the window in the interior space, then layer the blue and ND9 gel on top of each other before placing them on the window.
If the sun is super bright, add another layer of ND9 to the window. Once the gels are up, check to see if any sunspots are coming through the window. If there are any hotspots, place a sheet or flag outside the window to block the sun. This will eliminate the unwanted sunspot, and make the setup feel more realistic.
For the wide shots, add a soft light to a backroom that is pointed at the ceiling. This will bounce the light, and create more depth to the scene without drawing the eye to the dark spots in the background. If you are needing a small and soft light for a kitchen shot, then add an LED light to the bottom of the cabinet to create the ambiance you’re looking for. You can control the movement of the light by adding gaffer tape to the sides of the light and eliminate any unwanted reflections in the same way. Never underestimate the power of tape.
When we move in for a closer shot, take that backlight and make it a key light for the character. Add a sheet or any other diffuser to soften the light. No matter what the angle is, this soft key light will add a layer of realism and direct the viewer’s eyes to the character and what they are doing at such an early hour.
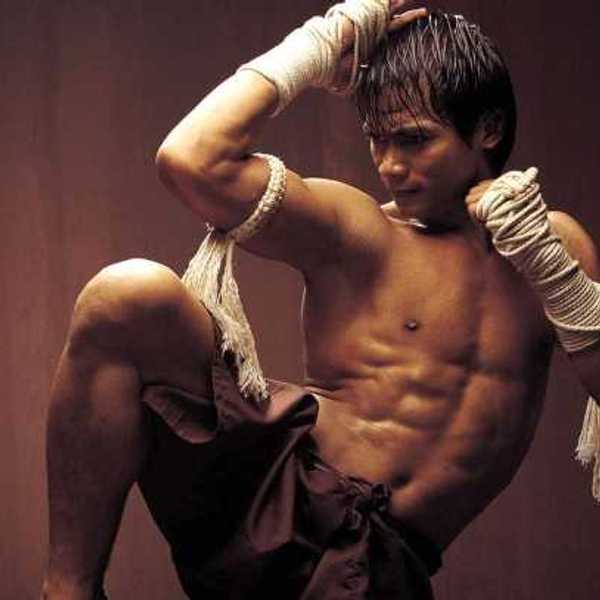
Lighting for that harsh, midday sun
It’s no secret that harsh light is the most unflattering light there is. But that doesn’t mean we can’t make harsh light look good.
The best way to make harsh lighting look flattering is by having it spill on the character’s body rather than their face. Then, a second, softer light coming from the same direction will illuminate the character’s face.
Start by taking an Aputure LS 600d light at 60%, and place it outside a window. Then, turn on the spotlight, and angle it downwards so it is pointing at a table, chair, or floor. Now that you have your fake beam of sunlight, place your character in the beam and check to see if the light needs to be adjusted.
You can also use the spotlight to hit a table, wall, or any object to bounce and light the character’s face. Bouncing light off of a wooden table can create a beautiful soft light that makes a character look breathtakingly beautiful. It is a very simple technique that many cinematographers are known for, the most famous being Robert Richardson.
If you are feeling bold, then you can use your fake sunbeam as a true spotlight for your character. This should only be done with a specific intention in mind, but the effect can have a pretty great payoff.
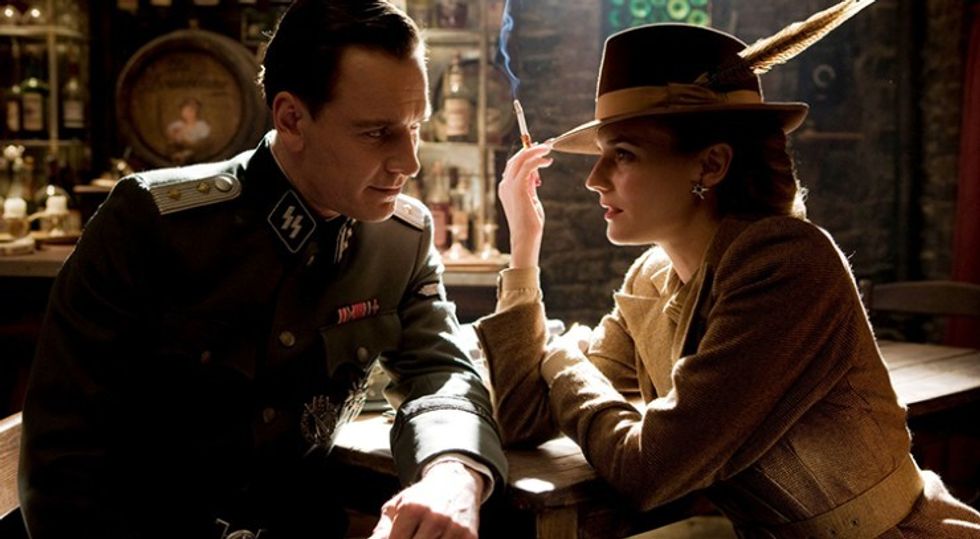 Harsh, single source light in 'Inglorious Bastards'Credit: Universal Pictures
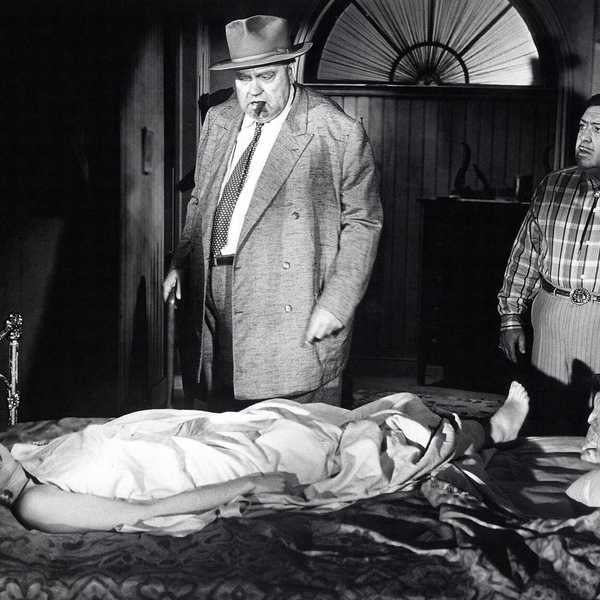
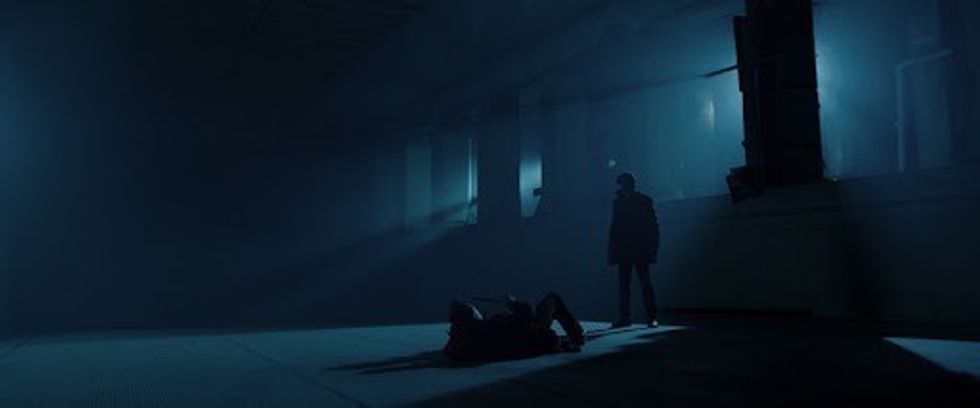
Creating depth in an interior night shot
There are a lot of different ways to light a night shot, but we are going to focus on creating dynamic light for one, simple location.
A simple lighting technique you can use is by having a light place right above a table, then point it straight down. The light will create a circle on the table, and bounce off onto the characters. This creates a dramatic level of depth that pulls the focus toward the center of the table while the light softly illuminates the faces of the characters.
You can also add a skirt to the light to control how the light spills over the room. Although this is a very simple technique, it can add a certain level of drama and depth that your shot will need.
These three simple and easy lighting techniques are great setups to have in mind when on set. Lighting a space will always be a fun process as you manipulate lights to create a specific mood for a shot, and it allows you to be creative with the tools and gear you have on hand. Hopefully, these few tips will linger in the back of your mind the next time you’re lighting a scene.
What do you think about these lighting tips? Let us know in the comments below!
Source: Lewis Potts