A Super Simple Workflow for Editing & Grading CinemaDNG RAW Footage in Premiere Pro
RAW is a filmmaker's best friend when it comes to maintaining the utmost control over an image throughout the post process. It's also a filmmaker's worst nightmare when it comes to developing simplified workflows.

Many of today's RAW workflows, whether the original files come from a Sony, ARRI, or Blackmagic camera, need some sort of intermediate step between the original footage and your NLE. This intermediate step, which can be done in any number of programs ranging from proprietary software like Sony's RAW Viewer to more common programs like After Effects and DaVinci Resolve, usually requires a basic grade of the footage, as well as a time-consuming export to an edit-friendly codec such as ProRes or DNxHD.
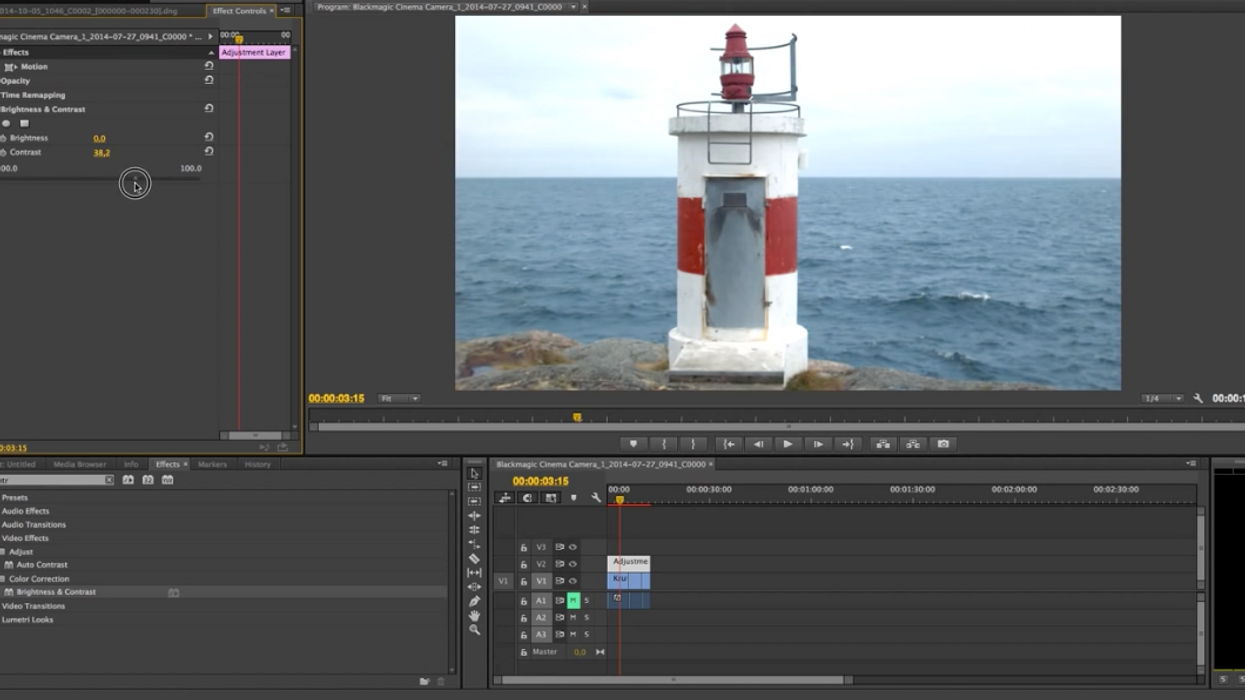
However, for folks who are short on time or lacking in the computing power necessary for a speedy intermediate process, Premiere Pro actually lets you import, view, edit, and color CinemaDNG sequences natively within the program. Here's Mattias Burling to show you just how simple it is:
The thing to take note of here is that CinemaDNG sequences need to be imported through Premiere Pro's built-in media browser as opposed to the traditional import dialogue, which operates as a traditional "Finder" or "Explorer" window and won't recognize the CinemaDNG as a single clip to be imported.
Once the RAW clips are imported into a project, they can be viewed, edited, and colored just like any other video clip, with the exception that you have access to a stripped-down set of source settings which let you change the white balance, tint, and exposure of the RAW files. Unfortunately, you lose about 95% of the control that you would get by performing an intermediate step and processing the files with a more comprehensive tool like Adobe Camera RAW. With that said, you can still color the clips as you generally would in Premiere. You can use adjustment layers and Lumetri looks and any of the other color-specific tools in the software to generate a temporary or final grade of the footage.
As quick and simple as this workflow is, if you're tempted to use it you should probably be asking yourself why you're shooting RAW in the first place. RAW workflows inherently require more work than their less-complex counterparts because they're designed to maintain maximum image quality throughout the post process. If you're looking for a quick post workflow, like the one shared above, RAW probably isn't the best choice of capture format because you lose much of that intricate control by manipulating the source settings in Premiere. Not to mention that some codecs like ProRes are going to be far easier for your computer to handle, especially if you're applying grades and effects. RAW might just end up slowing you down even more than a well-designed workflow with proxies would.
What do you guys think about Premiere's ability to edit CinemaDNG natively? Does working that quickly and simply defeat the purpose of shooting RAW, or are there circumstances in which this would be a proper workflow for RAW processing? Let us know down in the comments!
Source: Mattias Burling


