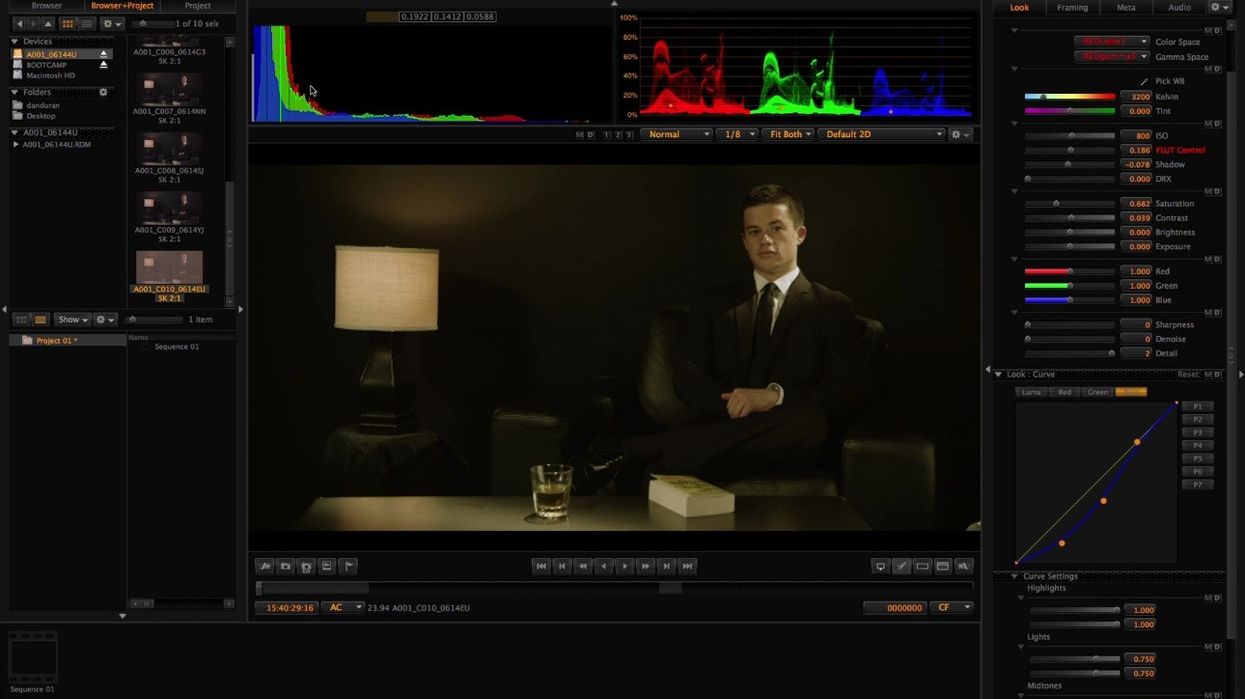
A RED Tutorial on Saving Looks to the Scarlet and Epic Cameras

One of the great advantages to shooting RAW is that nothing is permanent. If you've shot with a RED One, RED Scarlet, or RED Epic, you've experienced the liberating feeling of knowing that the changes you can make in the color grade are virtually limitless. If you've got a specific look that you'll be applying in post with Scarlet or Epic, it can be tough to know how you should be lighting without seeing that look in the camera monitor. It can be especially helpful for other crew members who might have a hard time visualizing and seeing what the final product will be. Well, here's a simple tutorial from RED on creating those looks and then displaying them in-camera:
This technique will work very well for times when the look is very specific. For example, if you were to shoot a piece with a sepia tone like the one above, it might help to have this look turned on so that you can see where your potential problem areas are. There's also the matter of wardrobe and sets -- you might decide to pick a different color for something after you've seen it using the correct look in the camera. As with all RAW, you are not stuck with this look in post -- so it can be further tweaked and pushed -- or a completely different grade can be applied.


