Professional colorist Tristan Kneschke details how material should be delivered to the color session and provides material for designers in the way they request.
General Workflow
Color jobs originating from graphics tend to operate differently than ones from typical edit sessions. In graphics, shots are constantly changing and are in need of updating, whereas in a traditional edit the shot footage is never fundamentally changed. Handles are sometimes disregarded, as the files will already be trimmed for effects workflow. In these instances, shot management is paramount. It's important to remain organized, using dated project folders if the job stretches across multiple days.
It's important to have a conversation with the graphics department to set up efficient ways to have material readied for your session. Don't assume their workflow will be the same as yours. While every effects house does things a bit differently, there are some normal procedures that can help ensure the workflow doesn't get in the way. One such procedure is to discuss deliverables before the session starts.
Designers will most often ask for DPX files, but may also want repositioned scenes rendered at full resolution. Quicktimes may also be required for the edit. Don't guess what they need. Just give them a call — they'll be glad you did. You can add additional outputs at the very bottom of the Deliver options.
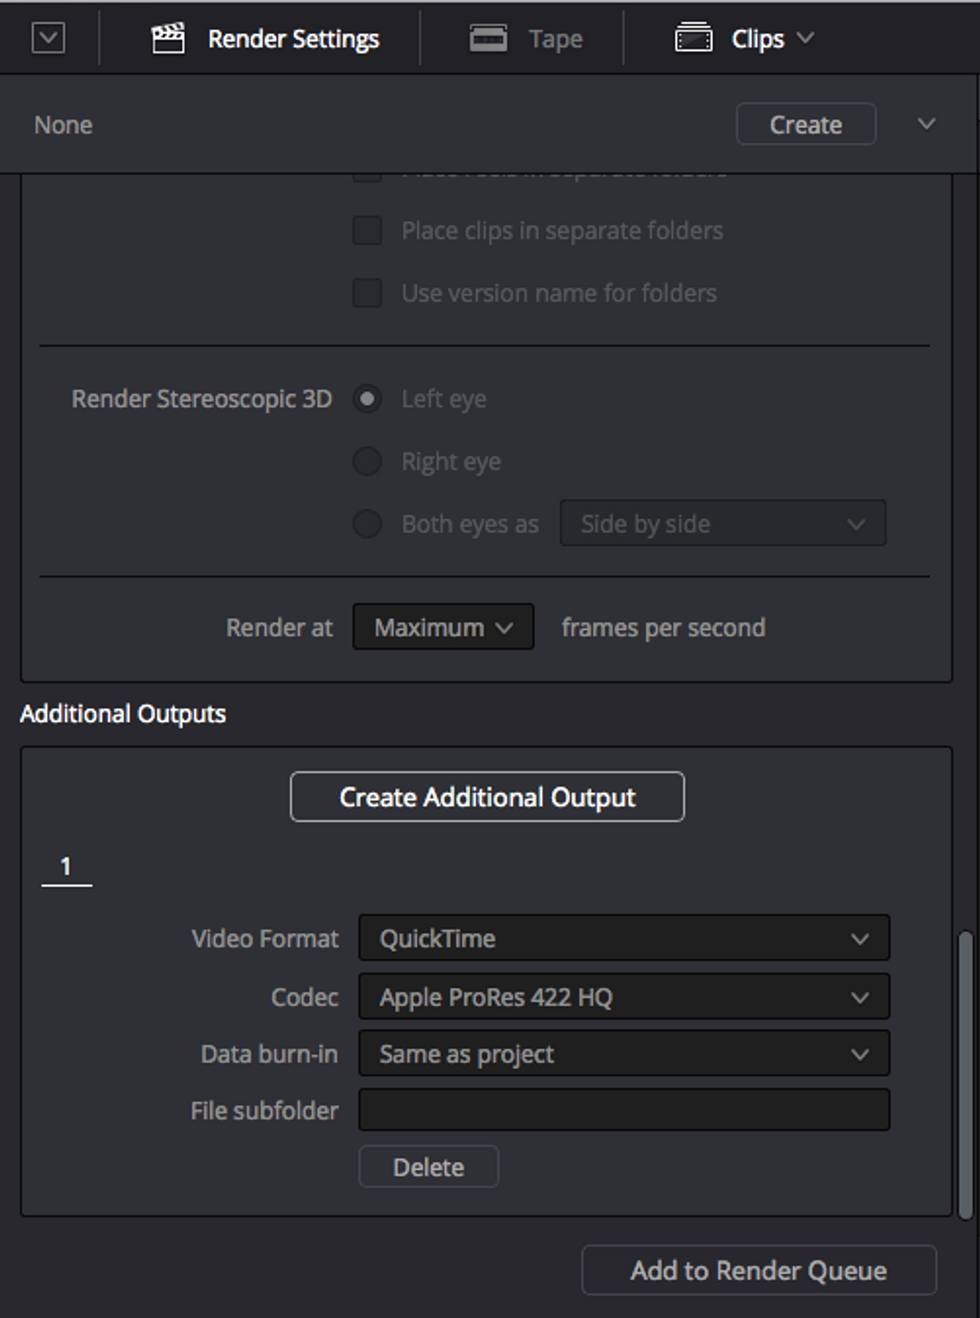 Additional renders can be added at the very bottom of the render tab.
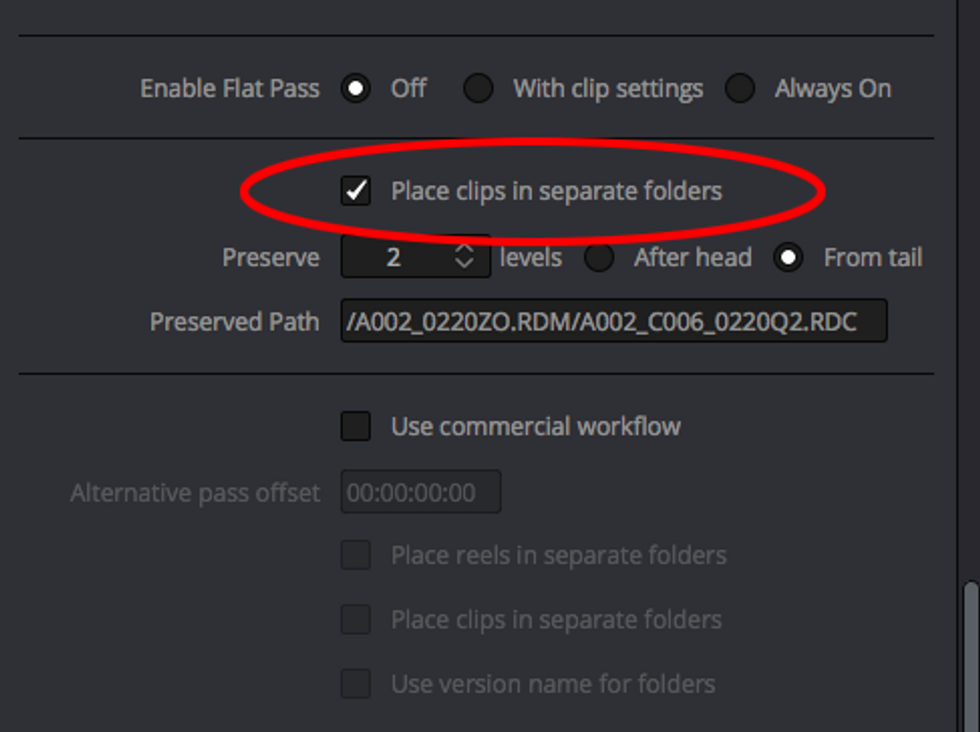
DPX files are image sequences, meaning you'll be generating a file per frame, leading to a ton of files. For the sake of organization, it's customary to render each clip to its own folder.
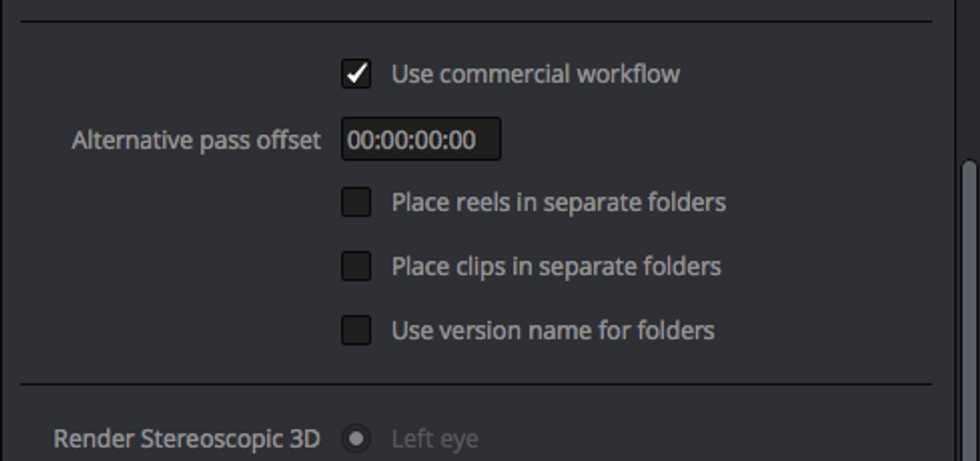 For even finer control of rendered media, select options within "Use Commercial Workflow."
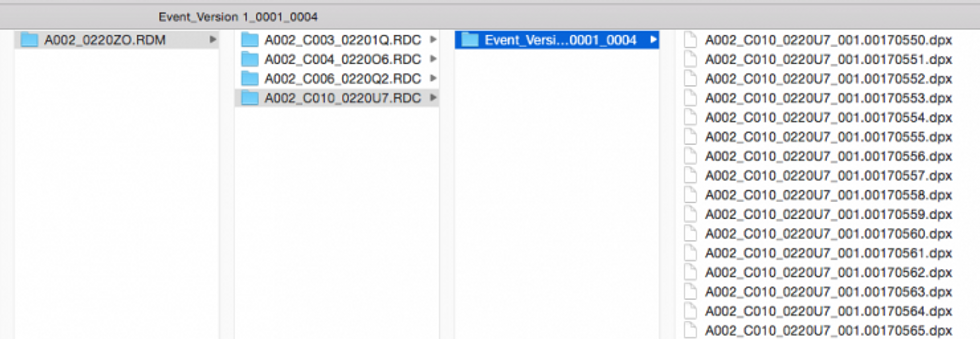 Placing each rendered shot in its own folder automatically organizes output media for you.
Graphics houses will typically label each effects shot with a unique shot number as a way to keep track of them. The folder and shot names for your output should follow this nomenclature.
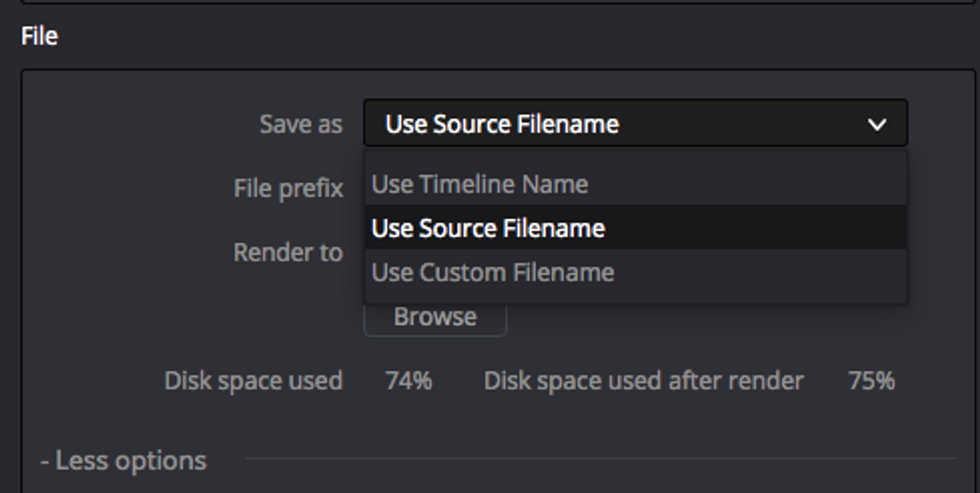 Double-check to make sure "Use Source Filename" is selected in the File tab to create renders identified with the same name the graphics house used.
Chroma Key Workflow
When working with chroma key footage, don't worry that an extreme grade may contaminate the green screen. The effects house can use the uncorrected footage to pull keys and use that information to affect the colored footage.
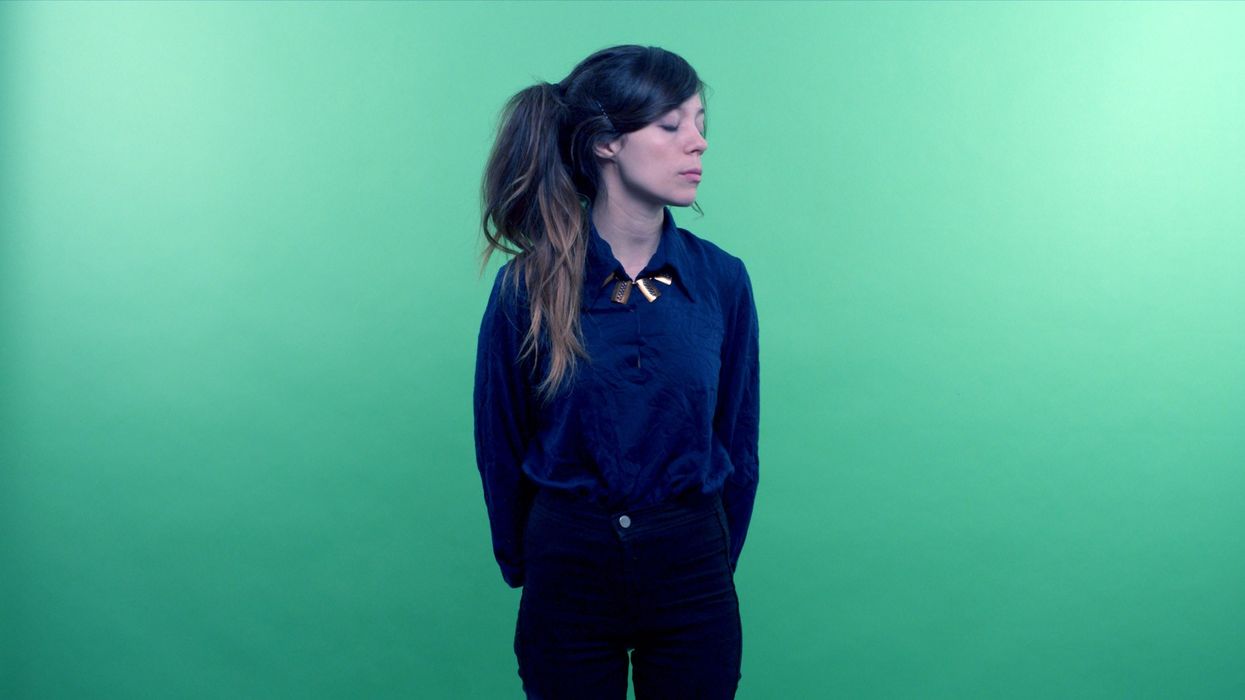
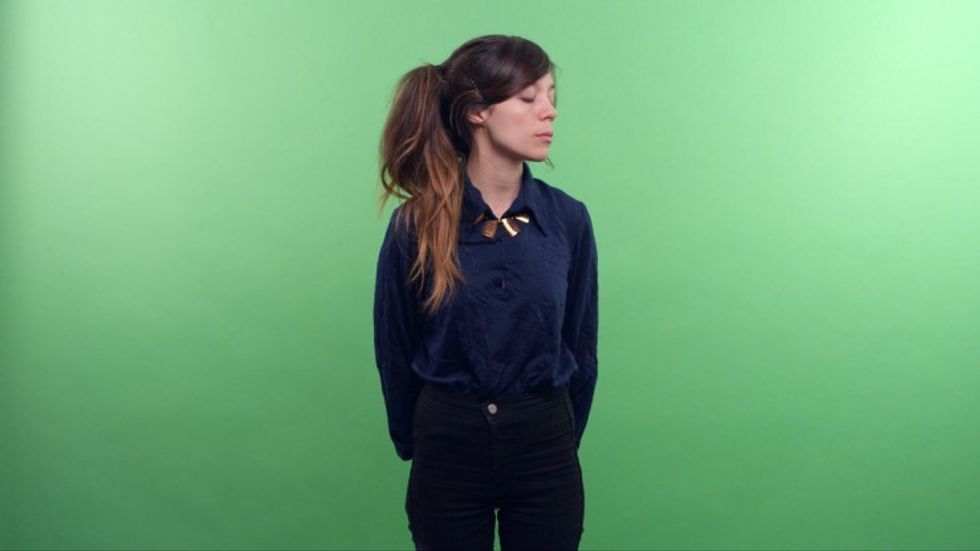 Here's our original image, ready for grading. The green screen is vibrant enough that no matter what the grade, a key can be pulled from the original and used in the resulting grade.
If clients are in the room, I pull a key on the green and desaturate it completely so that the green doesn't influence the aesthetic direction. The often bright green of the images is an unnatural-looking environment that prevents clients from evaluating important details, like skin tone, in the subject.
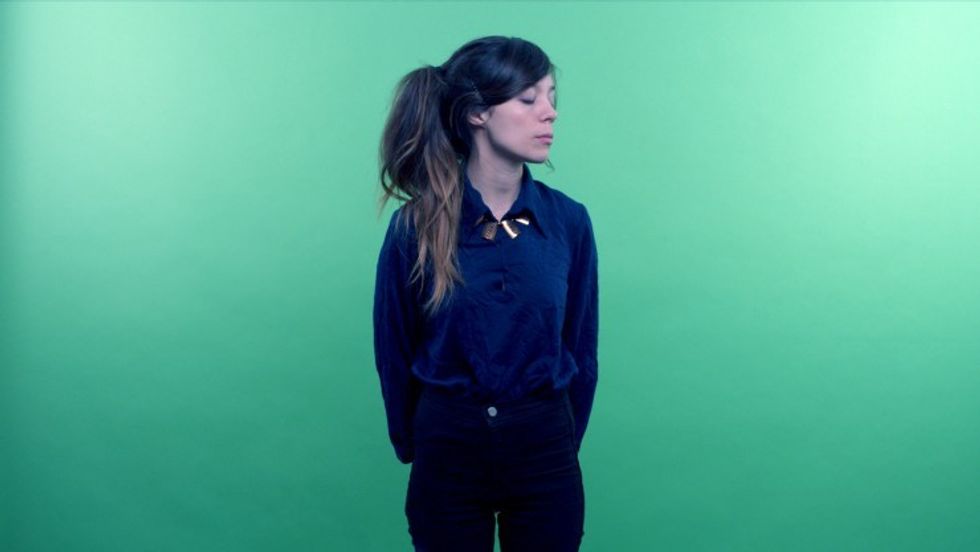 Even though the clients wanted something really dramatic with the grade, the green is affecting their ability to properly evaluate skin tones. Read on...
Using a temporary Layer node to pull a qualification on the green and then desaturating it will temporarily get rid of the distracting green. When the session's over, reintroduce the green.
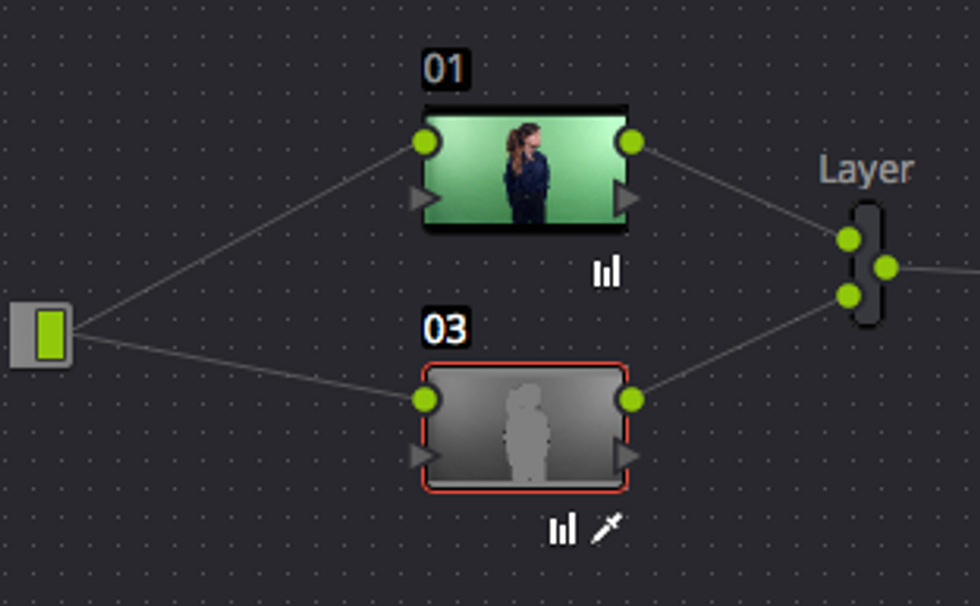 A layer node was used to pull a key on the green screen from the original footage.
 Desaturating it completely gives us a grey screen which helps us focus on the skin without being distracted by a shade of green. This is just a temporary node for working with the client, so there's no need to pull a perfect key as the saturation on the green will be reset before rendering.
Alternately, you can pull a key on the green screen and invert it, correcting everything that is not the green behind the subject. Here, make sure your key is softened out enough or excessive shifts in luminance can create artifacts.
To make absolutely sure that the effects house is covered in the case of extreme grades, if time allows, consider creating a straightforward pass they can use to pull their key from. I've had jobs where the original footage is really not optimal to pull keys from, and the graphics house has requested that I optimize it for them with a basic primary correction before passing it to them. This may sound like overkill, but it's better to provide more options than less.
LUT Workflow
High-end effects houses may opt to work with Cineon or DPX file formats which, depending on how your Resolve system is configured, may have to be converted by applying a LUT that caters to your post workflow. One of my clients works in linear EXR files, which look unnaturally dark when imported into Resolve until properly processed.
To transform the footage to a Rec. 709 space, right-click a node and select 3D LUT and then VFX IO to choose the appropriate setting. Create additional nodes and craft a grade, then convert it back to the original file format before rendering to pass files back in the same manner as they were passed to you.
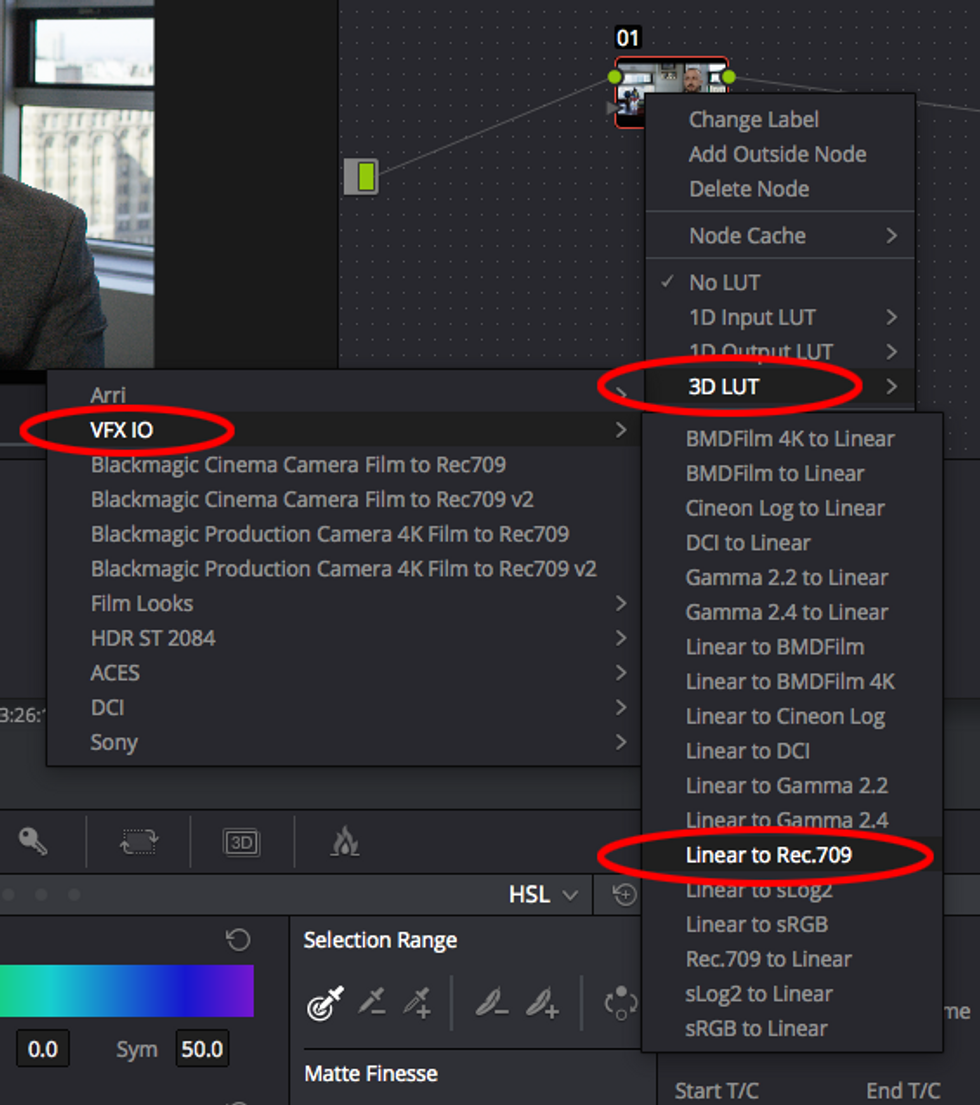 Tons of LUT options await in the 3D LUT menu. Create a serial node, select the appropriate workflow option, create your grade, then, in a new serial node, use the reverse operation to return the footage to its original format.
Alternately, you can set up global project colorspaces and specify incoming and outgoing LUTs in the Master Settings.
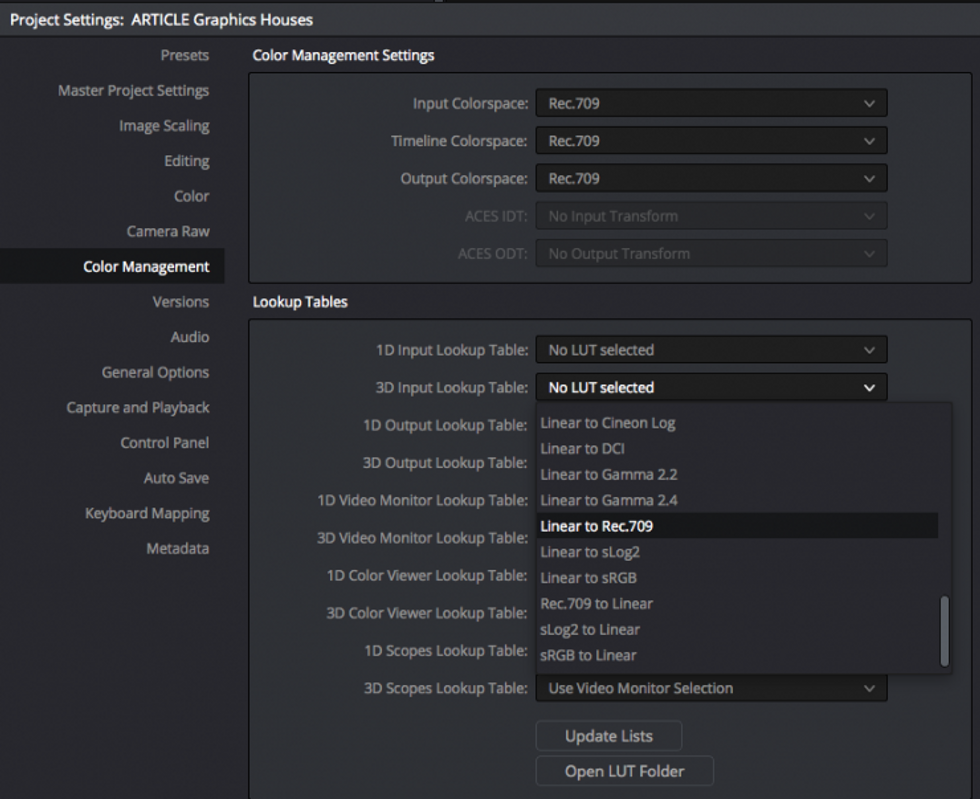 Input and output colorspaces and LUTs can be modified inside the Color Management tab of the Master Settings.
The linear EXR to Rec 709 will give the picture a better starting point, but more importantly, it will be processed correctly from a data standpoint.
What experiences have you had in working with effects houses? Let us know in the comments.
Tristan Kneschke operates Exit Editorial, a color and edit house in New York City. Follow Tristan's writing on Twitter.