Mark Vargo describes his latest video as more "tribute than tutorial," but you won't find a more comprehensive peek into this now-obsolete process anywhere on the interwebs. The fact that the cinematographer and video essayist was also a member of The Empire Strikes Back's Oscar-winning VFX team certainly adds a smidgen of credibility to this "tribute" as well.
A Brief History of the Blue Screen
Before leaping into the nitty gritty, Vargo provides us with a brief history of how the blue screen came to be. It all has to do with compositing, which is the basic VFX technique of combining different shots and elements into one image. Its first incantation was developed through the form of in-camera, multiple exposure photography, a trick of the screen that Georges Méliès would come to master in the early 1900s. He would use a "matte shot," achieved by blacking out parts of the frame using a piece of glass with some black paint. This “matte” made it so no light would reach the film, so it wouldn’t get exposed. The film was then rewound and, this time, everything else was matted out to expose only the part of the frame that was under the matte earlier. The resulting double exposure could combine two or more different shots into one frame—all done inside the camera. This was the birth of special effects.
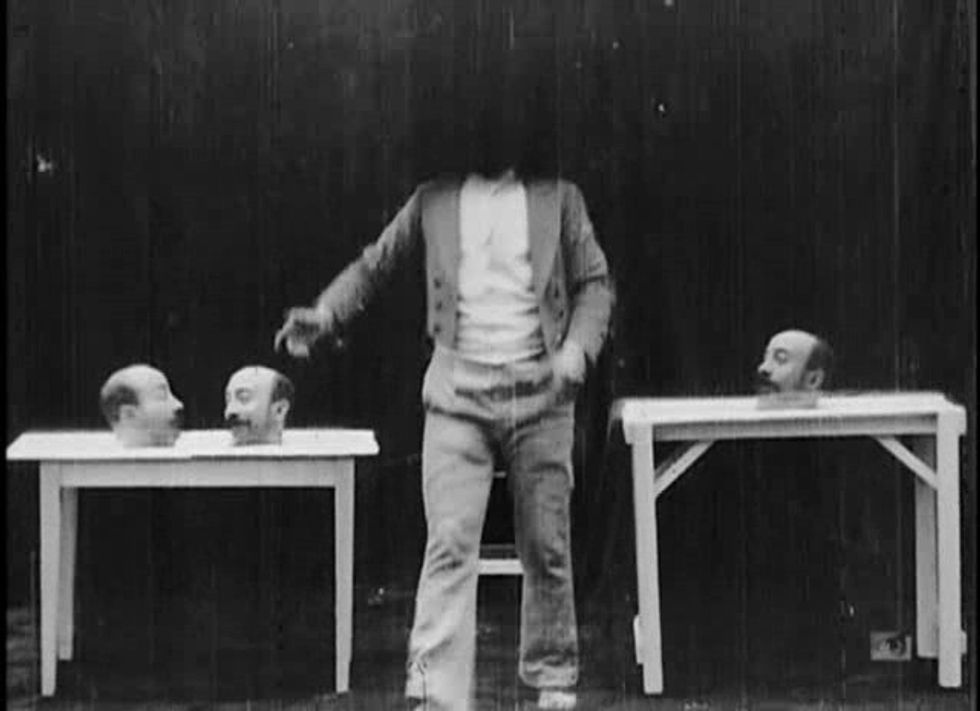 George Meiles in 'Un Homme de Tete' - 1898.
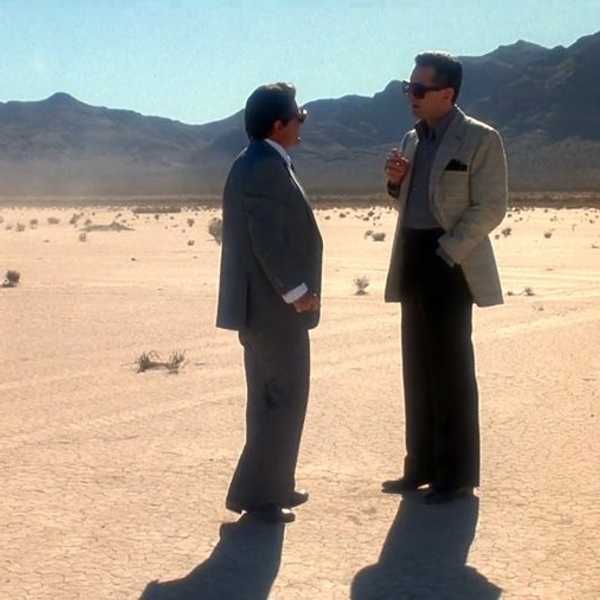
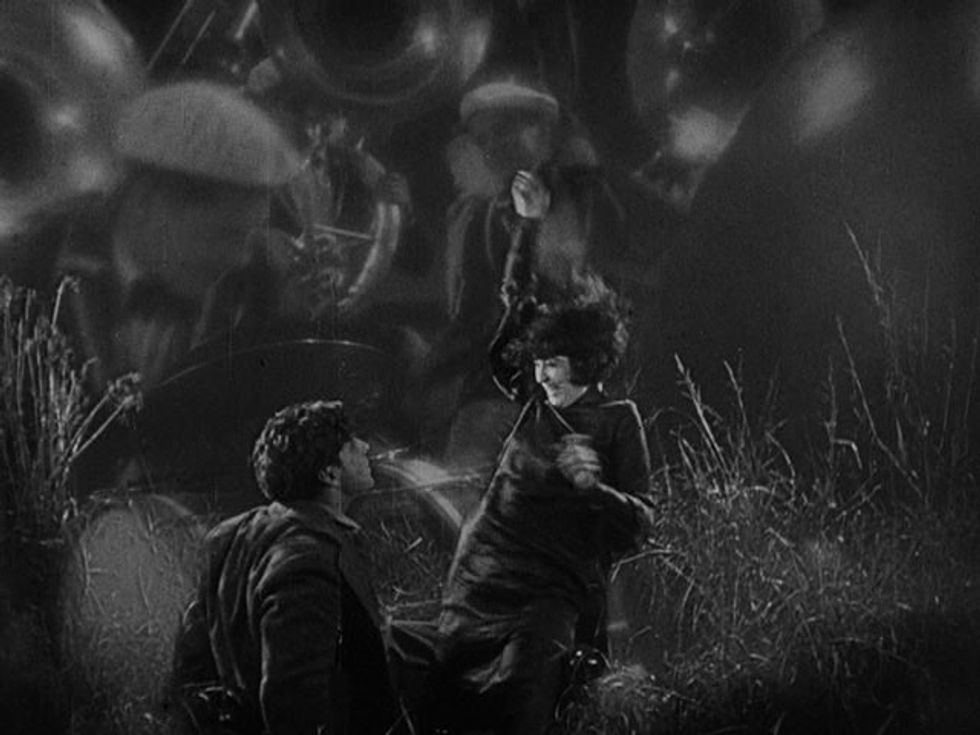 F.W. Marnau's "Sunrise"
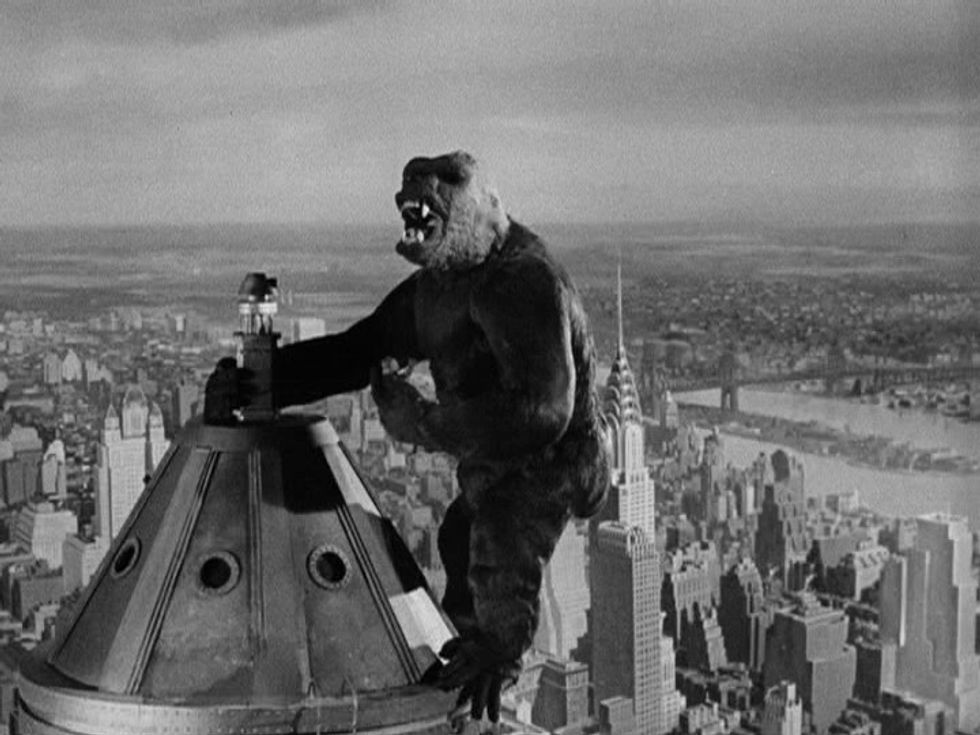 The ripples seen on Kong's fur are actually the finger marks of the operators - 'King Kong' 1933
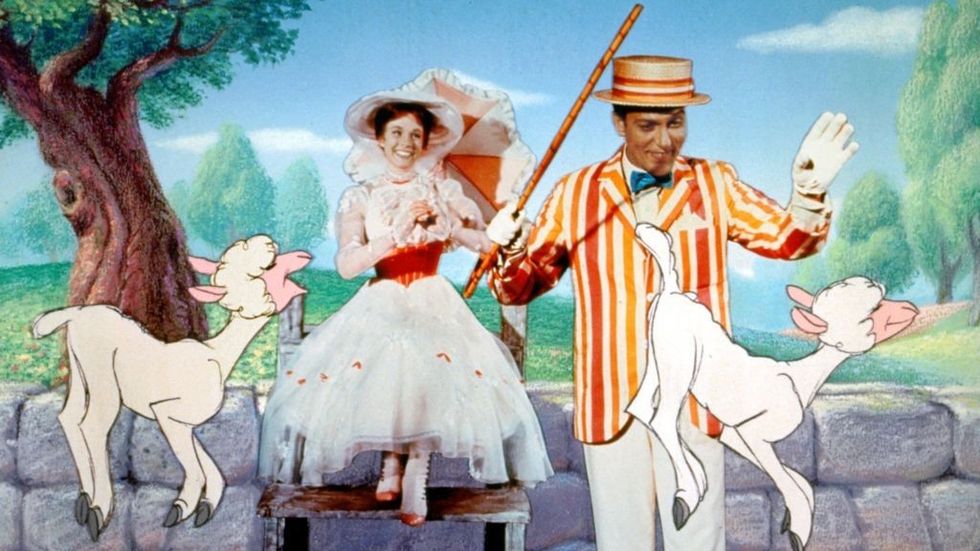 Sodium Screen Process at work in 1964's 'Mary Poppins'
Step One: The Blue Print
The technique relies on the maximum separation of a narrow slice of blue light from the rest of nature's colors. This slice of blue light is emitted around 500 nanometers. When that light is emitted behind a black and white negative of the piece of film you want printed, this blue separation becomes clear. Because it makes the blue screen go completely clear, this is what's known as a blue print.
 Blue light at 500 nanometers.
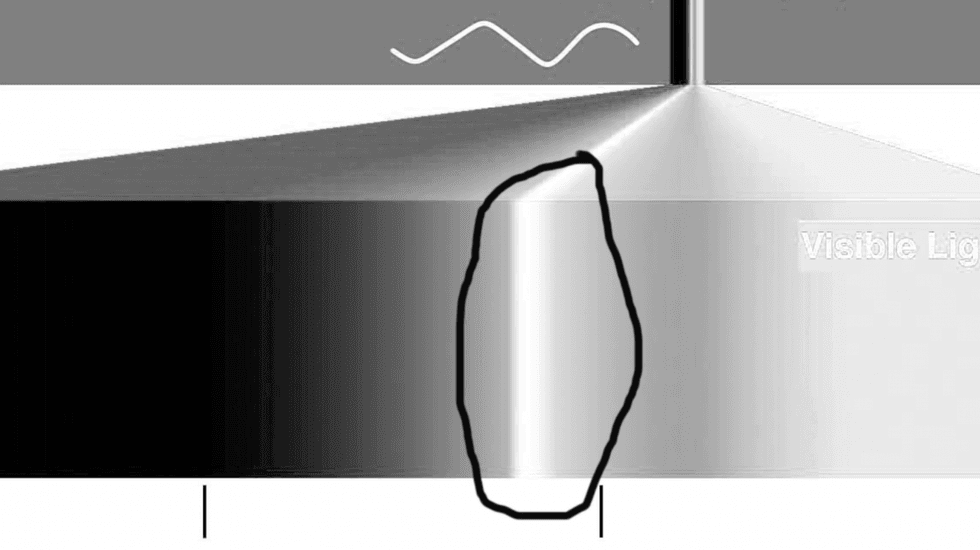 Blue light when translated to black and white negative.
Step Two: Red and Green Separations
An optical printer is a precision machine that rephotographs any number of printing elements onto one piece of film known as a composite. Basically, it saves you all the trouble of going through and painting mattes by hand like Méliès had to do in the early days. The printer has a front projector and a rear projector, which allows you to thread two pieces of through the projector simultaneously. This is called "bi-packing" and is essential to any blue screen effect.
 Bi-Packing in an optical printer.
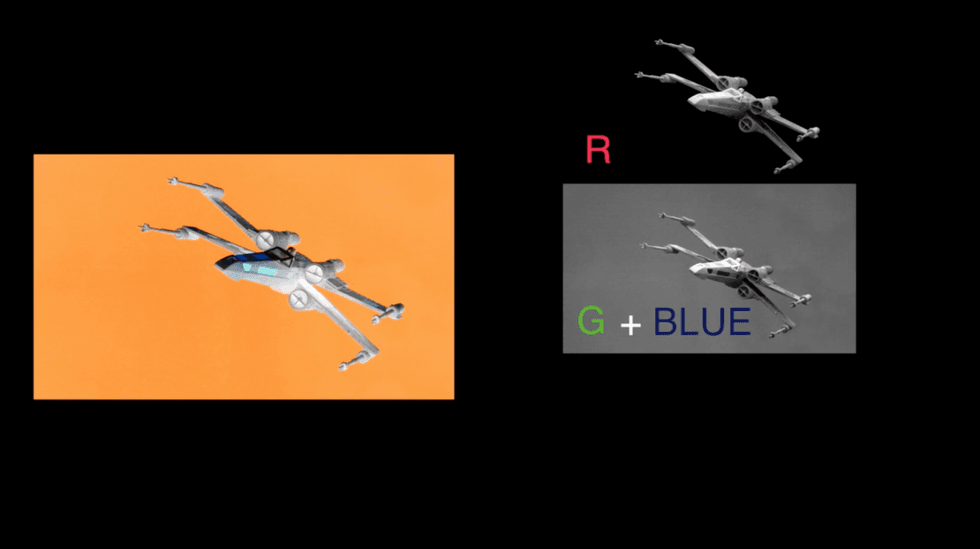 Red and green separations.
Step 3: Cover Mattes
Ah yes, the matte. The staple amidst all forms of VFX trickery from Méliès to Deadpool. Cover mattes are black and white elements and are made with red light. Now that the separations have been made, these mattes need to be created for each of them. This is done by bi-packing the original negative and the blueprint together in the front projector of the optical printer. This is all done to add density to the blue screen area so only the object being photographed gets exposure.
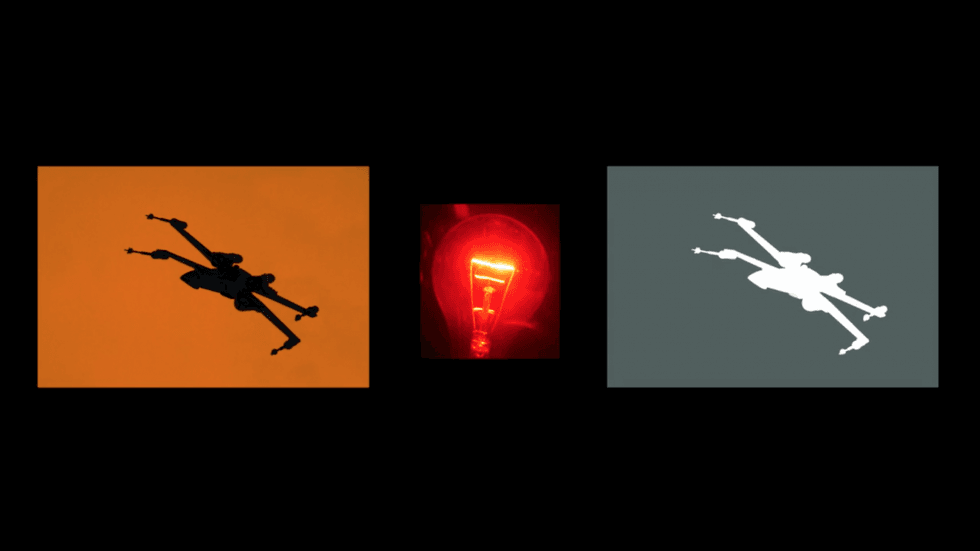 The cover matte will then be placed around the photographed object.
Step 4: Intermatte
The intermatte is made much like the cover matte except it is a much higher contrast element. The intermatte is used to make the holdout, which protects the area that your object (in this case, the ship) will occupy on the composite. Without the holdout, the ship would be transparent on the background.

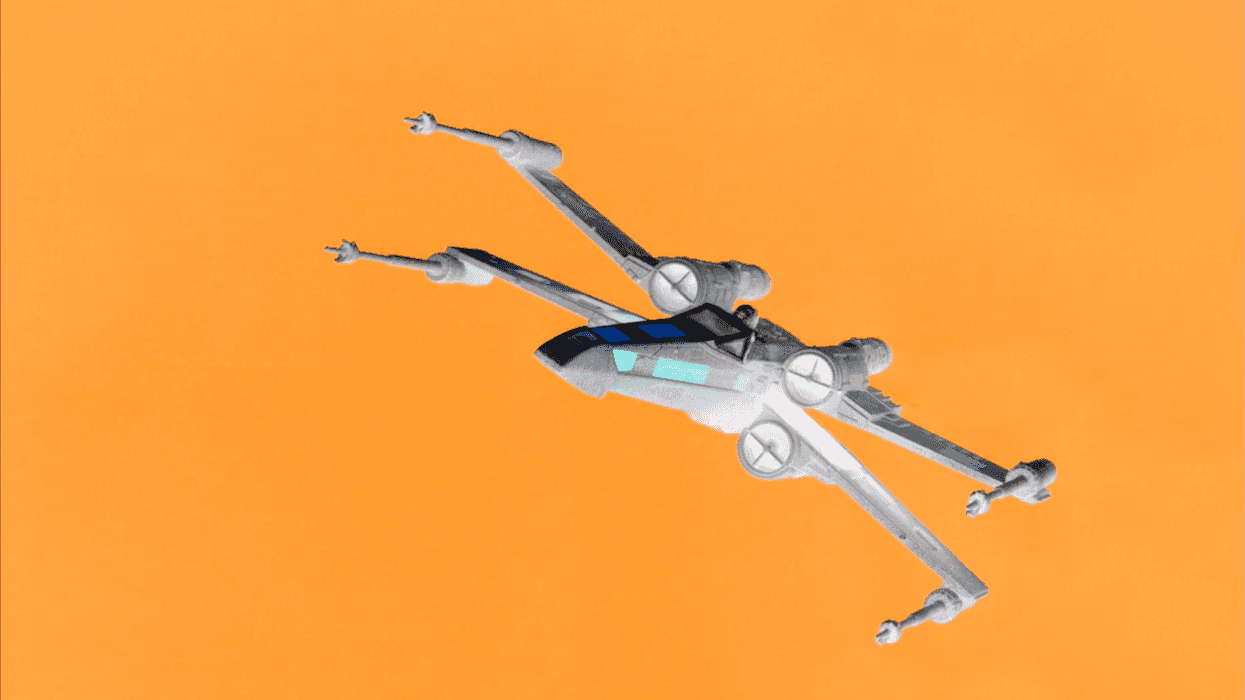
Step 5: Background Interpositive
Finally, you'll want to grab an interpositive from the background negative. Now all you have all the positive intermediates you'll need to composite these bad boys with you optical printer to a duplicate negative.
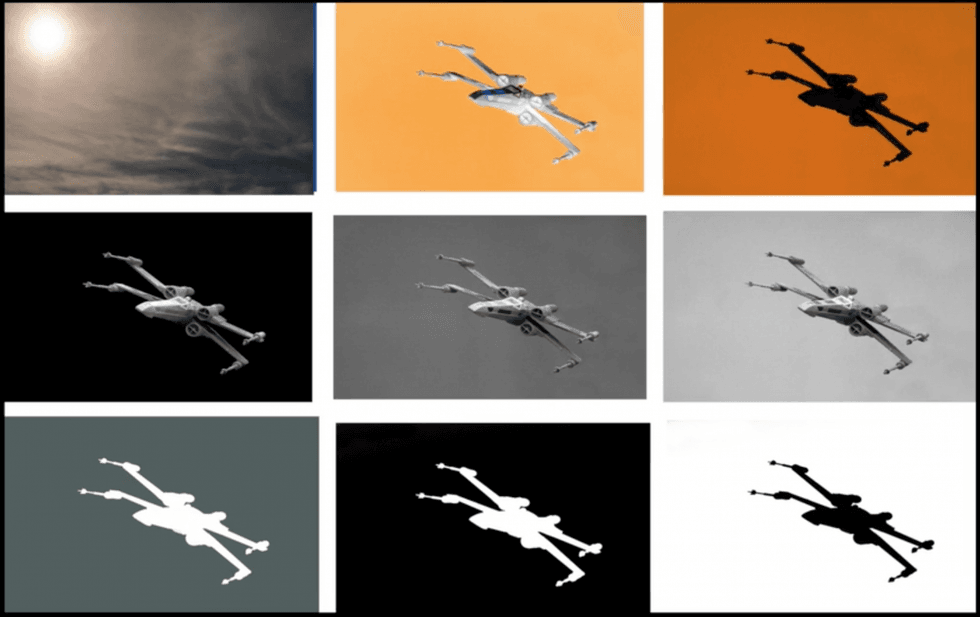 All the x-wings you'll need.
Step 6: Composite!
First, bi-pack the color separation and cover matte rolls in the front projector. Then, thread the single holdout roll in the rear projector. Fit the separation to the holdout, and after it has been fit, remove the holdout from the rear projector.

 The final product, composited image and background.