Your Detailed Guide to Spatial Audio for 360 Video—Using Mostly Free Tools
The creators of one of YouTube’s first 360 videos with ambisonic audio share their process, from recording to post.

[Editor's Note: No Film School asked the 'Love is All Around' team to detail their experiences creating ambisonic audio when YouTube started to support the technology.]
(The video will be available on the Samsung VR library soon. Until then, watch it on Gear VR by downloading this file and side-loading it onto your device.)
Capturing audio
Every plugin and third party component utilized in this technical demonstration is both publicly available and free for noncommercial use.
Post-production
For the post production process we opted to perform the initial XML/OMF session imports and the majority of audio editing tasks in ProTools. This workflow allowed for the mix design to be mentally separated from base leveling, noise reduction and trimming. For everything beyond standard editing procedure, Reaper and a slew of incredible open source VST plugins enabled the ambisonic design to take place.
Free tools & resources
- ambiX: a set of ambisonic tools by Matthias Kronlachner
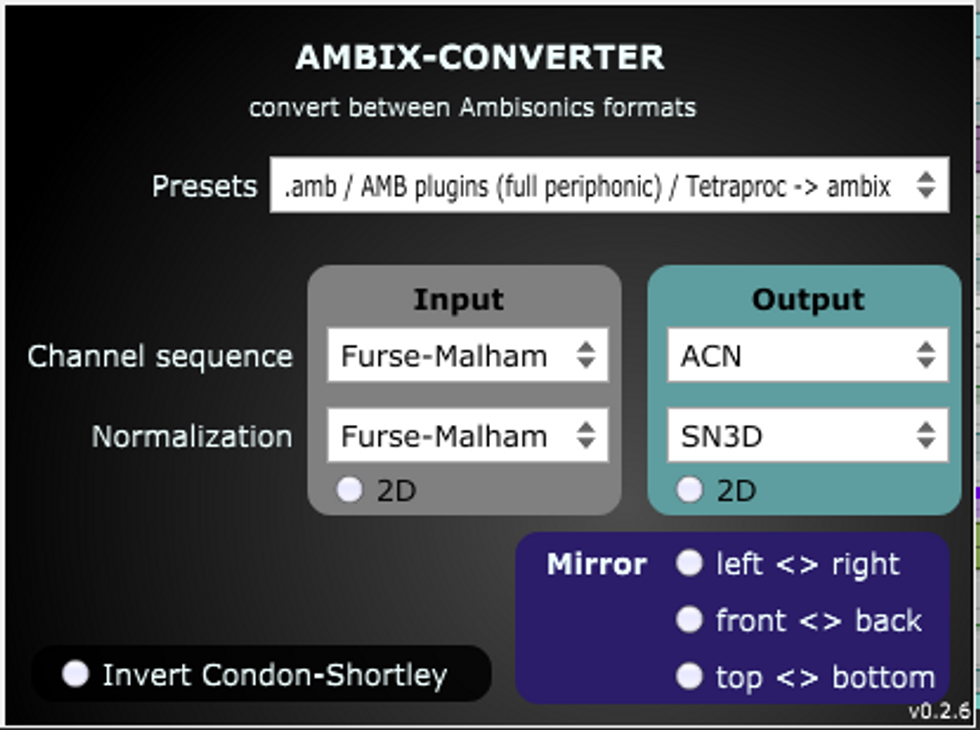
The plugin suite at the core of this whole tech stack currently acts as the only officially documented workflow for YouTube 360 audio. Perhaps the most unexpectedly useful of all of the plugins in this suite is the "ambiX converter." This champion utility allows for the successful integration of nearly every other ambisonic plugin which can be found today. All you have to do is define an input and output channel order and normalization spec.

- mcfx: a set of multi-channel filter tools and convolution reverb by Matthias Kronlachner.
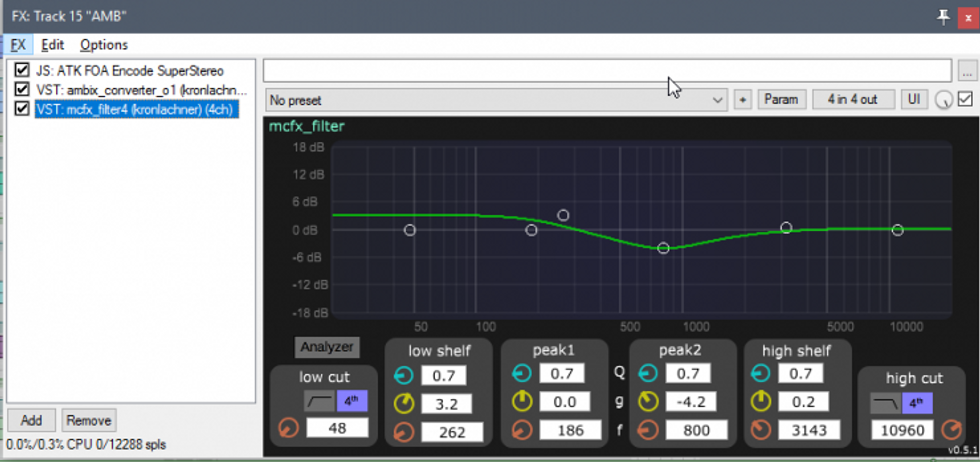
This toolkit pairs perfectly with the ambiX utilities in providing bread and butter audio capabilities (EQ/Filter/Delay) which work in a vast selection of multi-channel formats all throughout first and higher order ambisonics. Additionally, it includes a convolution reverb engine which is easily integrated into YouTube format (ACN Channel Order, SN3D normalization) by using the ambiX converter.

- First Order Ambisonics in Reaper: YouTube 360 Knowledgebase Article
This Google KB article documents the core setup process in Reaper pretty well. It includes a number of example files and images to get you started thinking down a particular path. In the end, the Ambisonic Toolkit (ATK) was chosen for almost all the essential panning and spatialization of diegetic source material while ambiX tools were only leveraged for monitoring to YouTube's specification (and binaural impulse response) as well as performing vital channel conversion and filtering.
- The Ambisonic Toolkit: an extremely powerful and unique set of Ambisonic tools designed by Trond Lossius (and my personal favorite of the bunch)
The Planewave encoder is made with the most common way of encoding mono sources. With first order ambisonics this gives us as clear of a direction as you can possibly get and the sound here is really like, if you had a sound source that was infinitely far away. For all practical reasons that means it is several meters away from you and it's coming towards you. The sound wave passing by you is looking like planewaves, much the same way as a wave would look as it comes in towards the shore... The sound source is as clearly pinpointed as you can possibly get.
If, however, we want our source audio to be less clearly defined in terms of location (for surround mixers, think divergence) other approaches must be taken. In the real world, sound almost never arrives at our ears in this "infinitely directional" manner, replicated by the baseline ambisonic mono encoders.
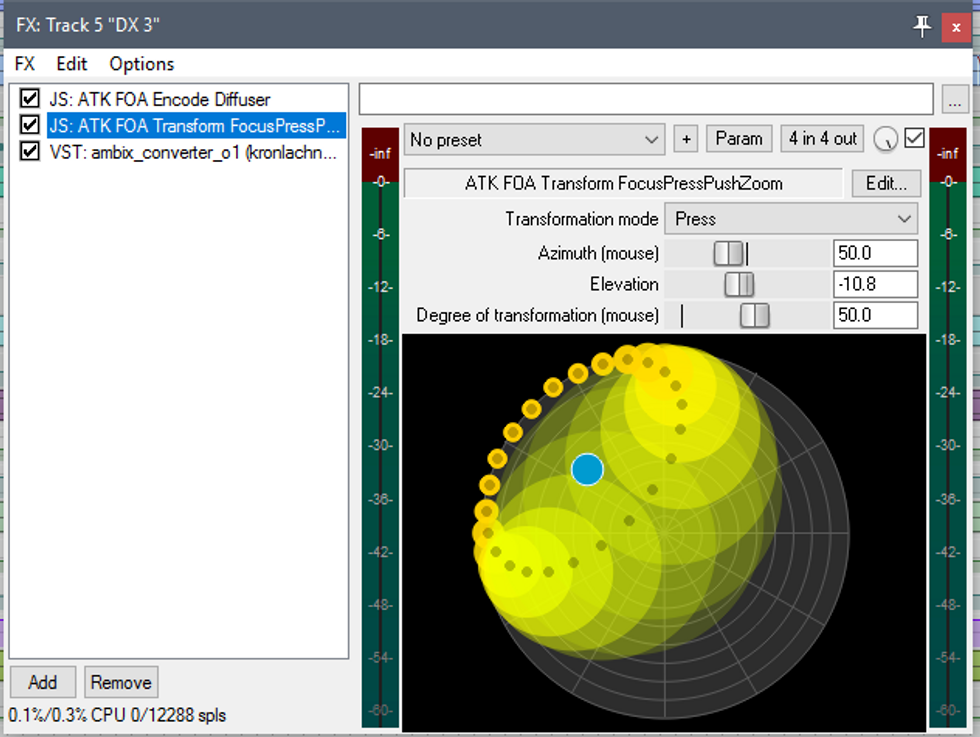
We can mimic the natural spread and dispersion of mono sources using a combination of the Encode Diffuser and Transform FocusPressPushZoom plugins. In this model, the "Degree of transformation" parameter becomes your panning divergence in circumstances where sources should be partially directional (such as medium/close perspectives relative to the viewer).

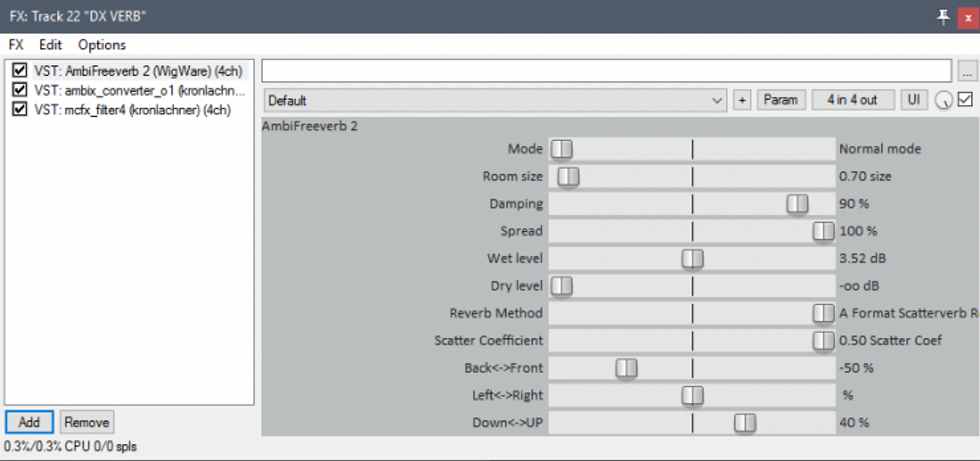
- WigWare: set of Ambisonic utilities designed by Bruce Wiggins.

- Other Mentions:
Syncing 360 Video with Reaper DAW
SpookFM developed a clever hack for syncing the timeline and binaural perspective with Reaper by integrating the GoPro player. This proved to be the easiest means of monitoring video in a 2D square viewport. Jump Inspector as documented by Google can also be synced to your Reaper timeline and head position, providing a real-time monitor/playback method with a head mountedSites containing free B-format impulse responses:
Open AIR Library
isophonics
Pain Points & Cautions
Here are a couple more things to note as you embark upon this process:
YouTube's processing of 360 video can take a lot of time on its own, but spatial audio takes even longer. Do not immediately assume your ambisonic content isn't working if you can't hear the binaural transform taking place right away. In our tests, it took about 5-6 hours after YouTube's initial processing was completed for the spatial audio to appear correctly.
Keep in mind how the non-diagetic audio track might be utilized in YouTube spatial audio RFC. There is no clear example of how to conduct an mp4 container in this manner to date. It would be very useful to have a totally separate stereo audio track free from the binaural processing for unaffected stereo musical recordings and the potential creative design application.
In the future, ambisonic can almost be imagined as a new process performed during pre-mixing in which the editor records "location entities."
Muxing your audio and video
Ambisonic audio is more complex than a simple stereo track, so pairing it with video presents challenges. Your output should be a four-track audio stream, and the order can't be switched. There are several ways we found to mux the audio:
- In Reaper. This allows you to be sure the tracks are exported correctly, but has the disadvantage that video can't be changed without sending a full resolution version of the video to the sound mixer.
- Muxing with ffmpeg. The command-line ffmpeg allows you to combine the video stream from one file with the audio stream from another. You can send the finished audio to the editor, who can mux as many versions as they want.
Installing ffmpeg on a mac is easy. An example command to simply mux two streams is:
ffmpeg -i {video file} -i {audio file} -map 0:0 -map 1:0 -codec:v copy -codec:a copy -movflags faststart {output file}
And an example command to recompress as h.264 with aac audio:
ffmpeg -i {video file} -i {audio file} -map 0:0 -map 1:0 -codec:v libx264 -preset veryslow -profile:v baseline -level 5.2 -pix_fmt yuv420p -qp 17 -codec:a libfdk_aac -b:a 256k -movflags faststart {output file} - You can also configure Premiere to work with ambisonic audio. We got this working but didn't experiment much with it. After exporting a file, be sure to use YouTube's Spatial Media Metadata Injector to add metadata which identifies the video as a VR video with spatial audio. Note that YouTube and Milk VR both support .mov and .mp4 files, though .mp4 files will be more compatible across devices (Gear VR, for example, does not play local .mov files.) The mp4 container does not support PCM audio.


