Rotoscoping is a tedious task that involves tracing and isolating objects within an image. The reason it’s so tedious is that you're essentially creating a matte for every individual frame. To rotoscope one second of video, you will end up with anywhere from 24-to-30 mattes, depending on your frames-per-second. Naturally, each matte must match the movement of the object which you’re isolating, so if you wish to rotoscope a 5-second scene, well, you can do the math...
But wait, before you decide to swear off rotoscoping forever, open up Adobe After Effects. This wonderful program comes stock with a Roto Brush tool to assist you in all of your roto endeavors. Using the roto brush is a lot like using the quick selection tool in Adobe Photoshop, the main difference being that with rotoscoping you're editing a plethora of images instead of just one.
The roto brush is not the most intuitive tool, including a lot of options that will quickly perplex intermediate users. In this video tutorial, I will show you how to get started rotoscoping with the roto brush, including how to use the tool, what results you can achieve with it, what footage to avoid, and best practices for shooting roto-able images in the future.
Use the Refine Edge tool to paint over any complex edges, especially hair and other problematic areas.
How to Use It
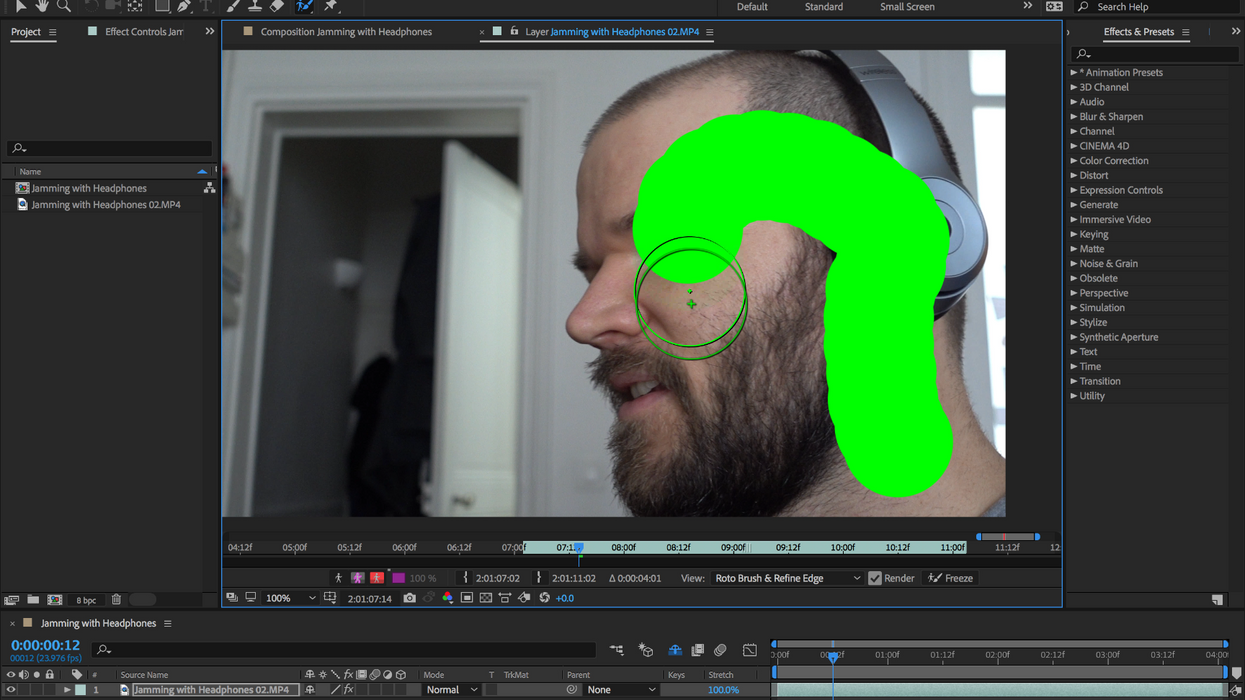
To begin rotoscoping an image, first, open up a layer in the Layer panel. Select the roto brush tool and then Cmd/Ctrl-click and drag up or down to quickly resize the brush tip. Now simply brush over an area of the image to select it. Option-drag to subtract areas from the selection. Use the Refine Edge tool (Option+W) to paint over any complex edges, especially hair and other problematic areas.

Once complete, this first selection will serve as your base frame. In the layer panel, you can see a few controls at the bottom. First, you’ll notice a gray area just below the cursor and the time ruler. This is your span, which will expand forward and backward from the base frame. You need to work on your image frame-by-frame, working outward from the base frame. You can expand the span to cover a larger part of your work area and can add multiple base frames with corresponding spans.
Next, use Page Up and Page Down to move a frame at a time. With each frame, you will probably need to make slight adjustments with the roto brush. Be aware that areas with low contrast and motion blur may be particularly challenging when using the roto brush. Again, rotoscoping is a tedious process, sometimes even when using a super handy roto brush.
After Effects gives users several different view options to help with the selection. You can view the alpha as black and white, as a boundary, or as an overlay. You can also see an x-ray view of edge selections. Once you’re happy with your roto session, press the freeze button to protect it from accidentally changing in the future. You can make further adjustments to the roto inside of the Effect Controls panel.


So there you have it, the roto is now complete! Go back to the composition panel to see the results of your work.
When to Use It
But wait a minute, what should you do with this new isolated clip? Well, plenty of things. You can duplicate the layer and delete the roto effect from the bottom layer to give yourself a separated background. This will allow you to edit the foreground separately of the background, opening up a huge number of possibilities.
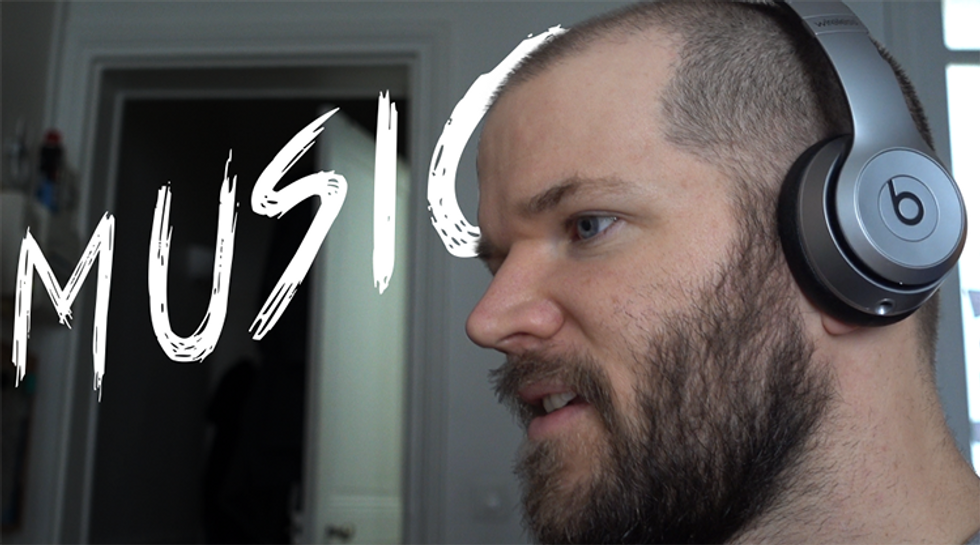
For starters, you could use this method to place text between elements on screen, brighten up the foreground or darken the background, clone people, create a fake depth of field, or any other crazy visual effects idea you may come up with.
As I said earlier, the roto brush is too cool. Do you agree? What would you use this tool for? Let us know in the comments section below!