[Editor's Note: The following piece is a guest post from sound recordist Travis Devin].
While the below article can benefit every filmmaker, it was written for those who focus on sound or are considering trying to make a career out of recording location sound for film and television productions. Nevertheless, If you are an independent filmmaker or content creator who prefers to operate solo, there is definitely some information here that can help you out as well. However, the basics of good location sound are: Right Mic, Right Place, and Right Time. You don’t need top-of-the-line equipment to get good recordings, and if you're starting out your career, you may have to take some jobs or volunteer on productions using a less than ideal audio set-up.
To find out how to avoid any audio pratfalls and misgivings you may come across, check our audio tips below!
1. Read the Script and Prepare
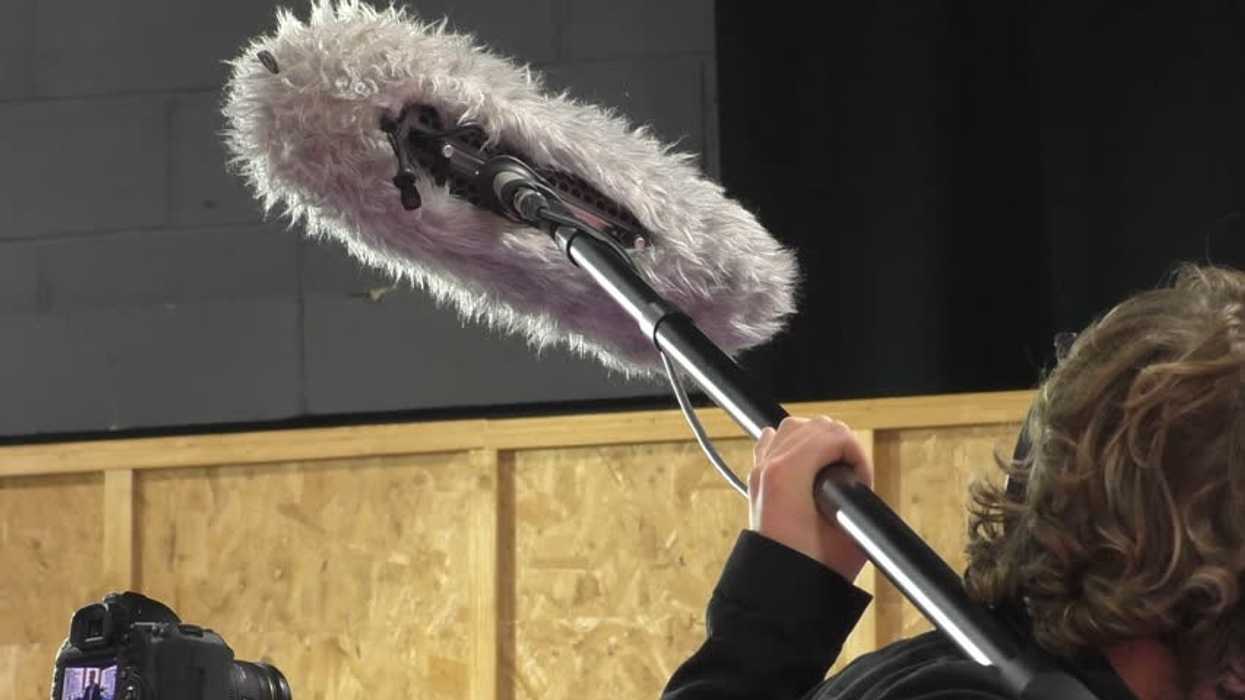
Before you start any project, it is important to have as much information as possible before you get on set. If you are working on a narrative production, make sure to read the script beforehand. This gives you a chance to familiarize yourself with the dialogue, which is vital if you are swinging a boom. While operating a boom, your cueing is important to keep every line of dialogue “on mic."
Read for anything that could be a potential issue for clean sound. You cannot predict everything that could cause an issue, but you can identify noisy props and production elements like generators and fans early. Some diplomacy, days or hours in advance, can save a lot of frustration on set. Talking to the right people can help you get that generator placed farther away from set. (Hard surfaces do the most with generators. Get them behind buildings, around corners, or behind the grip truck.)
I have been on a few shoots where an unexpected celebration was occurring in the next room!
In documentary, corporate video, and ENG scenarios, you may not have the luxury of viewing a script beforehand. In these situations, try to get as much information about your location beforehand and try to brainstorm any potential issues. Most often there is someone who has been on a location scout. Try to get in touch with them and ask about certain things: HVAC systems, nearby construction, conflicting events, etc. (I have been on a few shoots where an unexpected celebration was occurring in the next room!).
2. Test Your Equipment Before Arriving on Set
Turn on and test all equipment before leaving for the location. This can be a few days before (and always the night before). If you are an owner/operator and haven’t used your gear in a while, test things out a few days before your gig. In the event something doesn't work, this gives you the chance to find a replacement or “work-around."
If you are using rental equipment, check everything at the rental house. If it does not work there, they can find you one that does! Most rental houses are very good at keeping their equipment in good working order, but mistakes happen and sudden failure of electronic components is a reality that you will have to deal with.
If the production is unwilling to let you test their gear beforehand, consider this a red flag and proceed with caution.
If you are in a situation where a production company wants you to use their equipment, request to check everything out beforehand. This is common in the low-budget and indie film world. Unfortunately, many of these productions haven’t had the opportunity to hire a professional location sound mixer and are sometimes unaware that most audio professionals own and operate their own gear.
If the production is unwilling to let you test their gear beforehand, consider this a red flag and proceed with caution. You don’t want to get burned by using faulty equipment that you have no control over. If the recordings for the production are bad, as the location sound mixer, everyone will hold you responsible. Be wary of untested equipment!
To test all your equipment beforehand, use this checklist:
- Plug in everything and test all microphones and wireless transmitters and receivers. Make sure that you can hear everything clearly and that your gain-staging is set appropriately (if there is an issue, check your signal flow!)
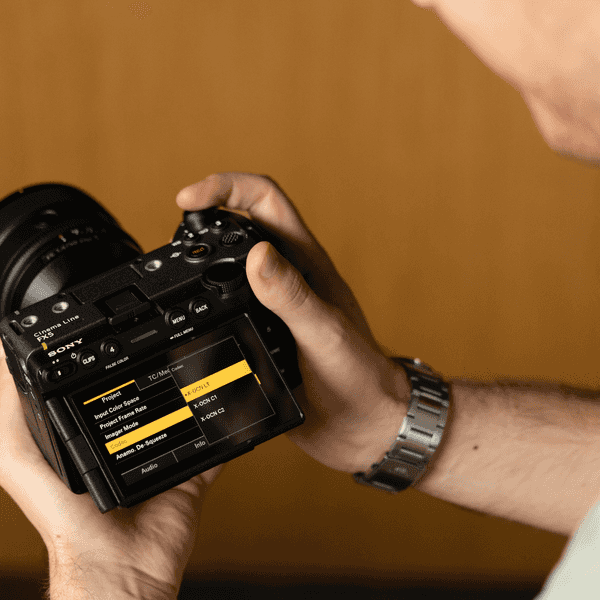
- Test Record. Use this as an opportunity to make sure you are recording at the correct sample rate and bit depth (normally 48kHZ/24bit). If you are syncing timecode, make sure to match the same framerate as the camera.
- Check playback and listen
* It may seem trivial, but I cannot stress the importance of test recording enough. I know someone who went to shoot some footage with a camera that they believed was in working order. They pressed record and everything looked fine. The camera indicated that it was recording, but when we took the tape out, everything was a distorted mess and unusable! Had my friend done a test record and checked playback, they would have easily identified that there was an issue!
3. On Set Preparation
It is recommended that you set up all your equipment before arriving on set. When you get on set, you’ll want to prepare. Make sure that you are prepared. There is a lot more to recording good sound than just showing up and pressing record!
Make sure that all principle talent are wired with lavalier mics and check their gain-staging.
Use the below checklist at the beginning of the day to make sure you are ready to rock-n-roll at a moment’s notice.
- Check Signal flow and gain-staging. Make sure you have appropriate levels and if recording in single system or using a wireless hop, send tone to camera and set levels.
- Format media, test record and playback, check your recorder’s settings: Sample rate, Bit Depth, and frame rate if you will be syncing by timecode.
- Make sure that you know the location of all your equipment so that you can get to it quickly and efficiently. The AD will give the camera department time to fix stuff and change lenses, but they hate “waiting on sound." This is why many professional sound mixers are set up with a bag and harness. It allows you to have the most critical components of your recording setup accessible at all times.
- Track down noises on set. i.e. generators, noisy electronic ballasts, refrigerators, HVAC systems, loud follow-focus motors, and camera fans. You can enlist the help of camera department dealing with their equipment. Unless you are familiar with the 1st Assistant Camera, they make take serious offense with you touching their camera!
- Be present on set when possible to figure out where you or your boom operator can stand. This will prevent boom shadows in the shot and make you more aware of on-set procedures.
- Make sure that all principle talent are wired with lavalier mics and check their gain-staging. HMU and Wardrobe can be your best help here. Get friendly with them fast!