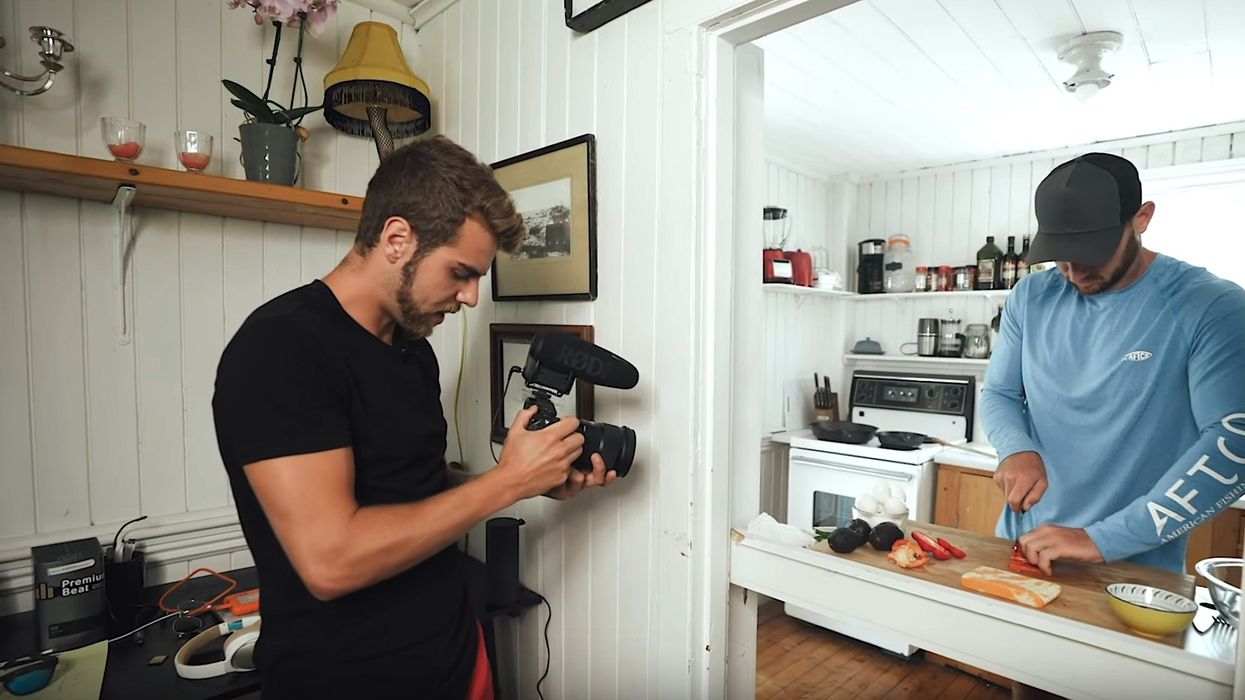
These Tips Help You Shoot the Best Cooking Videos
Stuck home in quarantine? Now might be the perfect time to start your own cooking show.

A do-it-yourself static shot on an iPhone can work for this kind of thing, but what if you want to look professional? You'll probably want to make sure you shoot high-quality, dynamic footage complete with close-ups and different angles, and maybe think about getting a lighting kit out, too.
But it's not as intimidating as it sounds.
PremiumBeat by Shutterstock has some excellent tips for shooting professional-grade cooking videos in your home kitchen. Check out the video below, then continue for some key takeaways!
The set-up
The PremiumBeat team pulled out the equivalent of an Aputure 120d with a light dome diffusion accessory. They relied on some natural light coming through a kitchen window for background fill.
Lighting your cooking videos, and the food you create, you want the light to be soft and bright. It should make the food look enticing! Poorly lit food, or food cast in sharp shadows, is going to look moody and unappetizing.
You might also consider the type of food you're making. Breakfast and lunch food will look great in bright light, like daylight, against a cheery backdrop. Dinner might look good against a darker interior background for more contrast.
Tips for how to film
Remember to set the scene. Start in a wide shot to establish the space.
The lens used in this video is a Sigma 50mm F/1.4. A focal length of about 1.6 will give you both great detail and bokeh. If you want dramatic slow-motion close-up shots, set your camera to 120 fps. Remember to vary the frame rate so you get some different speeds to use.
Don't get too close for those tight shots! Your cooking video needs to be informative and educational. A gigantic closeup of a vegetable isn't going to teach that much. Try some overhead shots to give an idea of what the cook's hands are doing. And make sure to capture every key step of a recipe. Again, if you leave something out, the video loses value as an instructional tool.
If you miss some B-roll, have your cook give a talking head, or provide extra information via a graphic. Don't be afraid to direct your cook, too. Ask them to wait for you to set up a shot, or repeat an action, if necessary.

Create motion, even when working handheld. You can mimic the motion of a slider, for instance. (Check out some tips for shooting without a stabilizer!)
Make your framing interesting. Keep track of what's in the foreground and background. You can visually layer your shots using elements of the environment, like door frames.
If you don't have a fancy camera, an iPhone can still capture great footage. It's being used here for overhead shots, just taped to the top of a door frame to capture B-roll.
Remember to include final shots of plating and garnishes.
Tips for post
While editing, utilize your diverse choices of wide, medium, and close shots and slow-motion and normal-motion shots. Get some of that overhead B-roll thrown in.
Use a natural color grade that will, again, make the food look appetizing. You don't want the colors of foods to look odd, because then it's unappetizing.
Get some depth with a simple contrast curve.
What's next? Check out more tips for filming at home
Here's more on shooting a cooking video at home. Maybe you're not interested in cooking, and you want to do stop-motion instead! Finally, here are seven stuck-at-home hacks.
Source: PremiumBeat


