You Need to Know This DIY Method of Capturing Long-Term Time-Lapses
Filmmakers always win with a great DIY hack.

Some projects ask you to condense hours upon hours of footage that you’ve captured over a couple of weeks or months into mere seconds. This type of time-lapse, known as a long-term time-lapse, can be a stressful project if you don’t know exactly where to start.
There are two effective ways to do a long-term time-lapse—a DIY solution with a full-frame digital camera or with a time-lapse camera. Jay P. Morgan from The Slanted Lens breaks down these methods and explains which method will be best for you and your project. Check out his full video below.
DIY Time-Lapse Set-Up
This DIY method is a great way to create an air and water-tight case to protect your DSLR or mirrorless camera during a time-lapse. With this method, you don’t have to worry that you are not getting great footage or wondering if your camera’s battery needs to be replaced. Overall, this method is ideal if you want to work with the tools that you already have.
Using an SKB case, Morgan cut a hole into the side of the case to affix a piece of PVC pipe. He then glued silicone on that piece of pipe and glued a filter on the front end of the pipe. That filter protects your camera from the dust and allows it to capture great, uninterrupted footage.
Morgan mounted an aftermarket Arca-swiss plate so he can easily slide the camera in and out of the case. Then, he velcroed an intervalometer inside the case that will take a picture every minute without assistance.
To ensure that your camera will have continuous power forever, set up a dummy battery that goes to an AC unit. That AC unit is plugged into the wall near where the camera is set up, allowing for continuous power.
Morgan recommends running the camera on aperture priority because of the changing light in the space. All of those things change, creating a flicker that you will have to fix during editing. De-flickering is common when using any kind of automatic mode during a time-lapse. The exposures are not close enough to prevent that flicker.

Using a Time-Lapse Camera
The second option, and undoubtedly the easiest option, is using some kind of long-term time-lapse camera. Morgan uses Afidus cameras because of their ability to construct the footage inside the camera, de-flickering the footage to simplify the editing process.
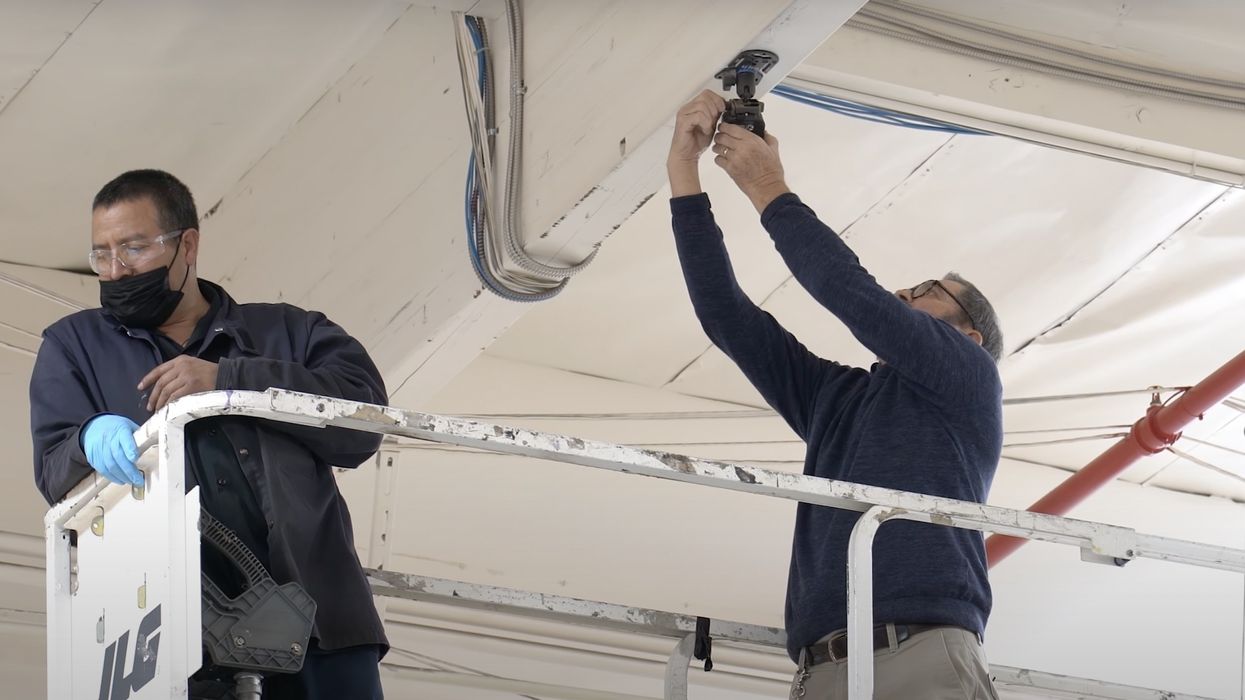
The camera runs on four AA batteries that last for a month and has an SD card that can hold up to weeks of footage. Morgan sets up the cameras on beams or around poles with a Platypod, a compact tripod base.
The Afidus camera can be controlled through any smart device, allowing you to see the footage you are capturing and edit all of the camera’s settings, including scheduling when the camera is running so you are not capturing unnecessary footage.
These two options allow you to capture great footage in a way that feels most comfortable and most convenient to you. We understand that the easiest option might not be the most affordable option, so working with what you have is always important and will help you sharpen your skills with that specific DSLR or mirrorless camera.
Great footage can be created with a little practice and patience.
Do you have any tips for capturing great long-term time-lapse footage? Let us know in the comments below!
Source: The Slanted Lens

 'Anora'Neon
 Annie Johnson Kevin Scanlon


