17-year-old music artist Billie Eilish just released a new album, and she's quickly established herself through her music and videos as someone with a darker and extremely unique point of view. She even calls herself "super, super out there."
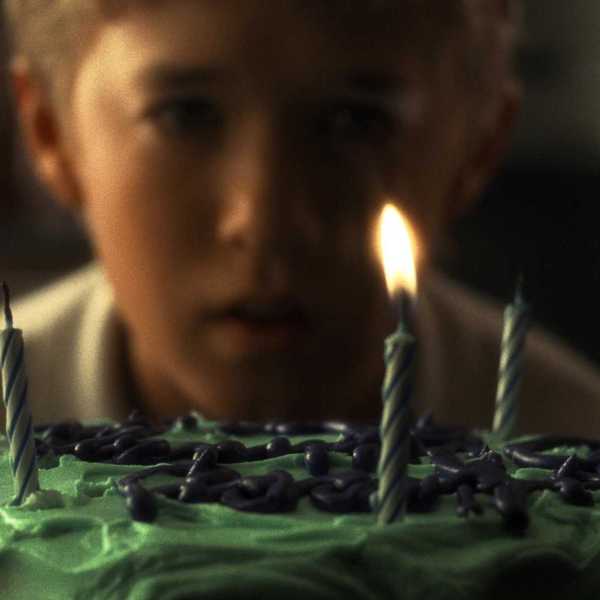
You might not be an up-and-coming pop superstar, but maybe you're a creative filmmaker with an idiosyncratic vision. And maybe you need to figure out, say, how to fabricate a shot that looks like heads are floating in plastic bags, like in Eilish's video for her song "bad guy".
[Editor's Note: Keep in mind that this is a stunt that has the potential to be dangerous, so you should proceed with extreme caution and with appropriate supervision before attempting this yourself. It's always a good idea to keep trained safety professionals on set.]
As demonstrated in the following step-by-step video from Cinecom, creating a shot like this is totally possible for the amateur filmmaker.
This team struggled initially with finding out how to construct a good bag and breathing apparatus for their actor to use.
But after some trial-and-error, and looking at a quick glimpse of a behind-the-scenes video that shows how Eilish's team achieved the same effect, they got some great results.
The following are some main takeaways from their experimentation.
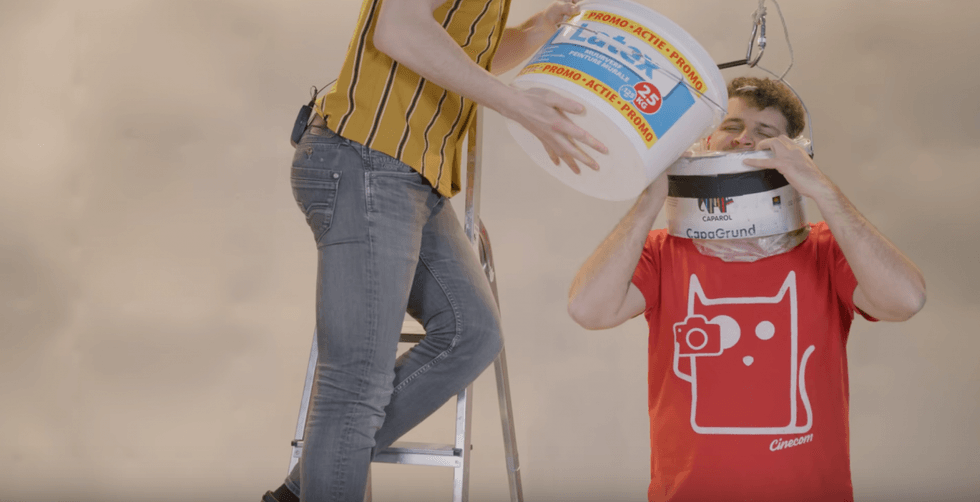
1. Tape the bag to a bottomless bucket.
After watching Eilish's behind-the-scenes video, they realized the crew used a long bag taped to a bucket, which had its bottom removed. A rope attached to the bucket handle could be used to raise and lower the bag, allowing the performer to breathe.
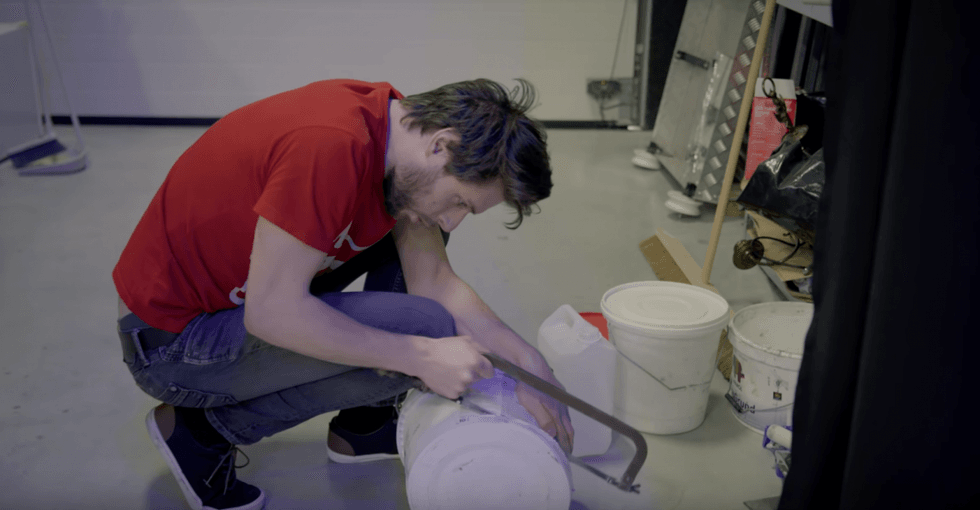
Doing this also created structure for the bag, so they weren't just asking a performer to stick their head in a bag full of water -- which, again, could be really dangerous.
2. Establish clear communication and parameters.
Again, make sure that everyone is comfortable with the stunt and shot, and establish clear boundaries and expectations for what's going to happen.
In this case, the performer knew that the bag wouldn't be raised for more than 30 seconds, and at any point, he could lift a hand and end the shot if he grew uncomfortable.
3. Shoot the scene with performers and without.
This is important for when you want to mask out elements in Adobe Premiere Pro or Adobe After Effects. You need a blank plate, so once elements of your performer are erased, there's something that will still appear behind them.
Then it's a matter of outlining and rotoscoping out the shape of the actor you want to be erased, frame by frame.
They suggest using an After Effects plugin called Mocha, which is a planar tracking tool that will follow an outlined object throughout a shot.
4. If you ever use a green screen, make sure it stays dry.
You need a flat, uniformly colored surface in order to correctly key out what you want from a green screen shot. In the early attempts of capturing this sequence, Cinecom's team used a green sheet and had a hairdryer on hand to dry it when necessary.
Obviously they ended up not using that method, but it's still a useful reminder.
What do you think of their final result? Have you ever done a similar special effects sequence in one of your projects?
What's next? Try out some additional tips for working in Adobe After Effects.
How about some tips for working faster in After Effects? Or do you need suggestions for new plugins to add to your Affect Effects arsenal? And if you're looking for another way to rotoscope, we've got you covered.
Source: Cinecom