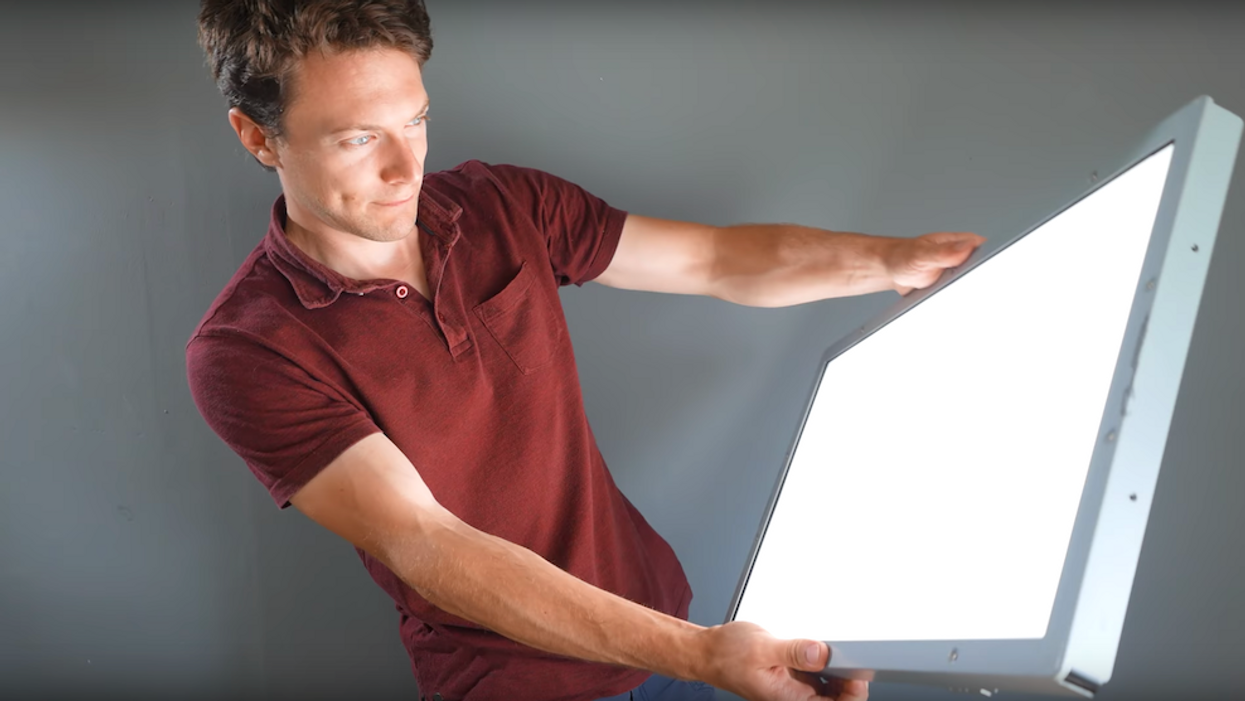
How to Make a DIY Light Panel Out of a Busted LCD TV
LCD TVs can actually be more valuable to filmmakers when they're broken. Here's why.

Well...you've done gone and did it, didn't ya? You had a raging Bronie gathering...or whatever...someone got a little too hopped up on party juice and bellyflopped onto your sweet LCD TV. Now the screen's shattered and you have to throw it out, right? Wrongo.
In this tutorial, Matthew Perks of DIY Perks shows you a super clever way to repurpose your busted ass TV or computer monitor and turn it into a surprisingly effective DIY daylight light panel. Seriously, you'll probably never throw out another screen again.
Check it out below:
Why Does This Work?
Why are TVs and monitors make such good (and crazy accurate) daylight light panels? A lot of it has to do with the fresnel lens layer, diffusion pads, and various reflectors used inside a lot of these units to direct the light forward. According to Perks, this layer makes the light appear to be coming from further away and thus softening your shadows—an ideal effect if you're going for daylight.
Deconstructing Your Display
Again, you can do this trick with pretty much any display, be it a TV screen or computer monitor. (I'm hating myself big time right now because I just threw away not one, not two, but three friggin' monitors just a few months ago.)
As Perks demonstrates, it's mostly just a matter of disassembling your display—unscrewing the back panel and removing (carefully) all the internal electronics and metal components. Remove the metal border and LCD panel until you're left with just the backlight panel.
The backlight panel is made up of several layers, including a fresnel lens layer, diffusion layer, and various reflectors. The light used to illuminate the screen is typically going to be a strip or strips of LEDs, but some screens use CCFL bulbs or lamps. Careful with those CCFLs, y'all. They're made of glass and contain mercury.
How to Power the Display
The next big hurdle to jump over after disassembling your display is powering the thing, and now that all of its power components are in discarded piles of plastic and electronics and metal, it obviously won't be as easy as plugging it in.
There are two things you can do:
- You can use its own light source—those LED strips or CCFL bulbs—which will require you to be very knowledgeable about electronics so as not to electrocute yourself or burn down your house.
- You can replace them with something that is safer to work with, namely high-CRI LED strips that have adhesive on the back.
Please go with #2. It's so much easier and I care about you and don't want you to get hurt, honey.
Reassembling Your Display
Once you've got your LED strips in place and wired up, you can then reassemble your display, placing the diffusion and fresnel layer while leaving the second diffusion layer off if it cuts down the output too much. You can then place the display back the original border, but if it doesn't fit, use some tape to keep everything in place. Perks uses a metal border that he custom made and fastens it with epoxy.
After that, it's just a matter of completing the wiring by extending it and adding a power socket.
DIY Light Panels with Laptop Displays
Don't have a broken TV or computer monitor? Oh, but you do have a busted laptop? Perks also walks you through the process of turning your laptop display into a daylight light panel in the video below:
Well, there you go. Hopefully, these tutorials help you find new, creative ways to turn your broken displays into powerful lighting tools for your next film project.
Source: DIY Perks


