Light design is one of the most important elements of cinematography and can affect everything, from the tone of a scene to how old or young the talent looks.
That's why it's so important to have a working knowledge of the fundamentals of lighting before you tackle any new shoot. Todd Blankenship at Shutterstock Tutorials has put together 10 stellar tips all lighting experts should know.
Watch their video below.
1. The larger a light source is, the softer its light will be
The simple fact is, small lights mean harsh shadows, even if you're diffusing it. The bigger the light is, the softer its glow and the shadows it casts.
Blankenship suggests moving the light source closer to your subject or adding a large diffusion.
2. Dimming a tungsten fixture changes the color temperature
Blankenship tests the temperature of his lights using the Illuminati light meter, which connects to an app on his phone.
 Credit: Shutterstock Tutorials
He suggests using these kinds of warm, golden casts to mimic firelight or candlelight.
3. Being aware how to remove light is just as important as adding light
Sometimes you'll need to block out light sources on a set or carve light sources into desired shapes. Blankenship identifies several tools used to control and remove light.
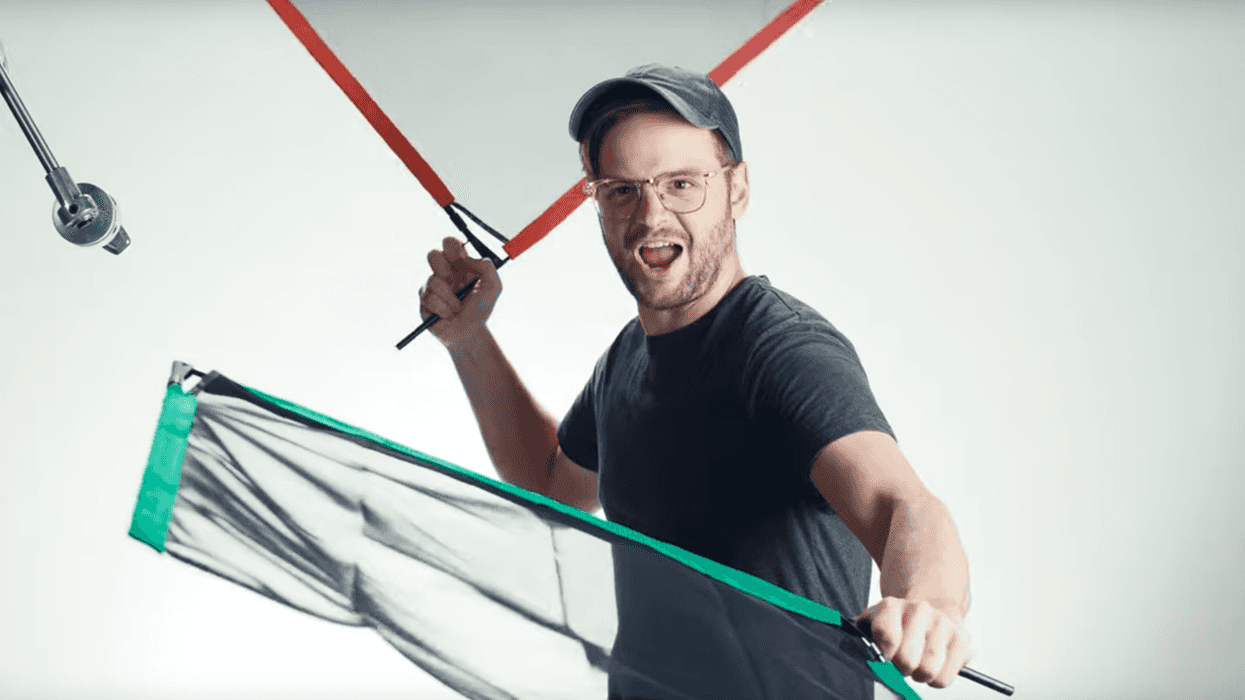
- A 4x4-foot floppy is a type of light cutter. It has a fabric flap you can use to double its size. It's used to block light sources you don't want or prevent lens flares.
- Flags are made of netting or silk and come in different transparencies to block out and diffuse various levels of light. Black flags are like floppies in that they are solid and block light completely.
4. Be familiar with smart-side lighting
This is also known as reverse key lighting or far-side lighting. The rule is to put the light source on the same side that the character is looking. Generally, this is the opposite side from the camera.
This means that the light source usually catches in the subject's eyes, and the shadows fall on the camera's side of the frame.
 Credit: Shutterstock Tutorials
Learn more about lighting ratios here.
5. Don't blow a circuit
You definitely don't want to embarrass yourself with a circuit-breaker disaster. So get familiar with the breaker box at your location and take note of the amperage of the circuits.
Remember that watts = volts x amps. Electricity in the U.S. usually runs at 120v. So if you know your amperage and voltage, then you can multiply them to figure how many watts you have to work with.
Blankenship suggests leaving 400 watts of wiggle room, just to be careful. So on a 20 amp circuit, you could use 2000 watts and safely not blow the circuit.
6. Adding a gel to a light reduces its output
This is another area where the Illuminati light meter comes in handy. If you're ever in a situation where you need to match your lights to ambient daylight or match a daylight balanced LED light to tungsten. Adding gels can get you those results.
Learn more about different types of film lights.
7. Know the inverse square law
The inverse square law formula for calculating a light's spread and fall off is: intensity = 1/d². Basically what this means is that, if you double a light's distance from a subject, its area of illumination is four times larger, but with a lower intensity.
So if you want a bright, intense light, move it closer to your subject.
8. Use the sun as a backlight
When shooting outdoors, you can achieve a really nice aesthetic by utilizing the sun as a natural light source. You can get a ring light around your subject or some nice lens flares if desired.
Add a bounce board on the side your subject is facing, and boom! Then you have easy smart-side lighting.
 Credit: Shutterstock Tutorials
9. Get friendly with negative fill
As mentioned, lighting scenes is as much about removing light as it is adding it. When you light a scene, you're going to get tons of reflected light. This can result in a flat-looking, boring, bright subject.
If you think a subject needs more contrast, then you probably need to add negative fill. Take your floppies, black flags, or duvetyne fabric and absorb some of the reflected light to add shadows and interest.
Learn more about negative fill.
10. Know how to make a book light
The book light is one of the most important lighting set-ups to keep in your arsenal. It just means that you are pointing your light at a bounce, and then that bounced light is going through diffusion.
Blankenship likes a tool called the V-flat to create his book lights. The V-flat is essentially a huge piece of posterboard that unfolds into a bigger posterboard that can stand on its own. It has a bounce (white) side and a black (negative fill) side.
To create a book light, all he has to do is set up the bounce side of the V-flat and point a light at it. Then he places a 4x4 grid cloth at an angle off the V-flat to diffuse the bounced light. Easy peasy, book light! This is a great, simple lighting set-up to create a sourceless, soft light, and it happens to be the one Blankenship used to light his own talking head.

What's next?
We've got so many answers for all your lighting questions. Here are tips for sculpting hard light and more tutorials for using flags and silks in your lighting design.
We've also broken down 13 lighting techniques every filmmaker should know. Do you want to familiarize yourself with a pro's favorite lighting sources? Finally, here are ten moods you can create, just through lighting.
Did you learn anything new from this video? Let us know in the comments!
Source: Shutterstock Tutorials