Lighting Techniques You Can Use While Making Movies At Home
Being stuck at home doesn't mean you can't light scenes like a pro.
Lighting scenes can be really difficult if you don't have access to gear, but one important thing that we learned from holding the first No Film School 60 Second Film Challenge, other than the fact that you guys are crazy talented, is that filmmakers can work wonders with what they do have.
Since most of us are still stuck at home on quarantine, it might be a good idea to learn a few techniques that will help you light your scenes when space, money, and equipment are limited. An added bonus... you'll be able to utilize these methods even after stay-at-home orders are lifted.
Here are a few tips from Filmora on how to light your scenes without access to fancy studio lights and expensive tools.
Being someone who made the lion's share of my films as a completely broke film student whose film program didn't offer a single piece of high-end cinema gear (I personally owned a better camera than my university), I sympathize with all of you out there who want to make films with a high production value but don't think it's possible with your current set of tools.
Guess what... you can.
Contrary to popular belief, the "film look" doesn't come baked into the year's most expensive cameras. It comes from great lighting, composition, costuming, set design, and a host of other things many new filmmakers tend to let fall by the wayside.
We could talk about each of those concepts individually for days, but for now, let's focus on lighting—namely, how to utilize existing light and practical lights to your advantage when nothing else is available to you.
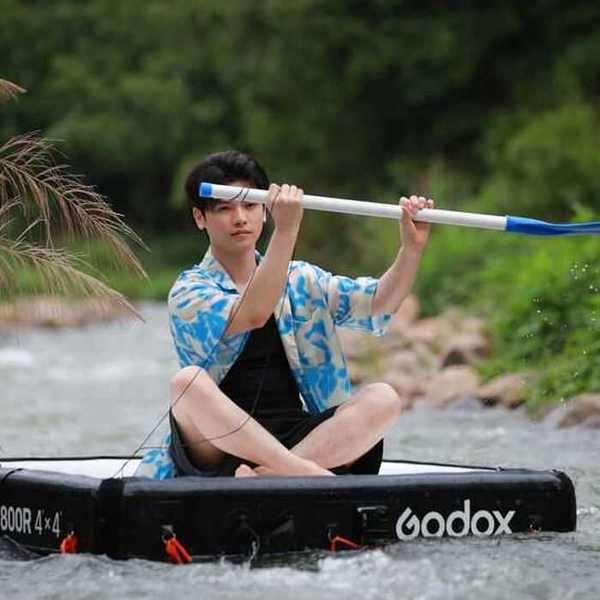
Natural Light
The best thing about natural light is that it's free. The hard part is finding out how to harness the sun's power, control it, and shape it for your scene. If you're shooting indoors, you might want to set your shot up near a window so you can get as much light as possible on your scene.
However, what if the light is too harsh, creating unflattering shadows and overexposed highlights? Well, grab a big ol' white sheet or shower curtain, throw it over your window or hang it from the ceiling and let that light diffuse. Or, you know, simply set your shot up further away from the window. Camera and subject placement is a really easy way to solve problems like these without resorting to using more tools.
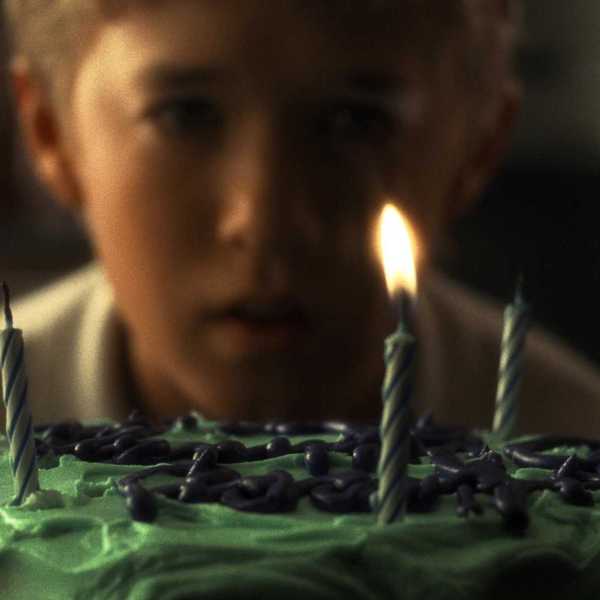
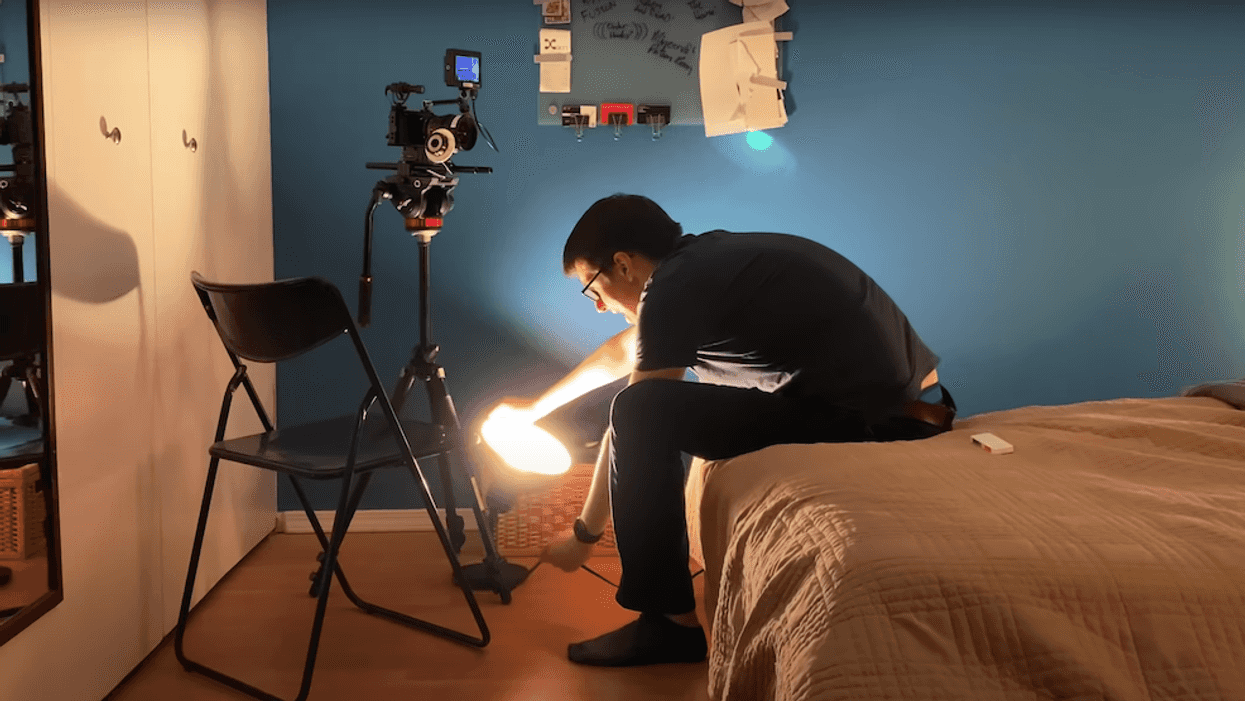
Practicals
Lamps, indoor lights, TV/computer screens—these are all practical lights because they show up on-screen. Not only do they add a light bit of needed light to your scene but they can also give your set design a nice bump in quality.
Turning on some lamps and indoor lights in the background can help add depth, which makes your images more interesting to look at.
Also, if you don't need those lamps to light the background of your scene, you can always use them as your key or, better yet, your fill light. Just point it toward a wall and that bounced light will offer a nice, soft, and even look.
What's Next? How to Recreate the Look of 'Joker' on a Small Budget!
Ready to take these at-home lighting techniques to the next level? These DIY tricks from Aputure will help you create a look similar to those in Joker. If you don't have studio lights sitting around your house right now, don't fret, because the tutorial also goes over valuable information about light placement and diffusion techniques that will help you make your shots more cinematic... even without expensive lighting units.
Source: Filmora Video Editor