The autobiographical nature of Slamdance Audience Award Winner African Giants lends itself to speaking from the heart with emotional truth, and it shows.
Below, you can read some excerpts from our chat with Omar on his influences (Blue Valentine, oof), finding community among filmmakers, setting out and staying true to your merits as an indie filmmaker, and, once more, that it's okay to cry.
Editor's note: The following interview quotes are edited for length and clarity. Viewer discretion advised.
Never Give Up On Your Filmmaking Dreams—Even If You're From Virginia

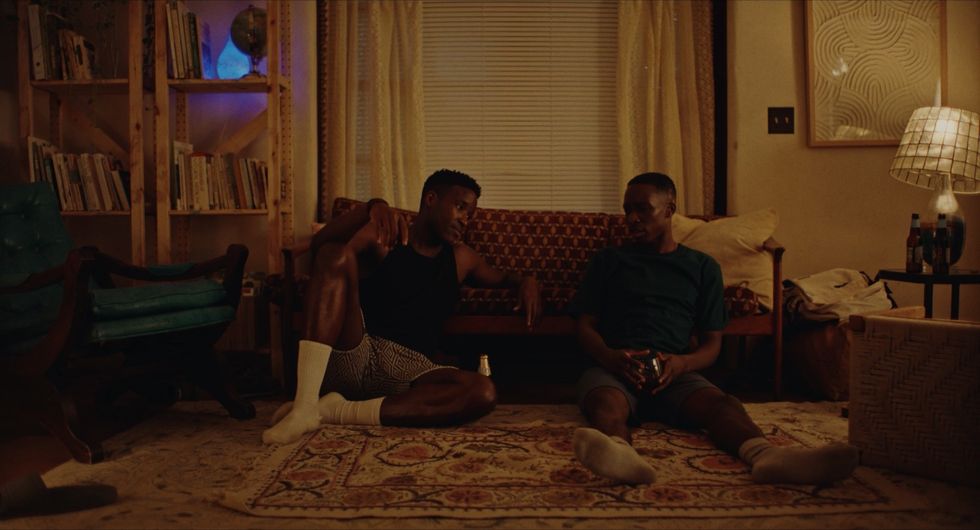
African Giants
Courtesy of Juno Films
"My parents are originally from Sierra Leone in West Africa. I was born and raised in Virginia, and so if you know anything about Immigrant parents, we're supposed to be doctors, lawyers, or engineers. And my older sister is actually a surgeon. She's literally now just finishing her residency.
So that was provided a lot of complications for me when I was growing up. My parents were like, why can't you be like your sister? Your sister's doing great. She's just killing it. So that was a lot of pressure, but I think what really happened to me, I always loved film and comic books a lot too. I was a big Marvel guy. I used to read comic books when I was supposed to be studying. I used to read the Ultimate Spider-Man and the Amazing Spider-Man, when I was supposed to be studying for school and stuff. And I would hide it actually in my SAT books and stuff, so my parents would think I would study, and I was actually reading comic books. So that was a big thing for me.
And then I think what really crystallized it for me when I was 19, I was in college and I watched Blue Valentine.
Listen, at the time I wasn't crying. I was doing this hyper-masculinity thing, and I watched that film and I sobbed. I can still remember where I was. I can still feel the mattress, I can still remember the temperature in the room, and something broke in me and I was like, whatever this is, I want to do this, but with African characters from my background.
I'm from Virginia. We don't really have filmmakers. I didn't know that was a thing. So I kept trying to push it off, and push it off, and push it off until eventually I got a job and I was working a job in—it wasn't corporate, but I was working a job at an institution and I realized I want to make films and I can try to pretend like I'll do it later, but I can't do this working this job.
I applied to AFI with a very ragtag film I made where I was a director, editor, or producer, and early when I was the actor, but that has been removed now. I got into AFI and then met some great collaborators and a lot of those collaborators were the same people who I made my feature with."
On Finding Community as a Filmmaker
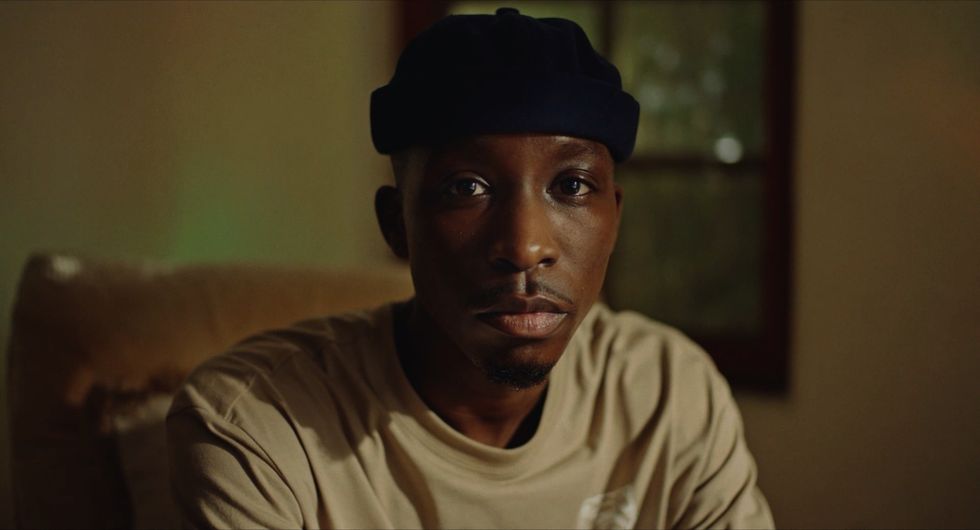
African Giants
Courtesy of Juno Films
"I'm the poster board for AFI. I know this is No Film School, but I'm the poster boy for AFI because I came from not knowing how to make a movie, and [I learned the the discipline].
So my cinematographer who shot my first film at AFI, then my thesis film, now my feature, he's actually shooting my next short with me. My editor the same thing. I have all these people who I met who bring their creative genius and things that they do way better than me, and we just keep making stuff together. The community was really important. I met a bunch of great filmmakers who I still make movies with today.
I have a couple of people I met at AFI who I thought went to AFI, and I found out they weren't actually students there, but they just became caught up in the community. So I'd see them at all events. Actually, the production designer on my feature I thought was an AFI student. She was not, but she just worked on so many AFI films. She became a part of the community.
I think for me, what actually happened was I made my short and me and my writing partner got signed. And what advice I would give anyone is I, at the time—like I said, I'm from Virginia—didn't have any connections with film industry. I was under the impression that now I was in the industry where I was like, I'm taking general meetings, we're writing spec scripts, and I was like, it's only a matter of time until we get signed or we get something sold.
That did not happen.
Taking a bunch of meetings, follow ups, waiting for things to happen. It's not the right fit, all that stuff. So I actually made the movie out of frustration a little bit. I was living off some savings that I had mixed with some of those loans.
While I was a writer I was just watching my money decrease, decrease, decrease, decrease. And I was like, this is not the plan. I thought this was going to work. It's not working.
So I had to set my short that I made in school to one of my old places and one of my old internships, I placed an internet and they messaged me back and were like, Hey, this is great. Are you looking for a job? And they offered me a job as an assistant, which I did for a couple of years. And now I actually still work for him, part-time, shout out to John Hamburg.
When I took the job I made a promise to myself, I was like, if I take this job, the only thing I'm going to do is find a way to make a micro budget feature. I need to make a micro budget feature because I'm a director and I'm going to direct things. I can't wait for people. I have to direct it. And so I was looking at medicine for melancholy, which Barry Jenkins and Destin Daniel Cretton did.
They did these indie films that people don't actually know about unless you're at a film school before they did the Moonlight and Short Term 12, these other things. And so my thinking was raise the money, find a way, make this thing, and then use that to catapult to your next project, kind of show people I can sustain a narrative of an hour.
And so I wrote a film that was very personal that was about me and my brother. And the whole point when I was writing the film was I knew I could make it for cheap."
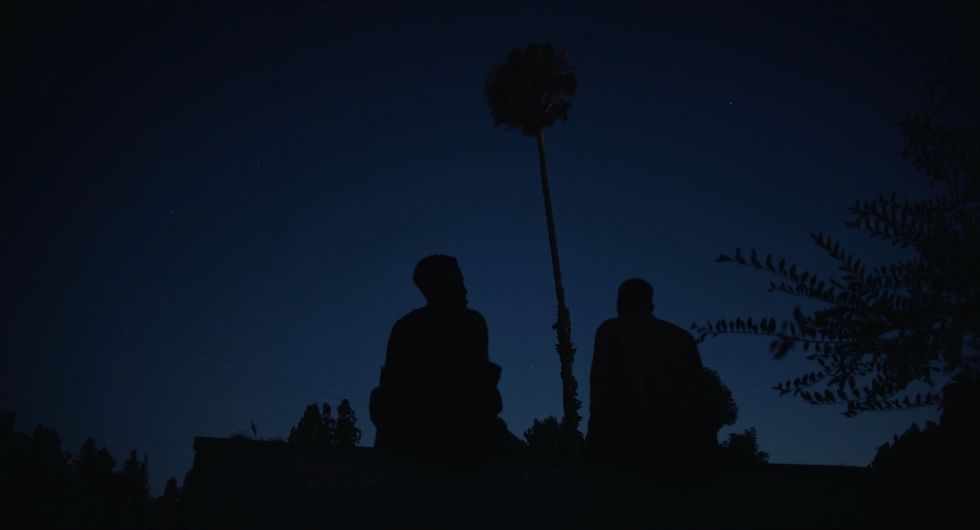
The Art of the "Walk and Talk" Genre
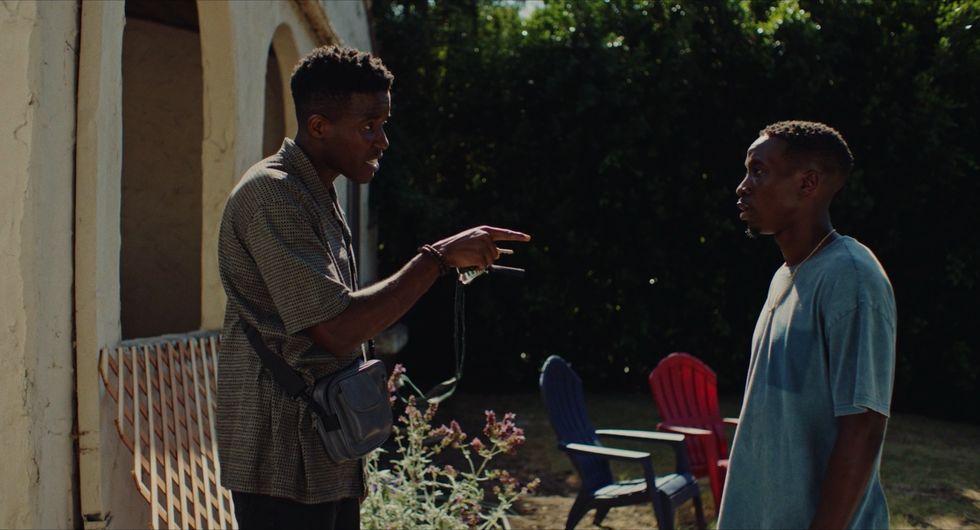
African Giants
Courtesy of Juno Films
"Down by Law is amazing. I mean, I just think about that opening montage where it's like that has the song, we're just scrolling through the town and scrolling through the cars. It's like it's a genius. Well, actually, I'm going to steal that. I wrote that into one of my screenplays because I think it's just so beautiful repurposing it from Africa and suburbia, it's going to be great. But inspired by that.
And for me, I love [walking an talking movies] films—those are my favorite films. Another film that was a big inspiration for me is Weekend by Andrew Haigh. That's a film where these two guys eat over a weekend and they fall in love and it's literally them just talking and hanging out and they go to the fair and they come back home. But nothing amazing happens.
But like you said, when you have something like this and there is no plot, or I shouldn't say no plot, but less plot, it can become incredibly character based. It can be about these moments, it can be about this connection. And that's one thing that really interests me.
We kind of try to do that with African Giants, and the film is like 98% autobiographical. It's based off me and my brother. So what I changed was some of the conversations didn't happen in one weekend. Some of the things didn't happen all that time, but there were real conversations we've had over the years.
As I was writing, someone said to me, the film feels a little bit like a diary, and that was a great compliment to me. It was really real conversations to be had that I then put into the script and it just, two brothers hanging out over the weekend. There's some bigger pot stuff that happened, but overall that's a pretty much it."
The Importance of Being Earnest (and Crying)
African Giants
Courtesy of Juno Films
"Well, it's actually good to cry.
What I was saying earlier in terms of I was doing that masculinity thing and not crying. I had a mentor at AFI that did a class where we had to—he was saying, most filmmakers have a barrier up, which is why they won't make anything of note. You actually have to knock that barrier out, be able to feel your real emotions.
It's scary, it's jarring, whatever.
We did an exercise, and through his guidance, I broke through. At that time I hadn't cried I don't think since Blue Valentine. I ended up sobbing in front of my class—and I mean sobbing. Snot coming out of my nose, tears coming out. And my teacher came to me afterwards, me and said, now, when you write stuff, you try to get to this place, this place of emotional authenticity, because that's how you make something of value.
He told me just be aware from now on you'll probably cry a lot more. And that was years ago. And since then now I cry once a week. When I write my screenplay, I use that emotion. I go to that honest place. What's the real thing I'm ashamed of or bothered by?"
Emotional Relevance is Your Best Friend
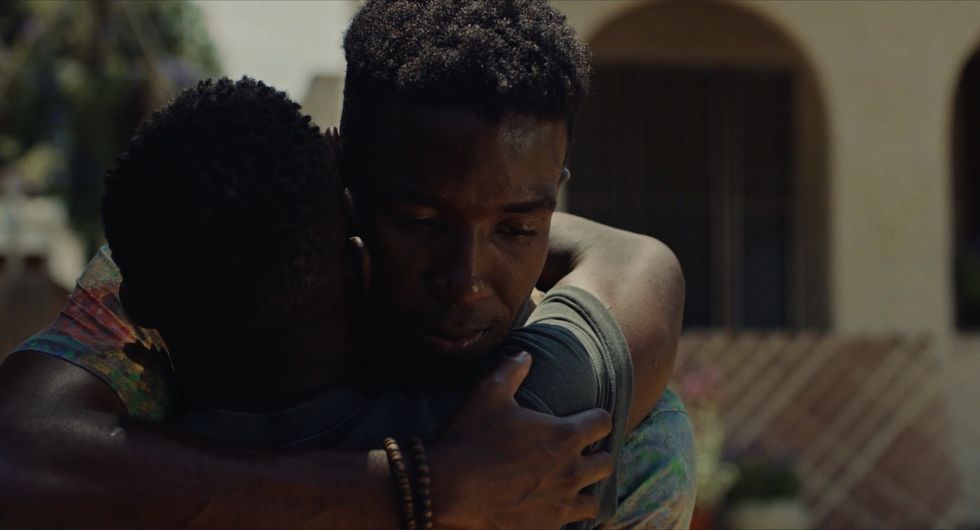
African Giants
Courtesy of Juno Films
"It really was just me trying to find a way to tell a story without waiting for people to give me permission to do so. And then I was fortunate enough, like I said, that I have a style of film that can lend itself to the more micro budget thing, but it was really just about the honesty of the journey between two brothers trying to figure stuff out. My brother actually, funnily enough, did not live in LA, but actually just moved to LA and once people see the movie they'll know why that's pertinent.
There were things that happened kind of serendipitously in terms of emotional relevance around the film that real life was mirroring within the screenplay. I just wanted to be honest and tell the truth about how messy brotherhood is, how messy the bonds from our parents and some generational trauma that comes down to us is.
I'm also a little bit of an optimist and kind a believer in the human condition. So in the film, even though all these things happen and they fight and they deal with all these things, to me, love is the most important emotion.
Well, you'll figure it out, right?
It's not going to be smooth, it's not going to be easy, but you can try to use that as your guiding force. So I think that's all I'll say. I feel like we touched on it, but I feel like that's all I'll say in conclusion."
 Credit: Jacob Christensen