
In all honesty, when I see workflow-type videos or content about After Effects, I usually skip it. In an utter display of arrogance, I think to myself, "I already know all those things, I've been using After Effects for almost 17 years, for cryin' out loud! What can I possibly still learn?"
Well, turns out I was very wrong.
In this video from PremiumBeat, Charles Yeager goes through some very useful fundamental project organization tips for After Effects and drops a few specific tips that I had no idea even existed. So, if you'd like to watch an After Effects tutorial that taught this old dog a few new tricks, give this one a look.
Charles does a great job of explaining things in the video, as well as in his own blog post about it, so rather than just restating what he covers, I'll give my thoughts on each tip below.
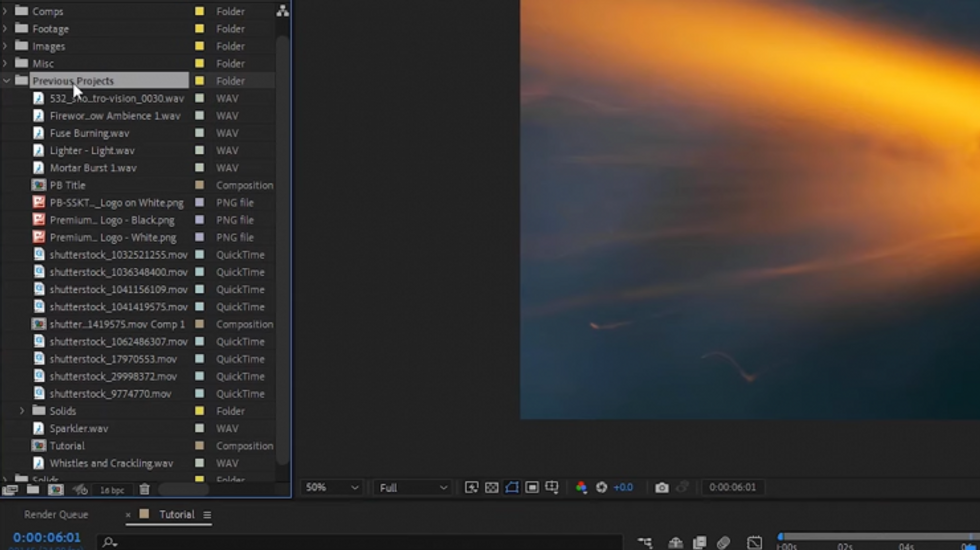
Label Color Tips
The best way to keep yourself from losing your mind inside a composition is by labeling your layers with custom colors. This isn't necessarily groundbreaking advice, but there were two things that Charles covered that blew my mind a bit here.
First, I learned that you can open the After Effects preferences dialog and select automatic colors for various file types. So you can always have your images a certain color, video a different one, etc. This was not something I had ever looked into before. I've always thought the colors that appear in the comp automatically were just essentially auto-generated, or something. I really didn't know it was customizable.
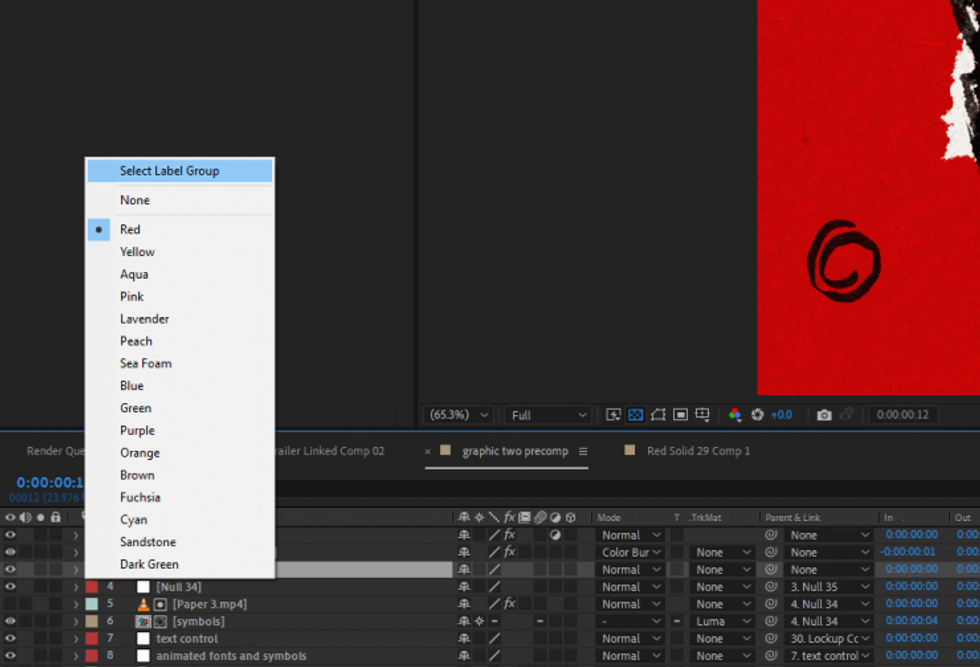
Second, you can right-click on the little label color box and select "Select Label Group," and After Effects will select all the layers that have been labeled with that color.
Here's a live look at me when I learned about this feature and replayed in my head all the time I could have saved had I known that was a thing. I tend to use label colors quite extensively, and being able to select all layers within a color group with a click is extremely useful. I wish I had known.
 Credit: PremiumBeat
Markers
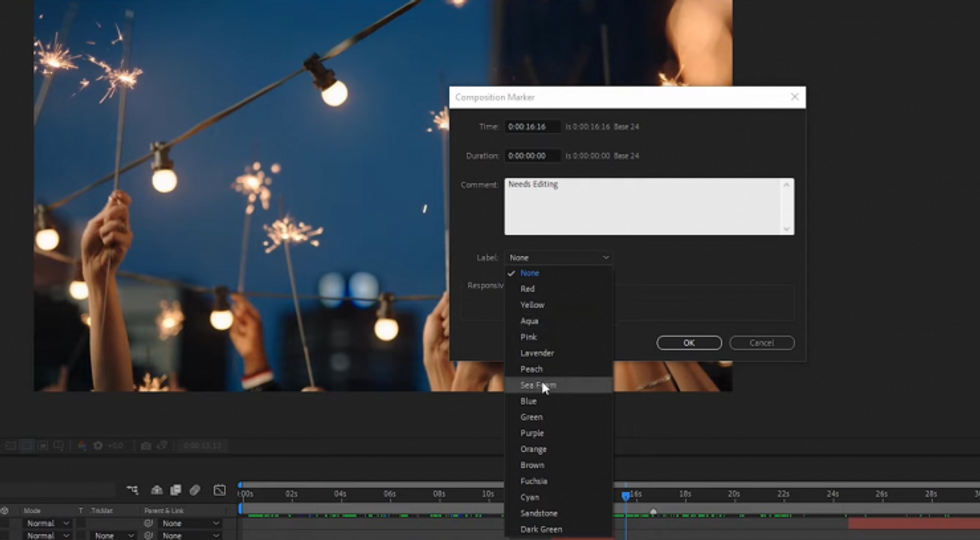
Markers are a big part of my workflow as well. I highly recommend using them, especially when timing things to audio. I always just drop a marker down right on a hard beat or other audio cue.
The great part of Charles' take on it here is the aspect where you can actually annotate and create markers that span a length of time. This would be especially helpful for collaboration and leaving notes for other people on your project.
 Credit: PremiumBeat
Using a Project Template
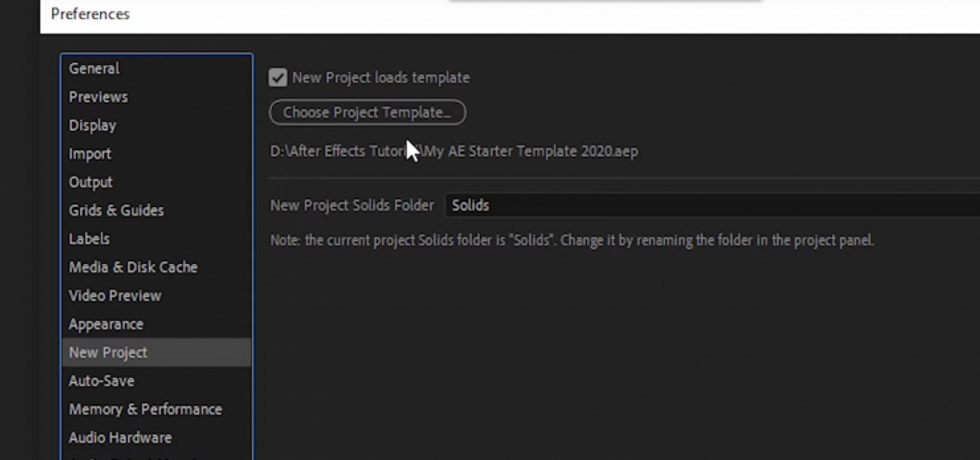
So apparently, I need to dive into the preferences more. This is another thing that I had no idea was a possibility.
In the video, Charles shows how you can set up a default project template (with folders laid out and ready to go) with the settings and things that you like. Again, there is a lot of time I could have saved if I had known this tip.
I have a specific way I like to set stuff up, and it's an extra step that I can skip now. Thanks, Charles!
 Credit: PremiumBeat
Apply Effects to Adjustment Layers
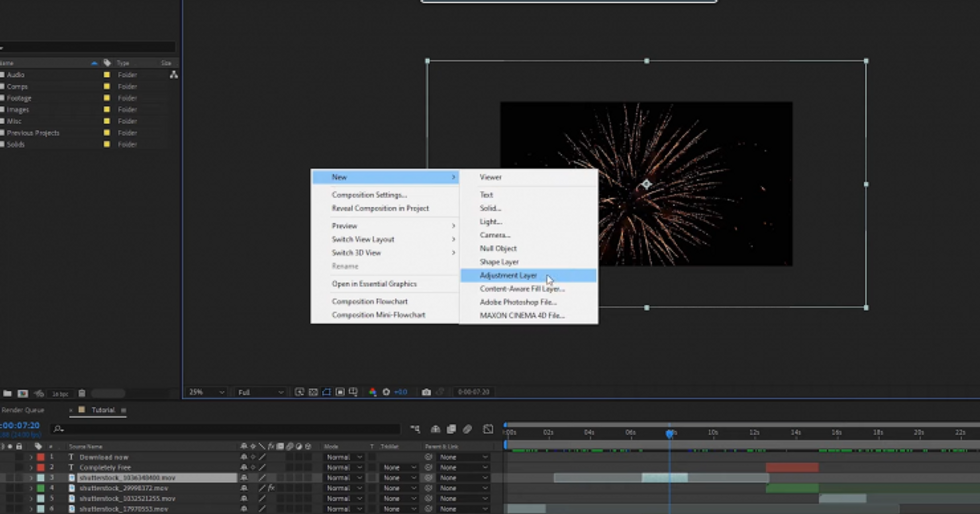
Adjustment layers have more to them than just being an empty bucket to stick your effects onto. As Charles describes in the video, the utility of using adjustment layers is that the effects will only be applied to the edges of the composition.
This makes things much faster in contrast to adding effects to an individual layer, especially one which exceeds the bounds of the composition. If you do things that way, AE will calculate and apply the effect to the entire layer regardless of comp size.
Adjustment layers are just a great way to keep things clean, fast, and create easier avenues for changing settings for multiple layers at once.
 Credit: PremiumBeat
Pre-render Proxies or Full Versions of Assets You Use Frequently
It seems like as computers got better, and dynamically linked comps between After Effects and Premiere became more commonplace, the art of rendering specific elements has kind of slowly gone away.
In my early days of After Effects, you used to have to render "proxies" of just about any complicated effect. This was where you'd render out a pre-rendered version of a specific layer so that After Effects wouldn't have to compute that layer anymore.
This is a similar thought process, but it's still as applicable now as it was then. If you use the same animation over and over, you should just render it as a video file with an alpha channel, that way you can just drop it in any time you want to and your project won't go any slower for it.
What tips could you add to these? Leave them in the comments.


