Watch This Quick Tutorial on How You Can Shoot and Light Products
Jumping into product photography? These tips will teach you everything you need to know!

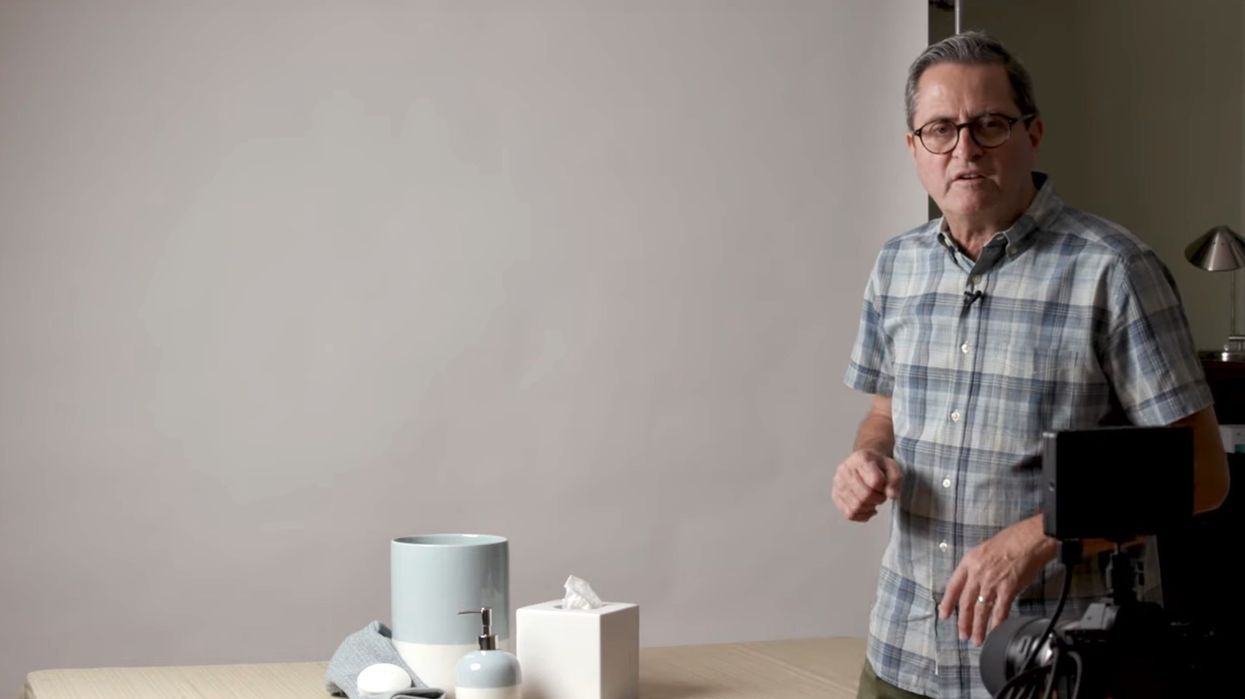
The Slanted Lens is a great channel for photography seminars and how-tos. Recently, they've been tackling some basics, like how to approach everything in photography as having the basic shape of a sphere, a cube, or a cylinder.
That comes into play here, as Jay P. Morgan goes through the foundations of product photography. Watch the video below, then review the main tips!
1. Frame objects to view all the distinct sides.
When you're shooting products -- or anything, really -- you're trying to create the illusion of three-dimensional space on a two-dimensional medium. So you want to make sure you're capturing your subject matter as a whole.

In this case, the shoot is supposed to be for the soap, so he also makes sure that shadow carves out the logo. If you want less shadow, add a bounce board.
2. Use background lighting wisely.
The video demonstrates that, depending on the direction of your key light, the background will appear brighter or darker. This creates different moods.

3. Use a second light source for more highlights and dimension.
Alternately, you can use a secondary light source to add some harder shadows. Here, our filmmaker in the video starts with a diffused 120D II key light on the left foreground, and adds a harsher 120D II in the right background, pointing to the foreground.
The video demonstrates these two lights in different positions, sometimes with bounce, sometimes with directional barn doors on the second light.
This step shows how many ways you can create shadows, moods, and textures with lights.
4. Top backlight might be the way to go.
One set-up is a top backlight, with the soft key light above and behind the subject matter. Initially, this is dramatic and creates very deep shadows.

But by adding bounce cards and a secondary hard light, you can get excellent control over exactly where light is hitting, and the subject matter looks bright, well-defined, and attractive.
As the video points out, keep an eye on any weird shadows or highlights. You might need to come in with a flag to keep shadows and highlights uniform across the various surfaces.
This is a great set-up for product photography and even interviews. You can still use all the previously mentioned tricks, like changing the background via flags, casting more light through bounce cards -- or using additional lights -- to achieve the perfect lighting.
What's next? Learn more of these basics.
If you're just starting out bouncing light, begin with the basics. And you'd better know these 13 important lighting techniques and 10 key tips for filmmakers. Then you can check out some lighting tricks used in The Hateful Eight!
Do you have some tried-and-true methods for lighting and shooting products? Let us know in the comments!
Source: The Slanted Lens


