What Is ADR and Why Is It Important?
Let's dive into ADR and how you can use it on your next project.

The world we live in is noisy and this can be a huge problem for the production sound on your project. For instance, have you ever shot a scene where you were unable to silence a problematic noise in the background? Or block a complex walk-and-talk where a boom operator couldn't place an overhead mic in the scene? How about listening to a track later, only to find out there was interference from a nearby cell phone?
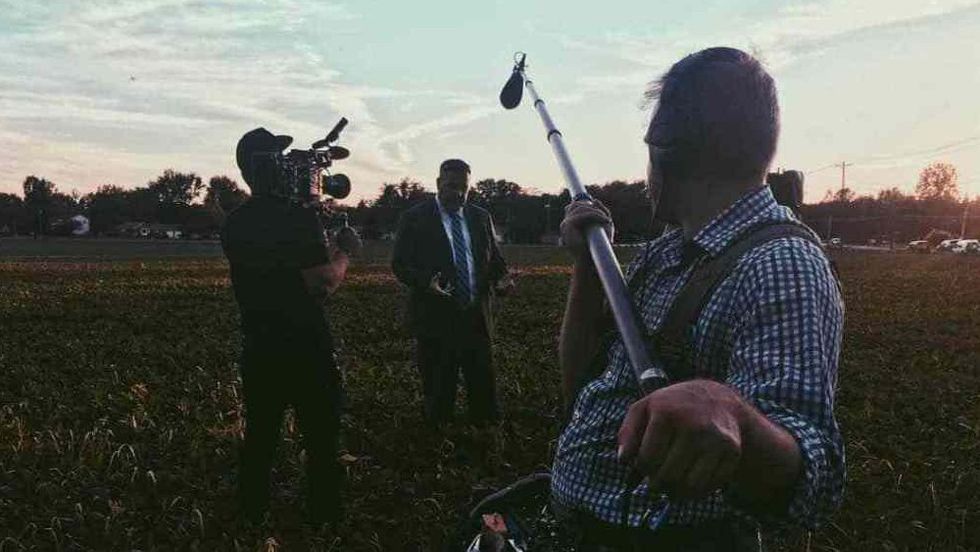
Silence is golden when it comes to filmmaking, and it's hard to come by. Even when you're in an isolated location there's still crew shuffling about, the rumble of a generator, or other noisy special effects informing the visual image, let alone a camera that can be making a ton of noise all on its own. (We're looking at you, IMAX.) And those are the noises you can control. There are other sounds you can't help like planes, nearby crowds, or the bustle of a city.
When your time is limited during production and you can't afford another take, or it just so happens an ambulance rushes by on what was the best emotional performance, you may think your audio track is ruined. Well, it may not be.
That's where Automated or Additional Dialogue Replacement, better known as ADR, comes in.
Table of Contents
What Is ADR?
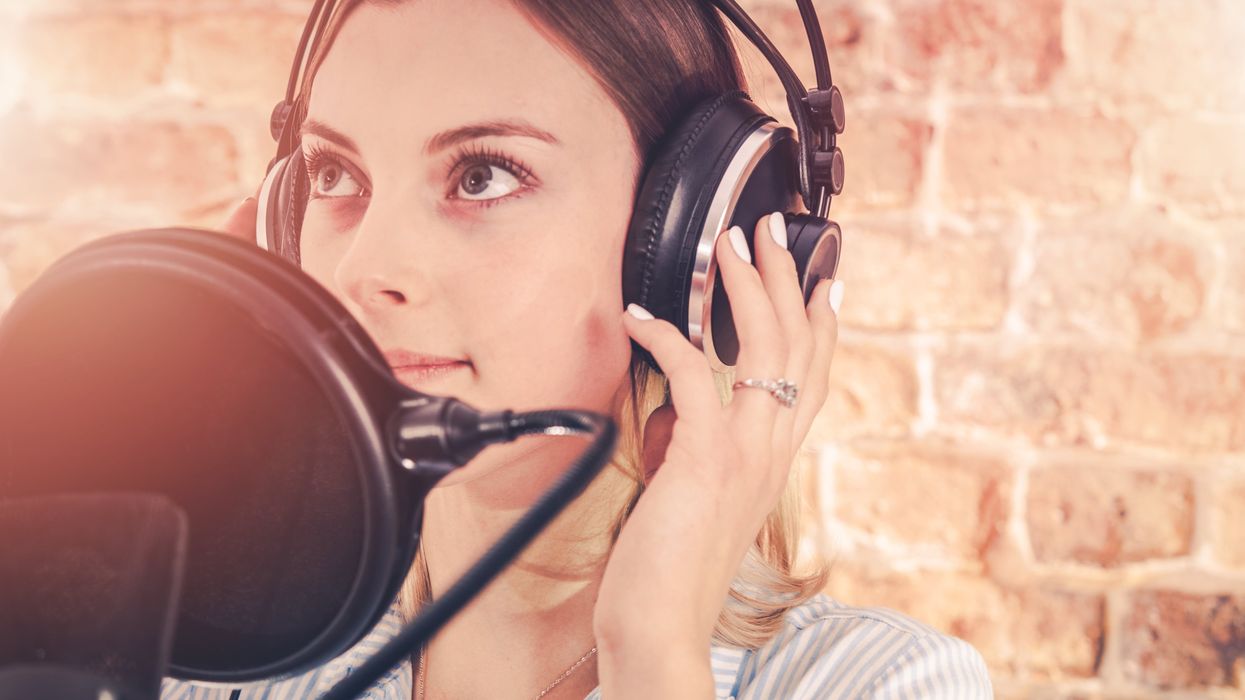
ADR stands for Automated or Additional Dialogue Replacement. ADR is the process of re-recording audio in a more controlled environment to improve the audio quality or reflect changes in the story.
It's typically performed at a recording studio where the talent can watch the performance on a screen to match the emotional tone and delivery of the production performance. You may hear ADR referred to as "looping," which hearkens back to the earlier days when a re-recorded line of dialogue was cut into a loop of film to play back over and over again.
What ADR is not is "dubbing." If you hear someone call it dubbing, that's technically inaccurate. Dubbing is replacing the recorded dialogue with another language than the original source. So if your film is in English, and you want to create a Spanish version using Spanish-speaking actors, that's considered dubbing.
Why Use ADR
ADR is an effective tool for several different reasons. Here are some examples of when it's most effective.
- Noisy location: No matter how much you try to dampen the surroundings of a location, sometimes there's no way of getting around an unwanted sound. If you're a production sound mixer, it's a good idea to bring those issues to the director to let them decide if they want to do another take or not. Whatever the decision, be sure to make notes on what takes may need ADR.
- Unintelligible dialogue: Sometimes talent can say something that just can't be heard or even understood. There even may be some circumstances where a single word in a captivating performance was mispronounced. You don't need to throw the whole take away, you can simply fix that single word.
- Accents: When actors use an accent for their characters, sometimes it doesn't always go as planned. When you get to test screenings, people can just flat out not connect with it. That's where ADR can come in and replace the lines with the new accent.
- Non-verbal sounds: ADR can also be used to add breathing, laughter, gasps, or sighs to the performance.
- Story changes: No matter how detailed the script, a story can shift in the cutting room and leave you with plot holes. That's where ADR can shine. A simple cut away to another actor or a shot that doesn't show the actor's face allows you to add a new line of dialogue where your audience won't realize the difference.
It's important to understand that recording believable ADR is challenging. The process involves asking actors to repeat the same performance in an entirely new space. Sometimes that may be months later, and the actor has already moved on to another project. You need to allow them enough time to find that character again so what's recorded can be seamlessly matched to the production performance.
ADR Equipment
When recording ADR, it's ideal to use the same microphone that was used to record the location dialogue. If you don't know what that is, it's best to reach out to the production sound mixer to find out. If you can't get the same mic, it's okay. At the end of the day, the goal is to match the acoustical characteristics of the microphone of the scene, which can be accomplished in post.
Here's the equipment you'll need:
- Noise-canceling headphones: for the talent to hear the performance
- Microphone: preferably the same as the one used in production
- Preamp/interface: to adjust levels
- Sound recorder (hardware or software): to record the audio
- Video monitor: to allow the talent to see the performance
When it comes to audio recorders, there are several different tools you can use. On the software side Audacity is free. Same with GarageBand. There's also a free version of Pro Tools.
You can also use recorders from Tascam, Zoom, Sound Devices, Zaxcom, or any number of handheld devices. But it's best to consider hardware with lower noise floor and professional audio inputs.
Steps to Record ADR
There are not many actors who like doing ADR. Some directors, like Christopher Nolan, prefer not doing it at all. While you may not have the same budget as Nolan or a Hollywood feature, ADR can be accomplished on a shoestring budget.
1. Prep your space
If you have the budget to get some acoustic panels, place them along the walls to dampen the room. If you don't, it's okay to grab as many thick blankets as you can and hang them around the room. The idea is to limit the reverb or echo of the space to record clean dialogue. Then in post, you can add effects to match the sound of the film.
If you have a decent-sized closet, that might be your best bet. You can also rent studio time that's already set up for ADR, which will make the process a lot easier.
2. Mic placement
You'll first want to mic the actor with the boom and/or lav in front of the screen where the video will be projected. It's best to record two tracks, one for the boom and one for the lav to give post sound multiple options.
Depending on the mic, you'll want some distance between it and the talent. If you're using the same microphone used in production, that's great. If not, try to find a directional microphone with good rear rejection. The standard is Sennheiser 416 shotgun mic. If it's voiceover work, the Neumann U87 is the way to go. But you can also use the Shure SM7B, RØDE NTG-4+, or the Sennheiser MKE 600. Again, the idea is to capture a clean track.
If using a shotgun microphone, place it slightly off-axis and pointed downward. For shorter shotguns, you'll want to place it closer. And don't forget the pop filter if necessary. Plosives are not your friend.
You'll also want to note the camera angle of the scene as you'll want to capture the same sense of space. If the actor is in an extremely wide shot, you want to move the microphone away from the actor.
After the actor delivers a line, it's okay to change the placement of the microphone to better match the scene.
3. Prep your talent
Sometimes the secret to great ADR is doing a ton of takes. You'll want to have as many options as possible since you don't want to end up in a situation where you need to ask the talent to come back for another session. That said, these sessions can be draining and demanding, so make sure your talent is comfortable.
You'll want to try to recreate the scene for the talent as best as you can. That might mean adding props, setting the mood inside the studio with color LEDs, or even bringing in other actors for the scene. If the director can be there, even better.
It's important to get your actors comfortable so they can find the characters again to match the performance. No detail can be too small.
4. Recording
Now that you're prepped, it's time to record. You'll first want to show the actor the scene as many times as they need to get the correct timing, pitch, and emotion of the scene.
Once ready, you'll play the cue to be replaced, and the actor will listen through headphones while watching on the screen. Then you'll cue them when the replaced line begins.
After it's recorded, be sure to play it back to make sure it works with the scene. Again, the idea is to match the timing and pitch of what's on screen.
5. Finalize in post
After you have all the dialogue captured, import the tracks into your editor, and sync them to the scene. There are a few tools that can ease the process including VocALign Pro and Melodyne. There's software that can help sync the track using time stretches and contractions to match it nearly perfectly with the scene. You can also sync it manually, but that can take some time.
Afterward, you'll want to add in the room tone of the location to fill in the spaces between the dialogue. Then you can add in any reverb or EQ to match the acoustical space of the room.
Between the performance and the post mix, you should have a finished audio track that matches seamlessly with the film.
Can You Prevent ADR?
Not everyone uses ADR, but don't look at it as a bad thing. Films hover around 30% ADR to 70% production sound, and some films need to replace 100% of the dialogue.
If you're hellbent on not using it, you need to plan accordingly. This means bringing in your production sound mixer early for tech scouts and listening to their advice. But even then you can still run into issues on the shoot day. Maybe you scouted a spot a month ago, and a new construction project started next door.
The important thing to remember during production is to always grab room tone. We suggest at least 3 minutes, if not 5 minutes.
When asked what disqualifies film contest entries, "sound quality" is the number one thing mentioned by programmers. So if you want your projects to come across as polished features, shorts, or pilots, you need to consider the quality of your sound. Using ADR can help you get there.
For more, see our ongoing coverage of Sound Week 2020.
No Film School's podcast and editorial coverage of the Sound Week 2020 is sponsored by RØDE.


