How to Create a Glitch Effect in Premiere Pro in Under 2 Minutes
This is one of the quickest and easiest ways to add some sweet glitch effects to your footage in Adobe Premiere Pro.
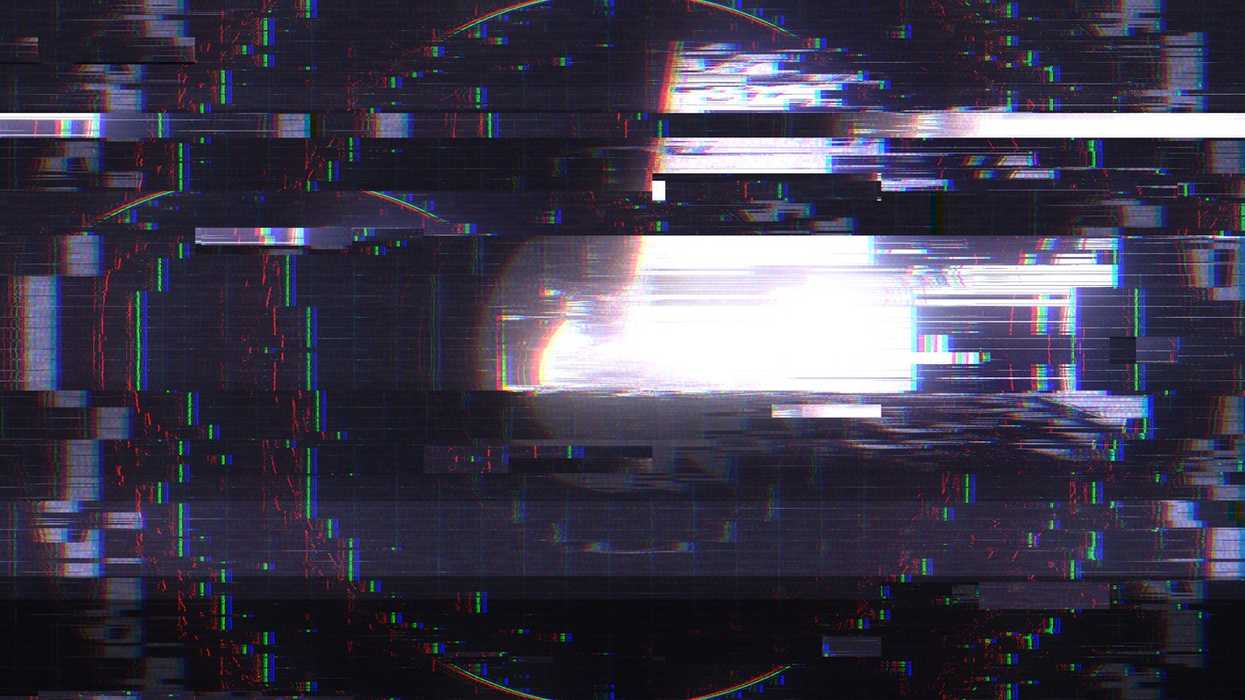
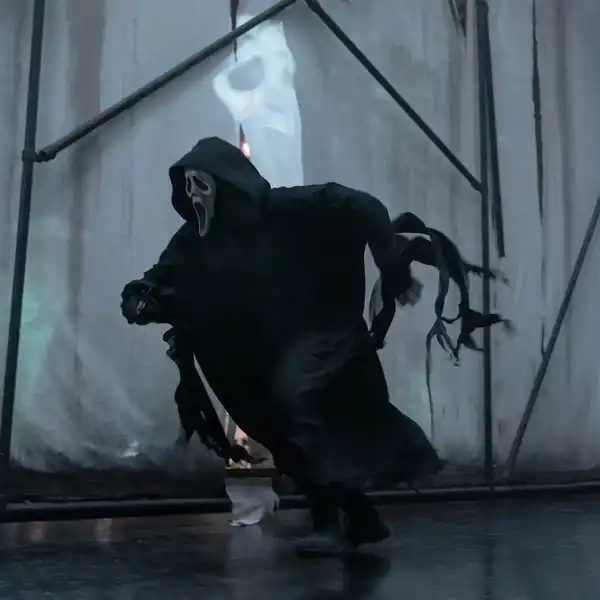
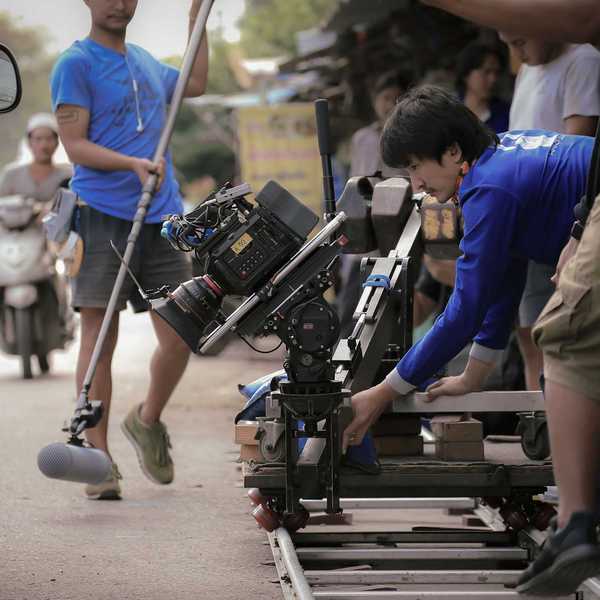
Whether you're working on a feature film or music video, glitch effects can add tons of style to your projects. There are many ways to go about it, some of which are long and tedious, but if you're editing inside Adobe Premiere Pro, its native tools will allow you to get the job done faster and easier than you might think. In this tutorial, Austin Newman shows you a technique that will take you less than two minutes to complete.
This approach is crazy simple. In fact, the most challenging part of the process is finding a glitch overlay you like somewhere on the internet. Once you have one, it's just a matter of following the straightforward instructions in the video.
However, if you want a glitch effect that is unique to your specific video—in other words, one that doesn't use plug-ins or overlays—Newman actually covered this in a previous tutorial. In it, he walks you through a technique that utilizes keyframing.
This process is a little more involved, time-consuming, and complicated than the previous technique. It requires you to duplicate and stack your video clips, offset your footage, set keyframes, and then colorize each part of your "glitch" (if you want). The results don't lie, though—with a little bit more elbow grease, you can have a pretty awesome and unique glitch effect made specifically for your project.
What are some other techniques for creating glitches in post? Let us know down in the comments.
Source: Austin Newman