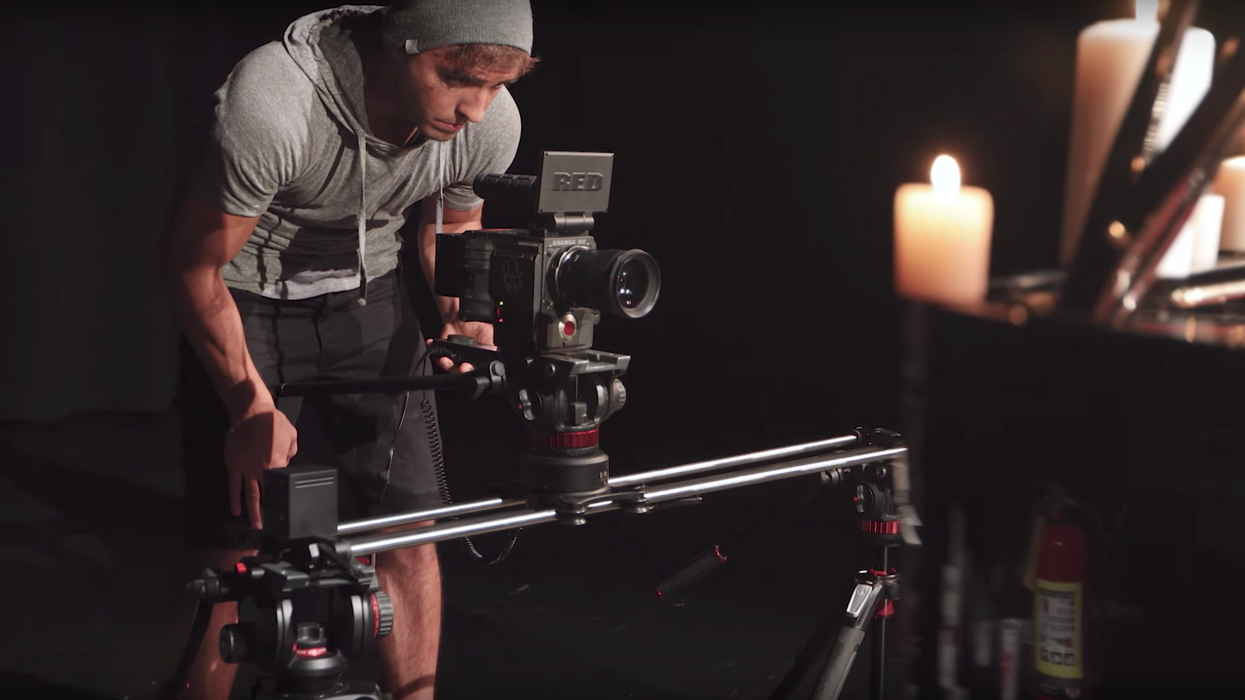
When it comes to camera movement, sliders offer so much versatility and style without having to work very hard to get it. If you want to take your slider game to the next level, Parker Walbeck shows you five super simple camera moves you can do with pretty much any unit on the market, as well as how to avoid common obstacles you might come up against while trying to pull them off. Check out his tutorial below (which starts at around 3:00).
Here are the moves Walbeck talks about in the video:
- Side-to-side
- Push-in/Pull-out
- Parallax
- Low mode
- Aerial
Admittedly, many of these moves are really basic and don't really require much (if any) guidance for new users. In other words, I doubt anyone buying a camera slider really needs to learn about side-to-side movement, because, hello, that's what you bought the thing for.

However, it is really helpful to learn about common issues that come up when performing these basic moves, like how to add depth when shooting side-to-side shots or how to keep the slider out of a push-in or pull-out shot.
To add depth, simply put some foreground elements in the frame. This will produce the parallax effect (when objects at different distances from the lens move at different speeds) and not only make your image look more dimensional, but it will also give your shot more kinetic energy.
To keep your slider out of view when doing a push-in or pull-out, Walbeck makes a few suggestions:
- Use a lens with a tighter focal length
- Put your slider on the ground and tilt up
- Angle your camera to one side of the slider
- Crop out the slider in post by adding a letterbox

Source: Parker Walbeck